
Testim Copilot Coding Assistant
Testim's Copilot Coding Assistant helps you write, understand, or fix the JS code that is part of the following steps:
- Add Custom Action
- Add Custom Validation
- Add Custom Wait For
- Add Network validation
- Add CLI Validation
- Validate Download
- Custom Condition
The Copilot Coding Assistant uses OpenAI's Generative AI capabilities, which have been integrated and adapted for testing with Testim. You can interact with the assistant using chat prompts, but also with special commands, which are available by typing "/" (forward slash).
To use Testim Copilot Coding Assistant:
-
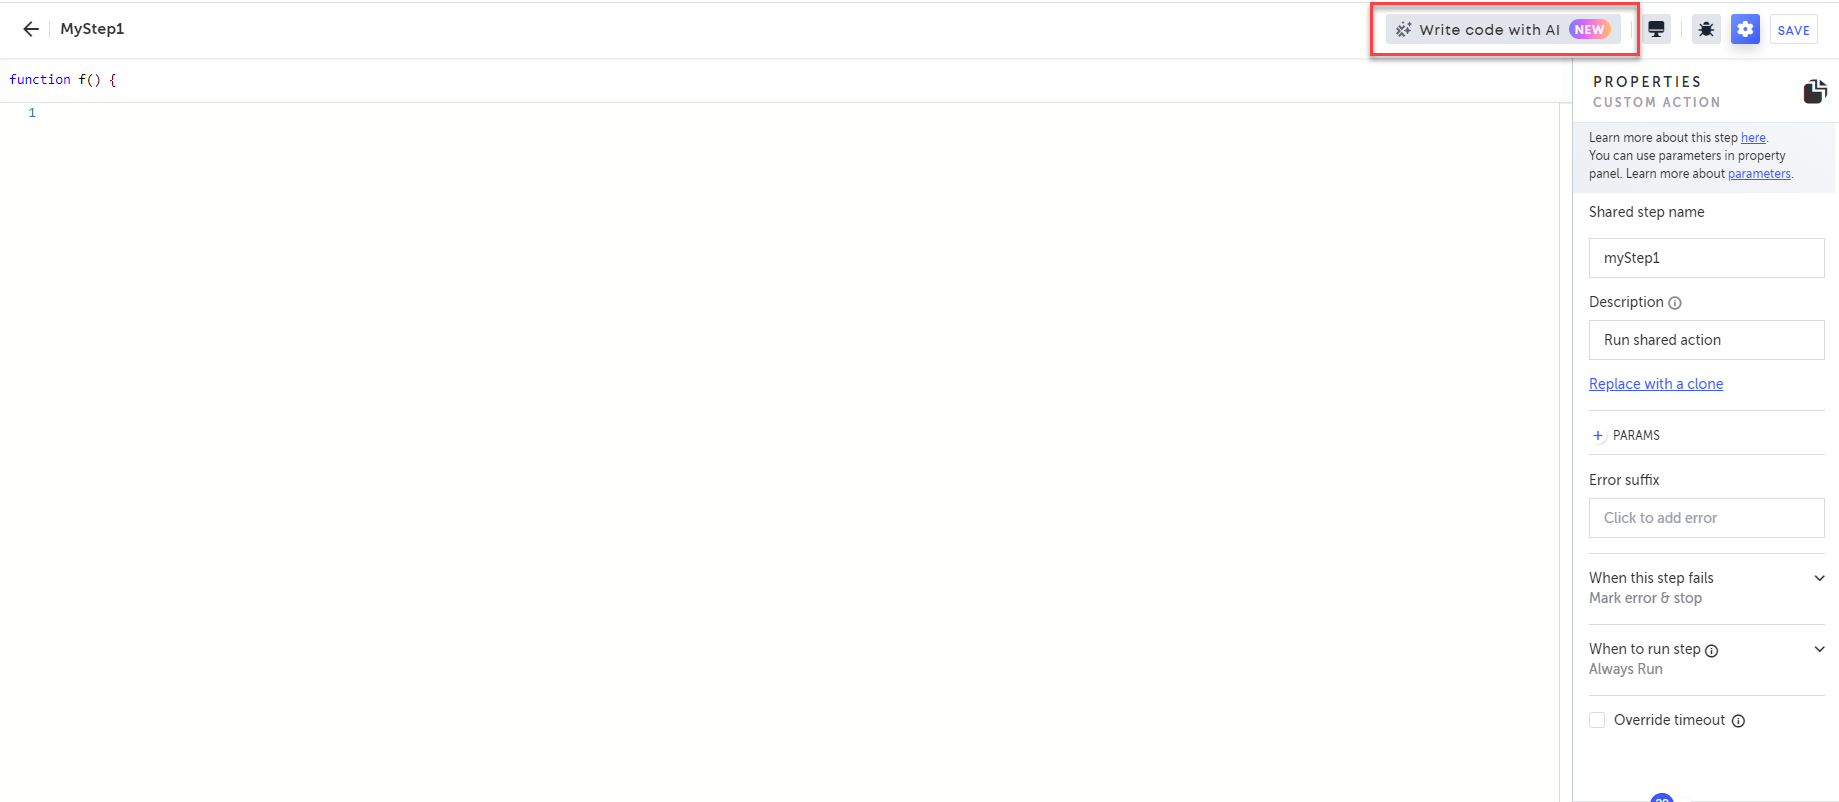
Create a custom step. See links above for instructions.
-
Click the Write code with AI button.
-
Acknowledge the notice.

-
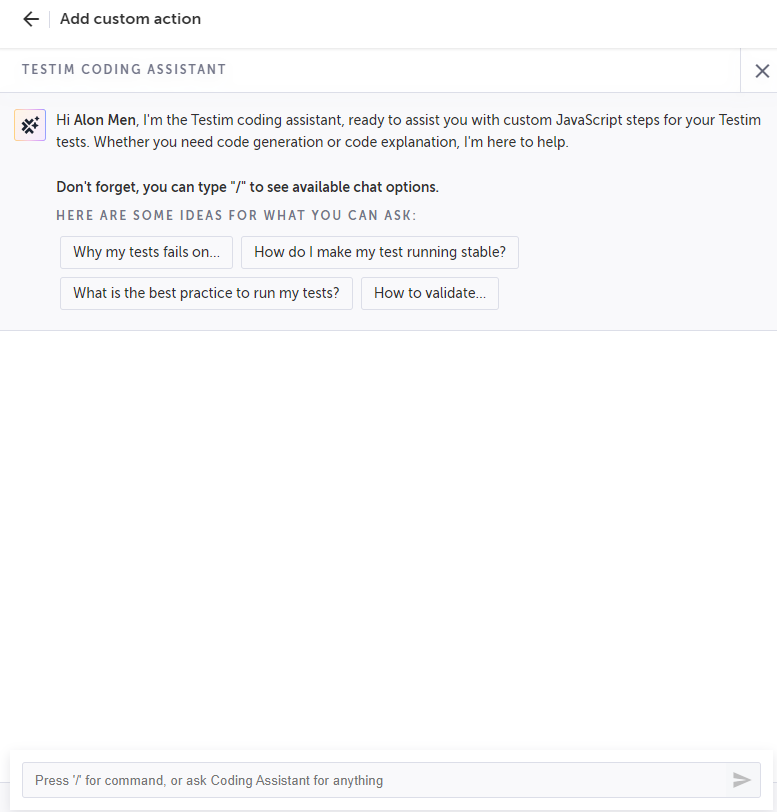
The coding assistant interacts with you through the chat pane. At the bottom of the chat pane you can enter your prompts.
-
Click "/" (forward slash).
-
Select one of the following commands:
- /generate- generates JS code for testing based on your prompt. See further instructions below.
- /explain- explains the selected code in the Editor. See further instructions below.
- /fix- suggests a fix to the selected code in the Editor. See further instructions below.
- /help- provides access to the coding assistant documentation.
-
Do one of the following:
-
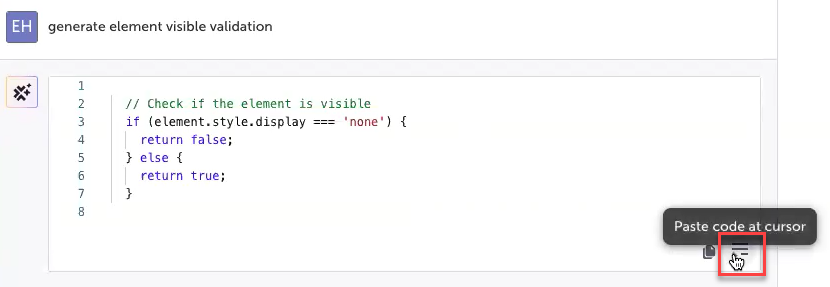
For Generate command - in the prompt, type a prompt that describes the code that you want to create and press Enter or click the Send button. The generated code will appear in the chat pane. To use this code, do one of the following:
- Paste code at cursor - place the cursor where you want to add the code and then click the Paste code at cursor button to add the generated code to the function editor in the location of the cursor.
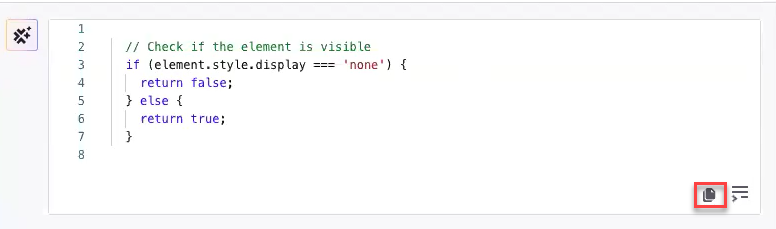
- Copy code - click the Copy code button to copy the code and then paste it anywhere you want.
-
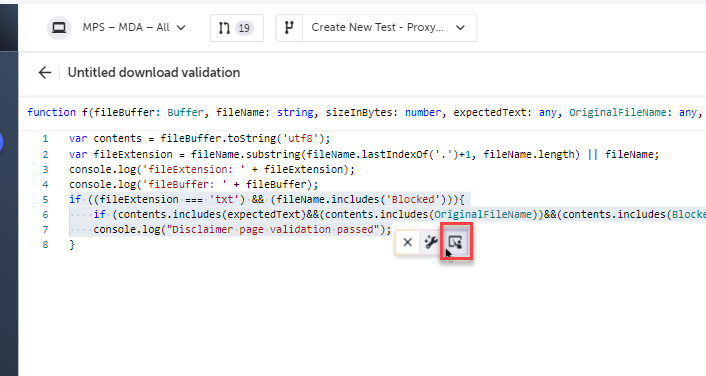
For the Explain command - in the function editor, select the part of the code that you would like to have explained and then do one of the following:
-
Click the Explain code with AI icon on the floating menu.
-
In the prompt, type
/explain. The explanation is presented in the chat pane.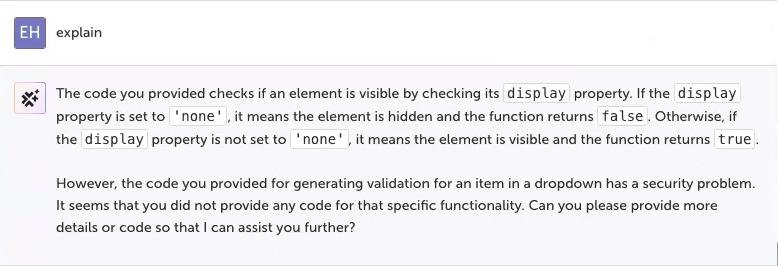
-
-
For the Fix command - in the function editor, select the part of the code that you would like to have fixes and then do one of the following:
-
Click the Fix code with AI icon on the floating window.

-
In the prompt, type
/fix. The fixed code suggestion is presented in the chat pane. To use this code, do one of the following:- Paste code at cursor - place the cursor where you want to add the code and then click the Paste code at cursor button to add the generated code to the function editor in the location of the cursor.
- Copy code - click the Copy code button to copy the code and then paste it anywhere you want.
-
-
Examples
Here are some examples of possible prompts that you can use:
generate code to validate page URL
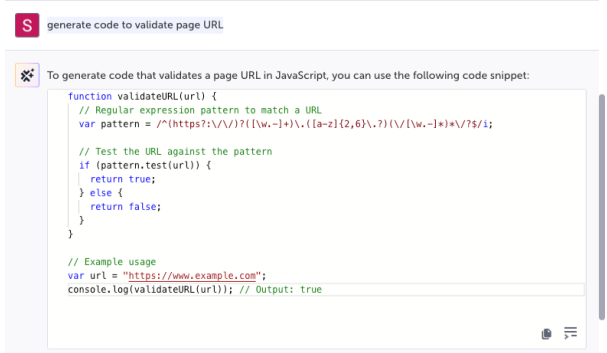
The code is typically used in an Add Custom Validation step to validate that the URL of the page matches a specified regular expression pattern.
generate code to validate checkbox checked
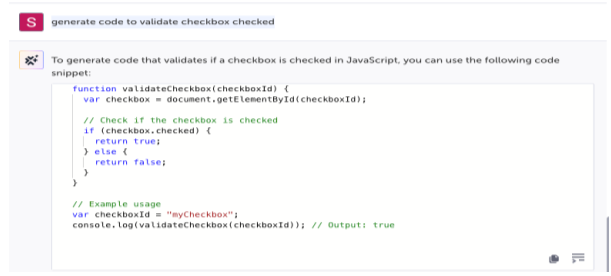
This code is typically used in a Custom Condition to validate that a certain checkbox is selected/checked. For example, when using a Click step to select a checkbox, you may want to use this custom condition to verify if the checkbox is not already selected.
generate code to input text to rich text editor
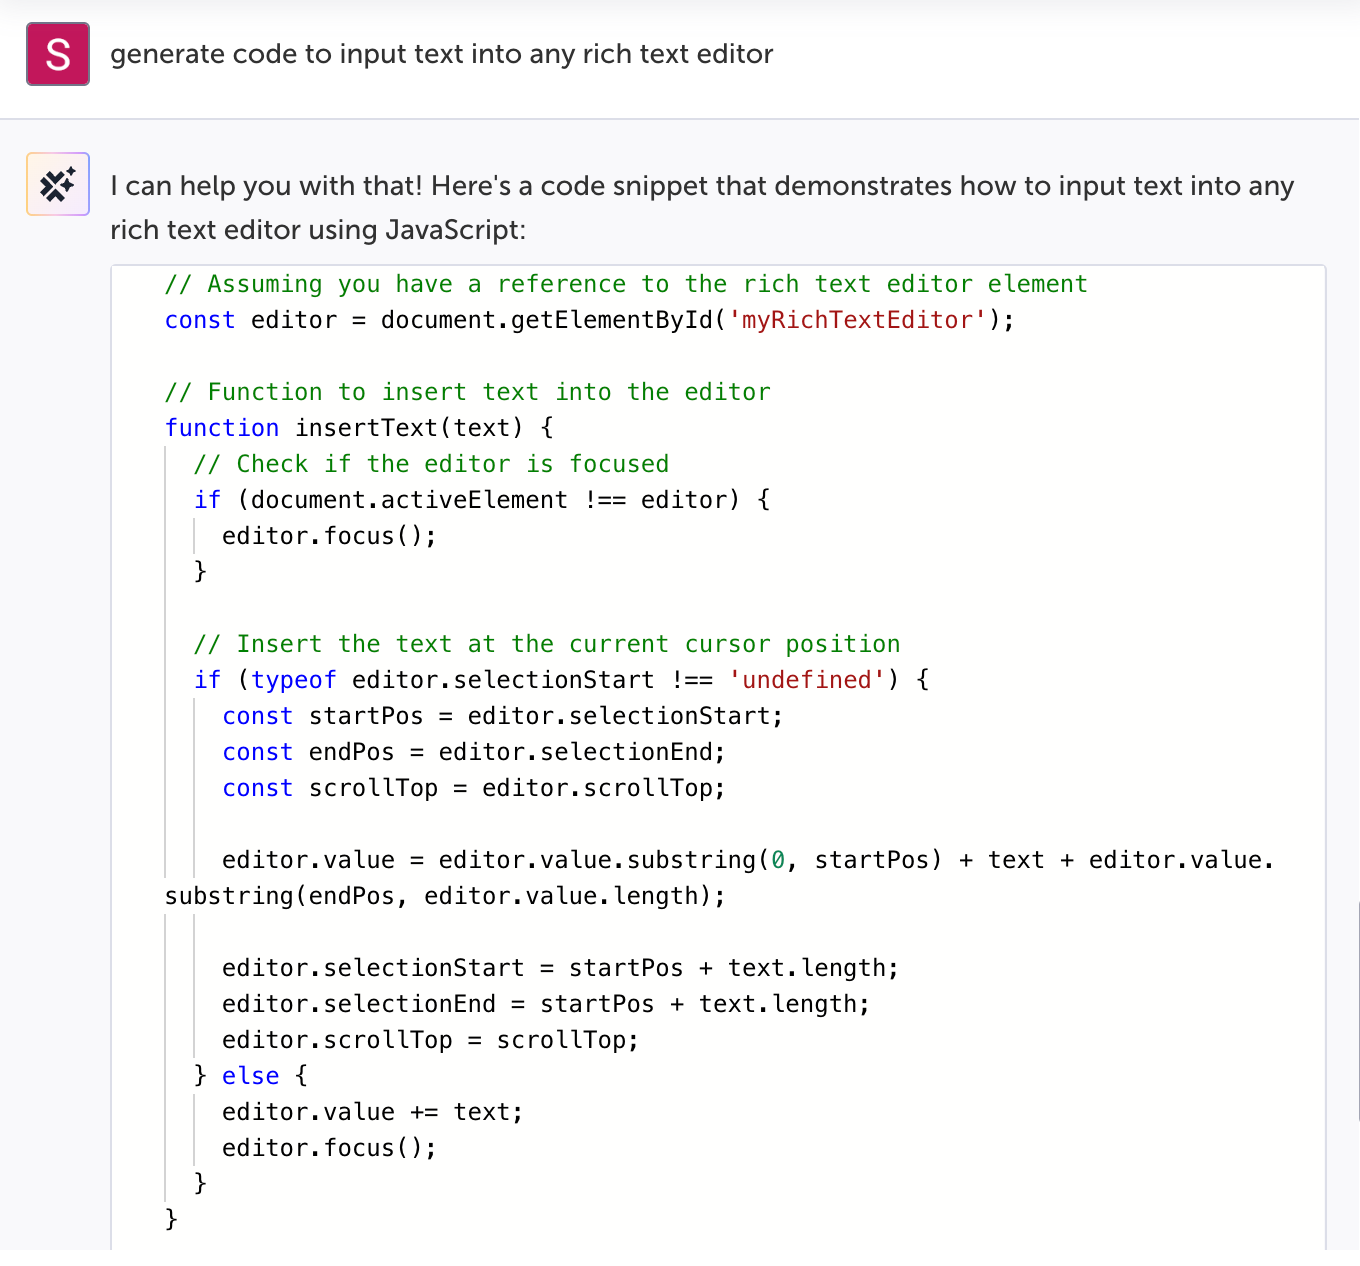
This code is typically used in custom validation steps to be able to input text into a Rich Text Editor element. This is useful in cases where the Set text step cannot input text into a Rich Text Editor element. In this case, the code in the Custom validation step will input the text into the Rich Text Editor element during execution.
generate code to compare three parameter values
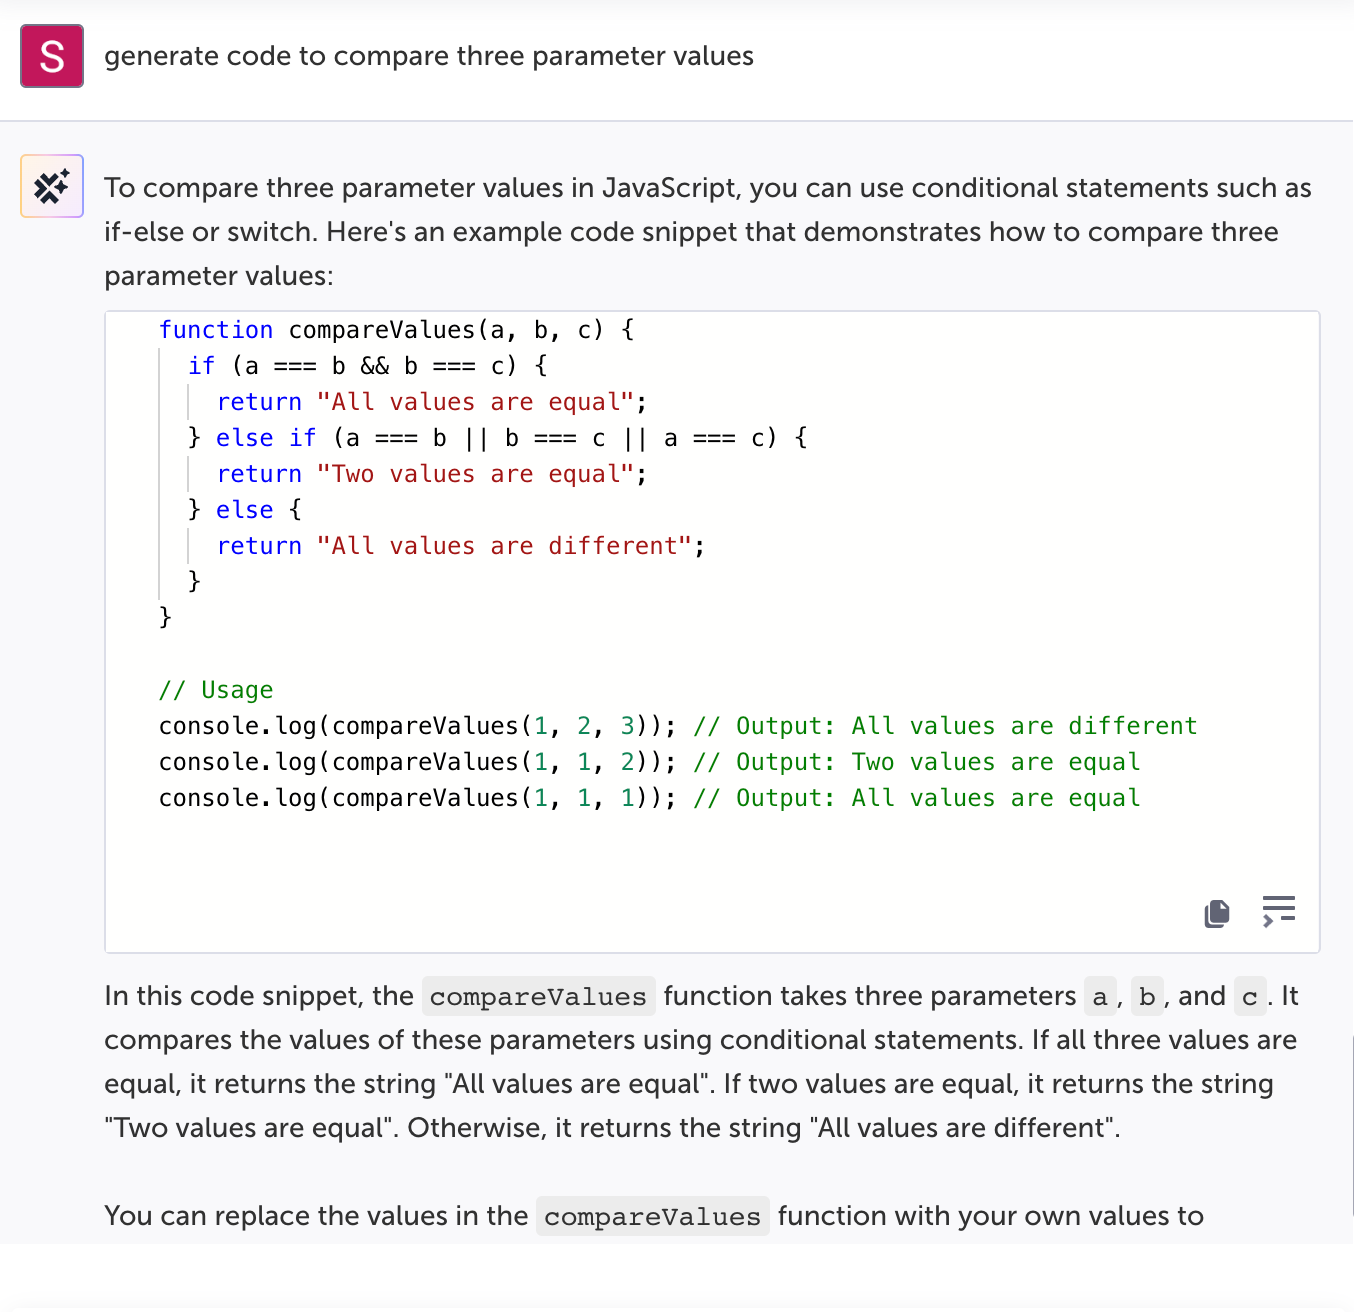
This code is typically used in a custom condition and custom validation step to check that certain parameters that were used in the test all share the same value.
Updated about 2 months ago