Validate element text
Validate that the expected text is visible
An Element Text validation is similar to an Element Visible validation in that it makes the step dependent on the existence of a specific element. However, for the Element Text validation, you also specify a particular text value that must appear in the specified element. You can easily validate multiple text elements as well.
The text being validated can be given as a specific string or a range of values represented as a Regex expression, a short JS expression, or a parameter. See Advanced text validation.
Note (Web Only):
You can use a keyboard shortcut to record text validation from your application during recording. Just use Ctrl +'v' and select the text you want to validate.
Adding a Validate element text step (Web)
To add an Element Text validation:
- Hover over the > (arrow symbol) where you want to add the validation.
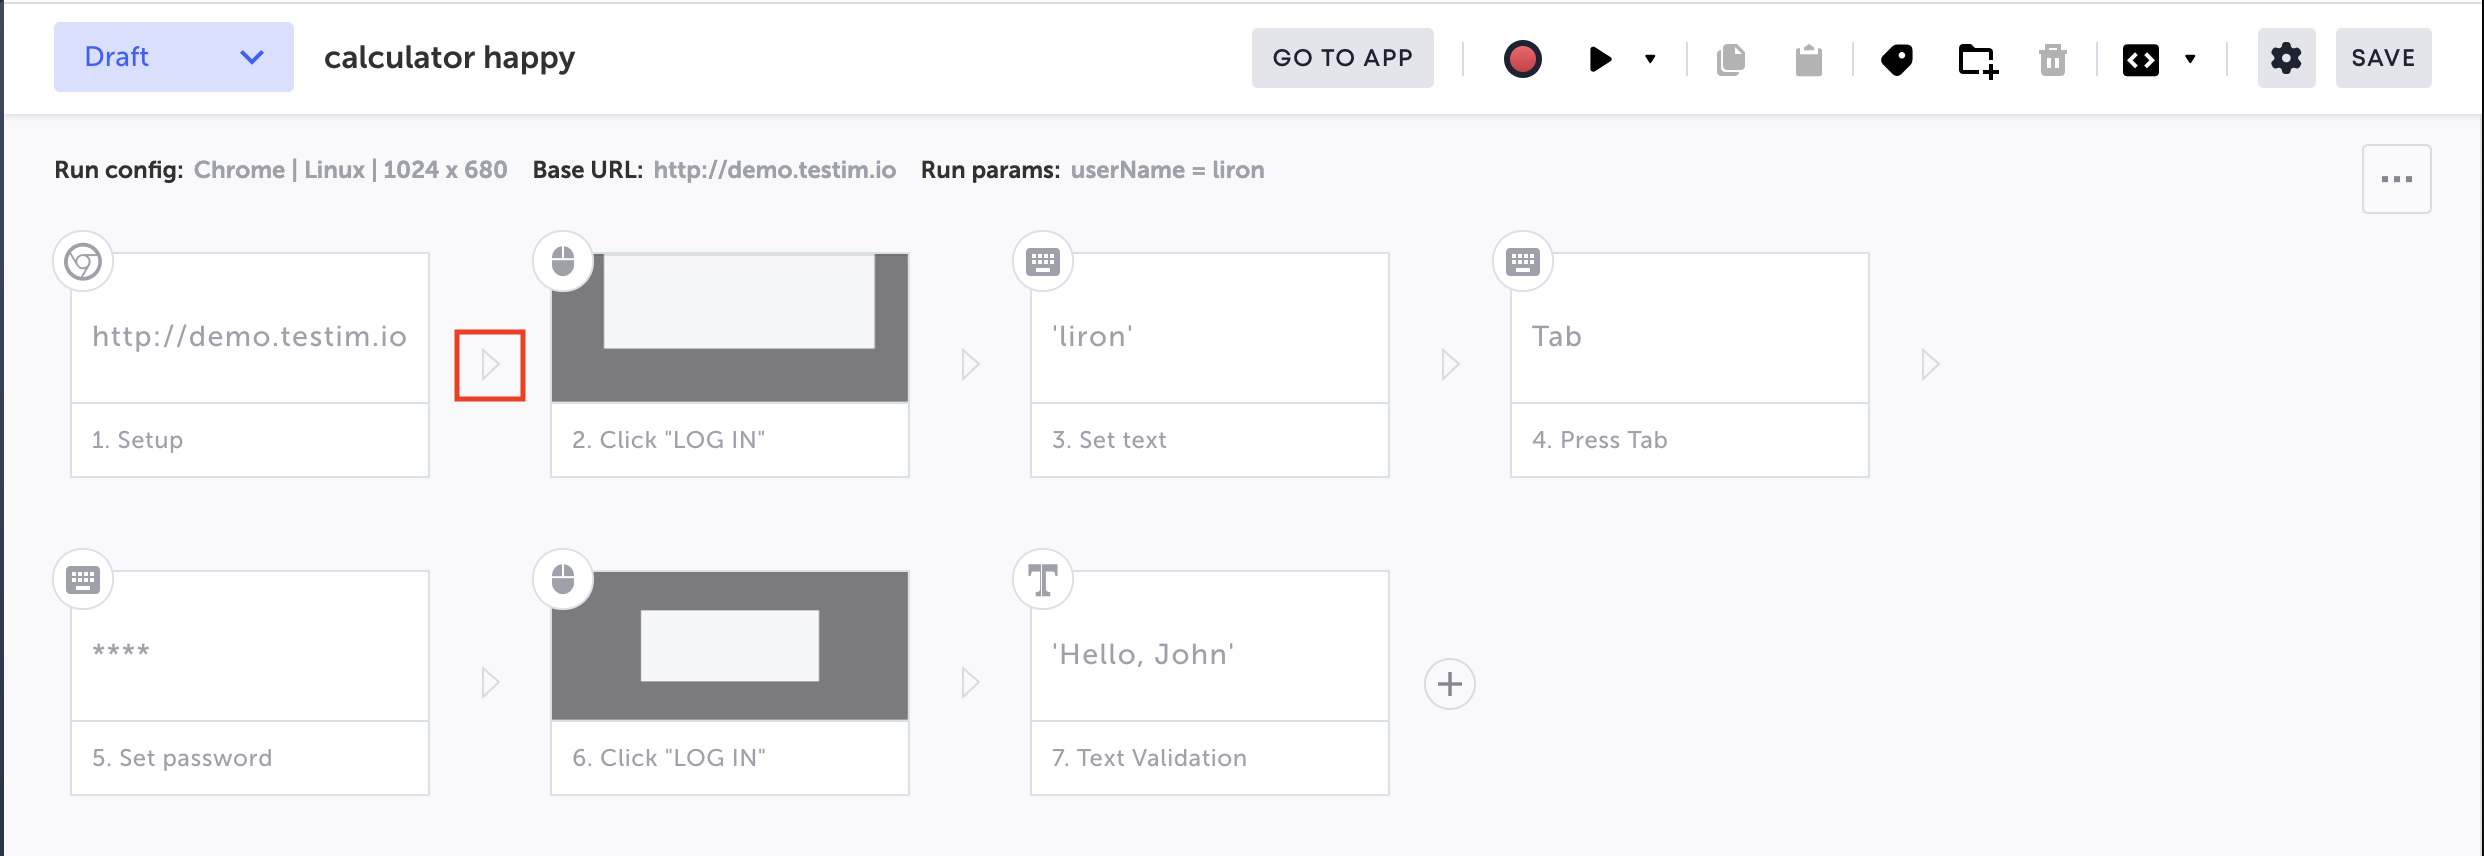
The action options are displayed.
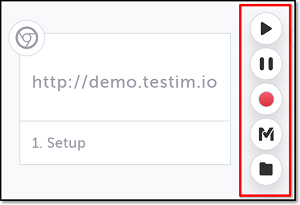
- Click on the Toggle Breakpoint button.
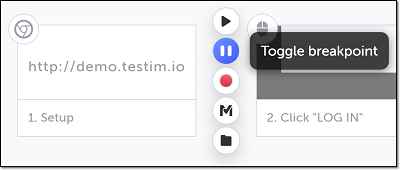
- Click on the Play Scenario button, to run the test until the breakpoint.
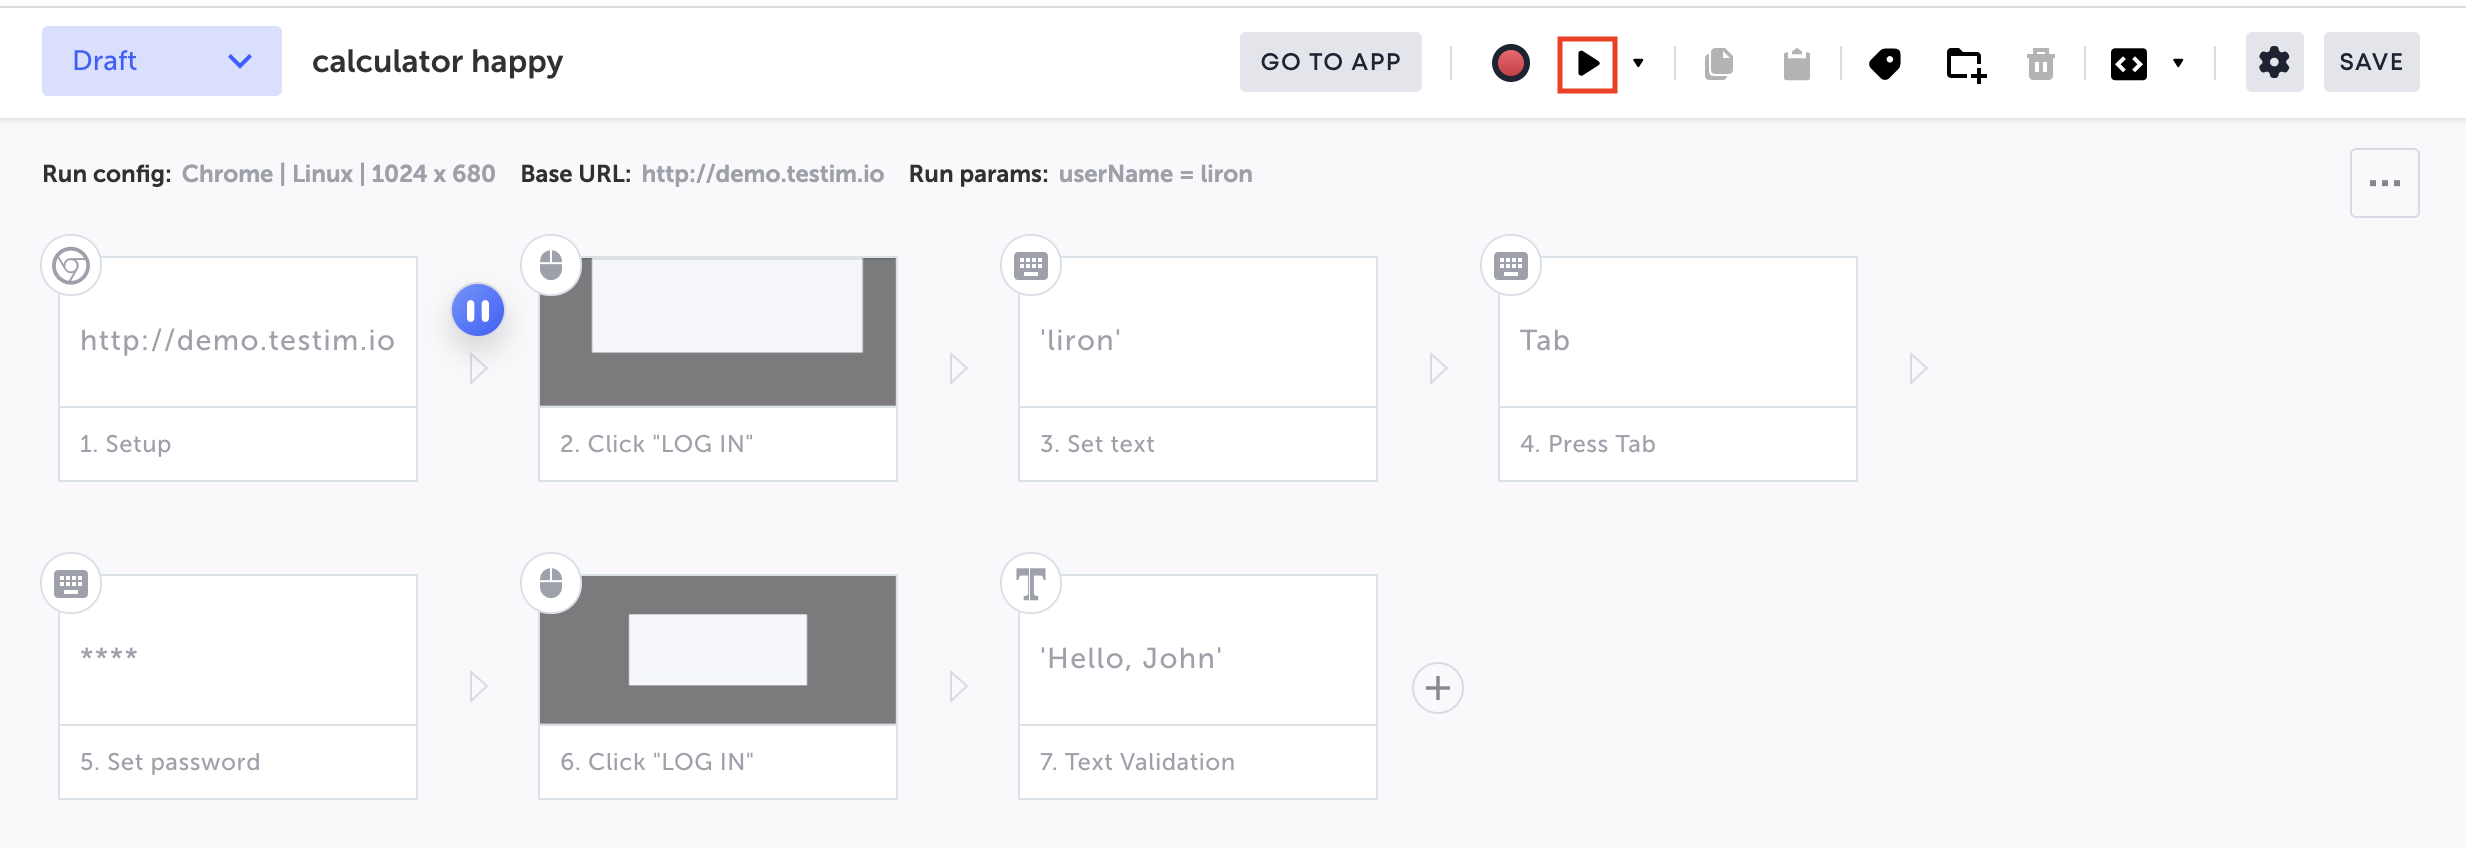
- Hover over the position again and click on the "M" (Testim predefined steps).
The Predefined steps menu opens.
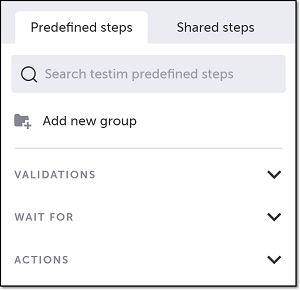
- Click on Validations.
The Validations section expands.
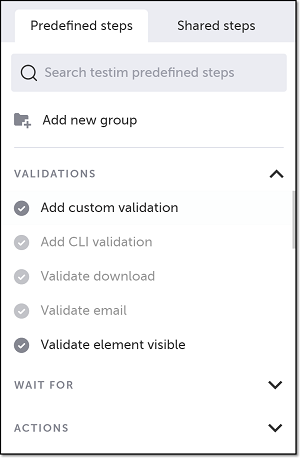
- Scroll down through the menu and select Validate element text.
Alternatively, you can use the search box at the top of the menu to search for Validate element text.
- In the AUT window, select the relevant element that you wish to validate by clicking on it.
The step is created, and a thumbnail of the selected element is shown in the step.

Additionally, you can select multiple text elements to validate by pressing the ‘Ctrl’ key and clicking on multiple elements. A reusable group will be created, which includes all of the validations.
- Click on the Toggle Breakpoint button after the Validation step to remove the breakpoint.
Adding a Validate element text step (Mobile)
To add an Element Text validation:
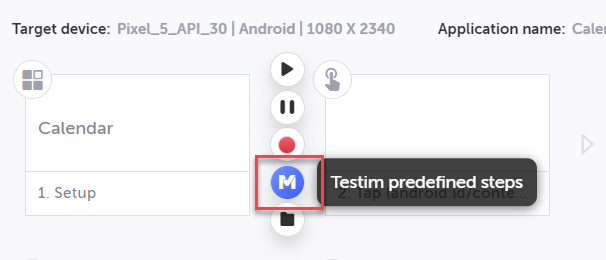
- Hover over the > (arrow symbol) where you want to add the validation and click the Testim predefined steps button.
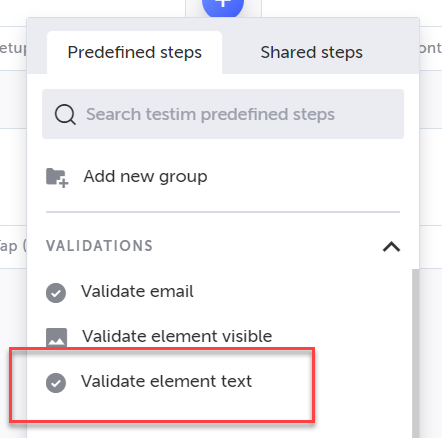
- Select Validate element text under the Validations group.
Note:
Alternatively, you can use the search box at the top of the menu to search for Validate element text.
- The AUT will open. Select the text element on the screen you want to validate.

- The Text Validation step is created, and a thumbnail of the selected element is shown in the step.

Modifying a Validate element text step (Mobile & Web)
If you want to change the element or text you selected, you don’t need to delete and re-record the step. Instead, you can just reassign the element with a different element, or you can edit the text of the initial element that is being validated.
Reassigning the selected element
To reassign the selected element in a Validate element text step:
- Hover over the position to the left of the step for which you want to reassign the element and click on the Toggle Breakpoint button.
- Click on the Play Scenario button, to run the test until the breakpoint.
- Hover over the step for which you want to reassign the element and click on the Show Properties () icon.
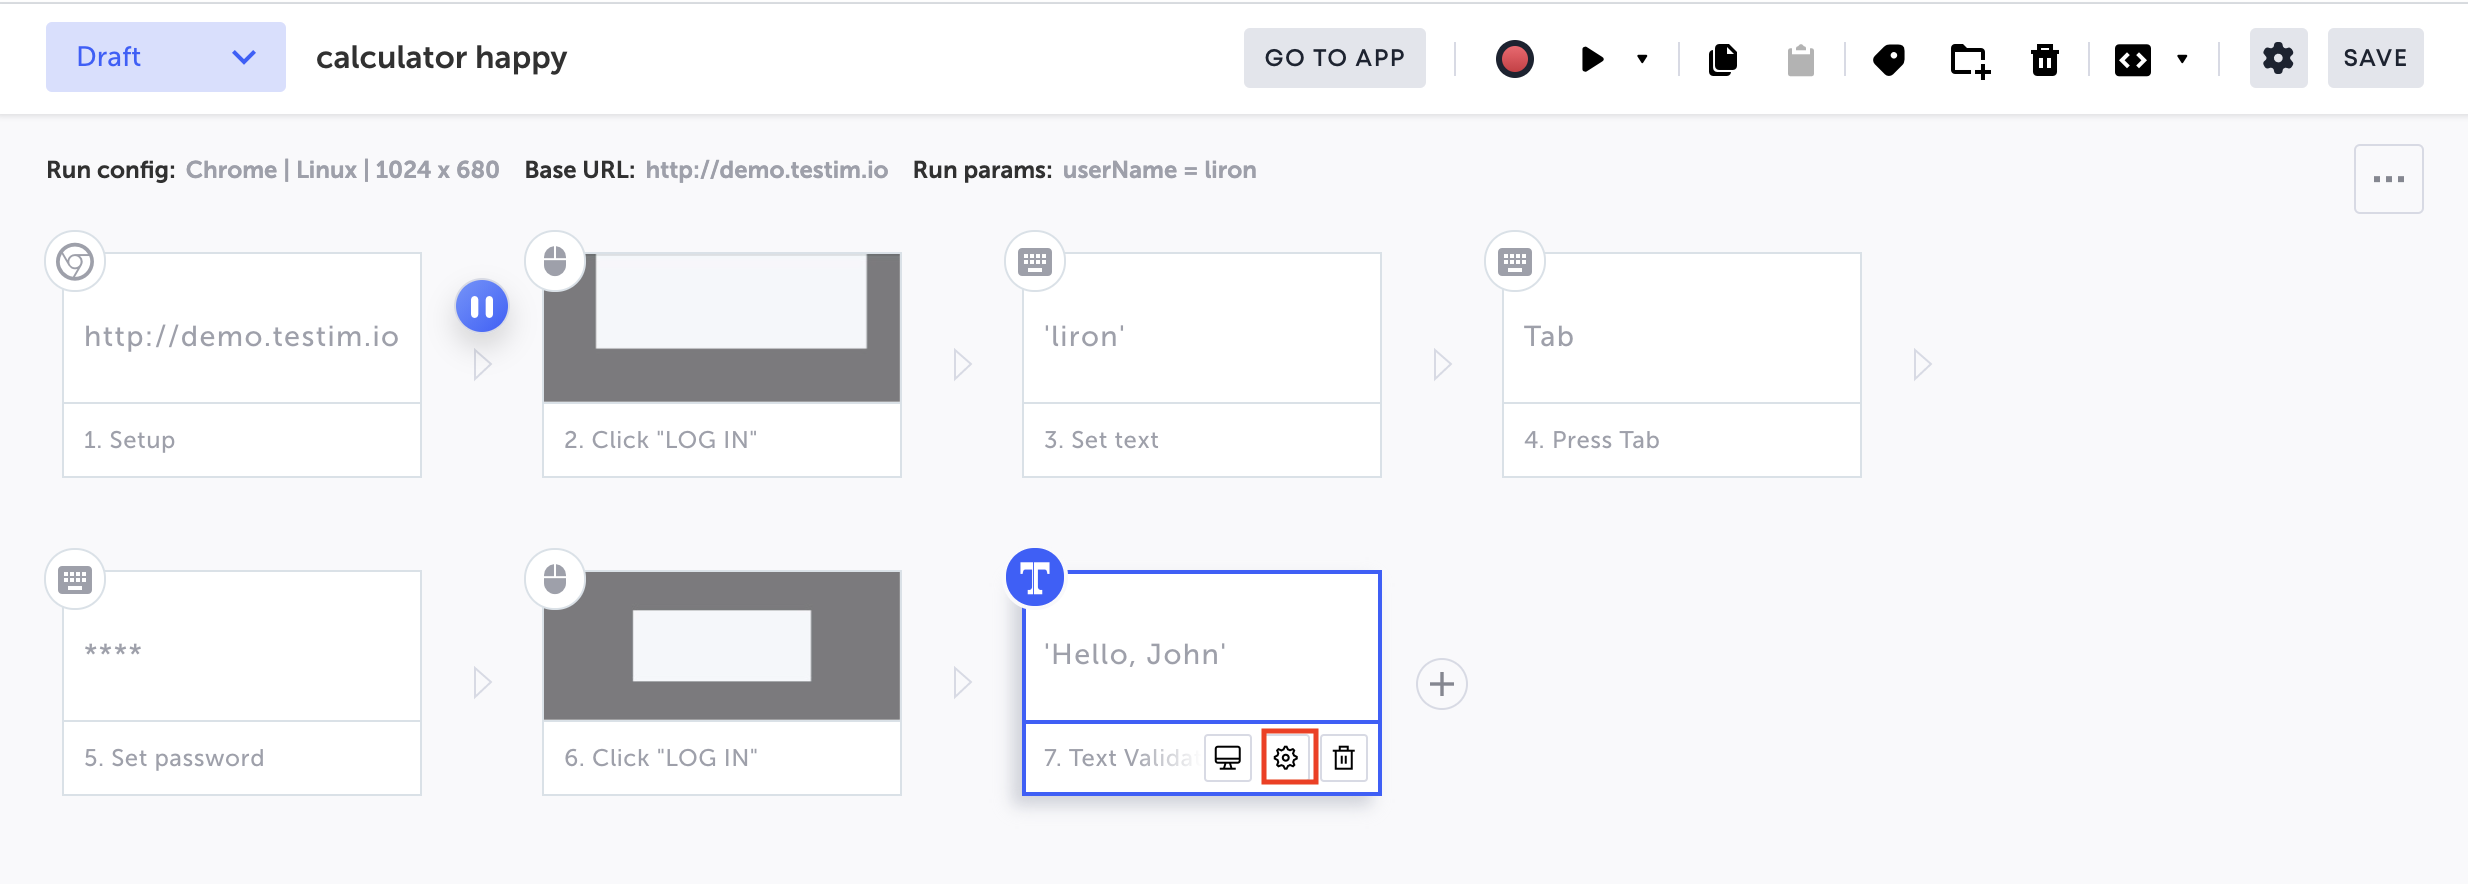
The Properties panel opens on the right-hand side.
4. Hover over the Target element thumbnail.
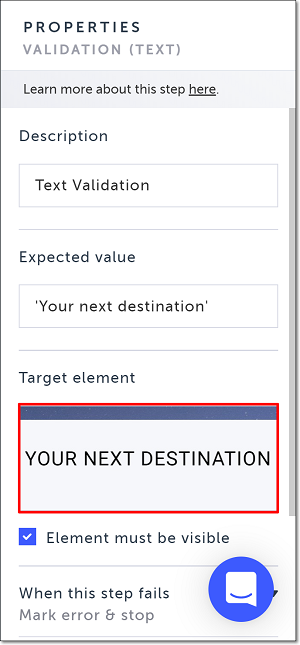
The Target element options are shown.
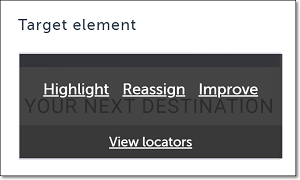
- Click Reassign.
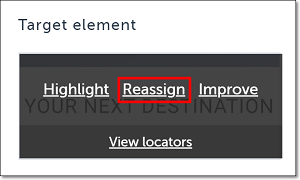
- In the AUT browser, identify the relevant element and click on it to select it.
The selected element is shown in the Target element box in the Properties panel. - Click on the Toggle Breakpoint button to the left of the step for which you reassigned the element to remove the breakpoint.
Editing the validation text
To edit the validation text of the initial element:
- Hover over the step for which you want to edit the validation text and click on theShow Properties () icon.
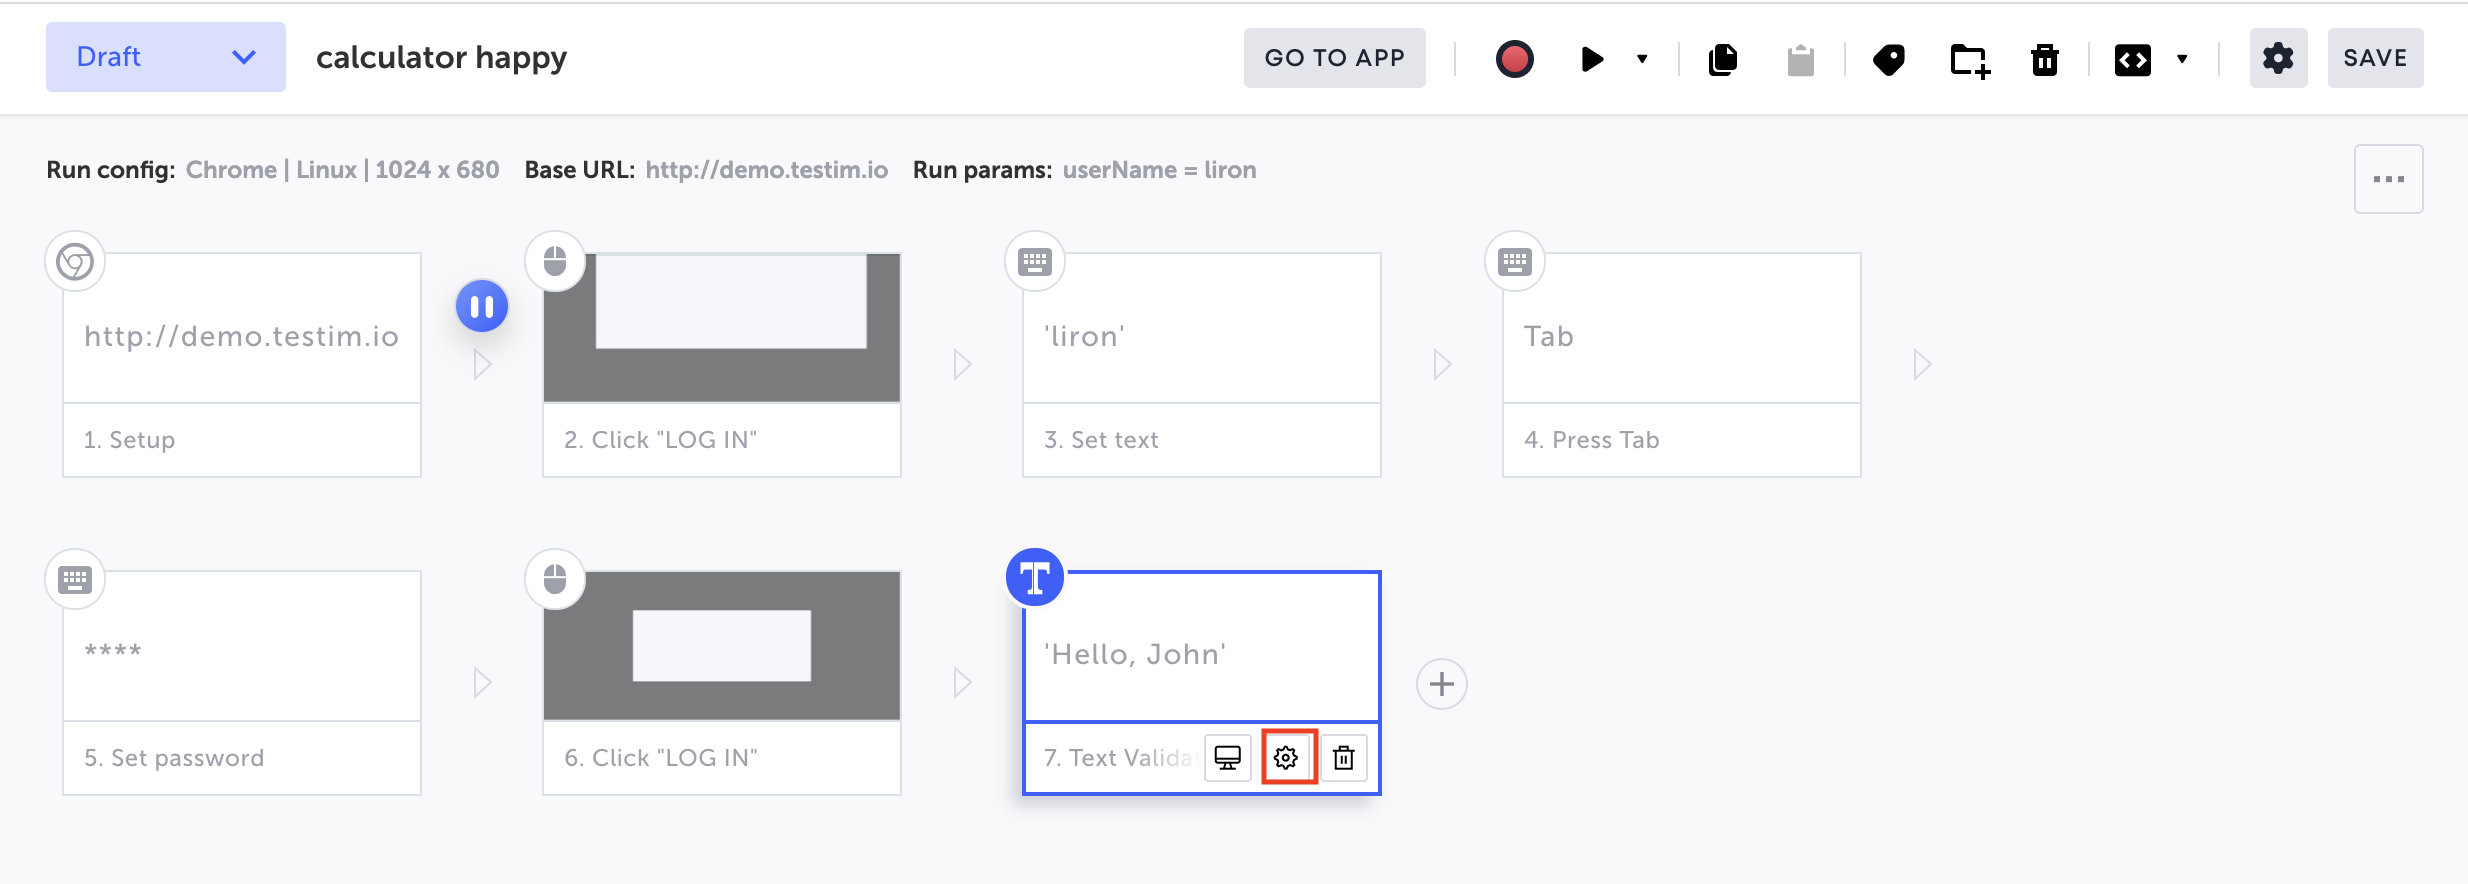
The Properties panel opens on the right-hand side.
2. In the Expected value field, enter the new validation text.
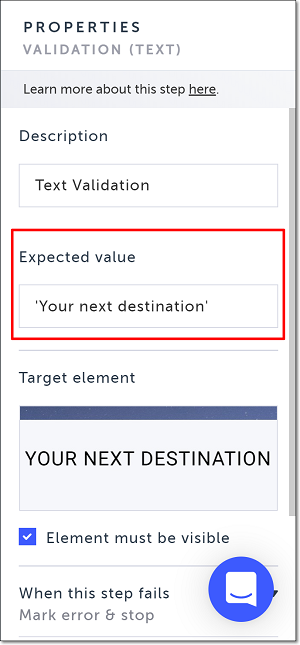
Advanced text validation (Mobile & Web)
In many cases it is difficult to specify an entire text string that will be matched in its entirety to the text that you want to validate. In the Expected Value field, you can create text validations by combining:
- Regular expressions (partial strings)
- JavaScript expressions
- Parameters
Using Regular Expression (Regex)
Testim supports Regex inside the Expected Value input. These are the most common cases:
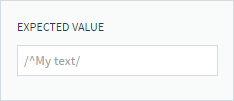
Starts with
Validates that the text that starts with a certain word, allowing the rest of the text to be dynamic, and still pass the validation:
/^My text/
Ends with
Validates that the text that ends with a certain word, allowing the rest of the text to be dynamic, and still pass the validation:
/my text$/
Contains
Validates that the text that contains a certain word, allowing the rest of the text to be dynamic, and still pass the validation:
/my text/
Of course you can create and use any other valid Regex that you may need.
Tips
- RegexOne is a great place to learn and practice regular expressions.
- RegularExpressions 101 is a great tool for developing and testing a regular expression.
Using JavaScript expression
In some cases, you may want to validate that a text equals the result of a JavaScript expression. For example, making sure that the the text holds the current date. In this case you can set the Expected Value to this simple expression: new Date().toDateString(), and Testim will compare the calculated string result of this expression. See a failed validation:
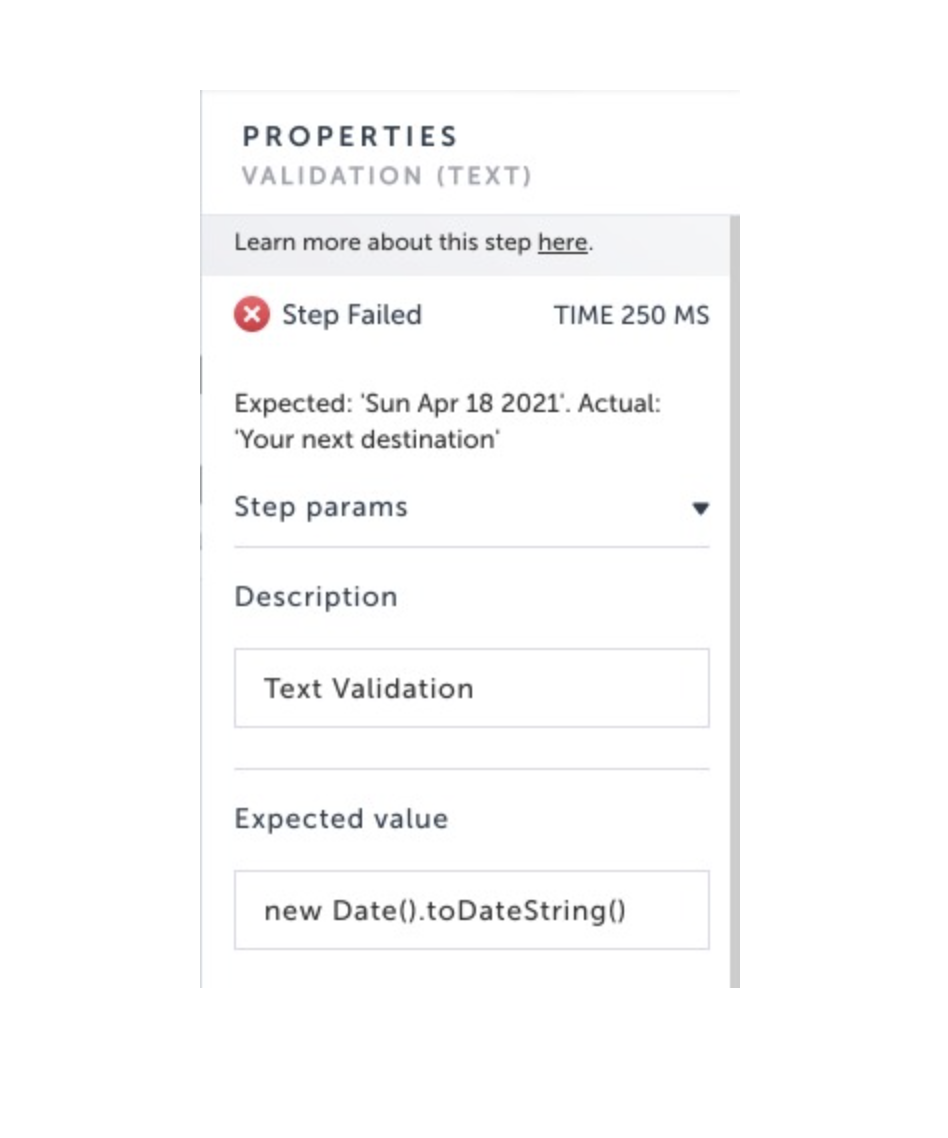
Using a parameter
You can also use parameters, which were defined in the test or suite level or were defined in the config file to validate the text element. If you use a parameter that was created in a different step, you will have to export it to the test level (more about exporting parameters).
Parameter only
There are 2 types of parameters:
HTML: Allows you to refer to HTML Elements in your app.
JS (JavaScript): Allows you do define any JS expression.
To use a parameter in the Expected Value field:
-
Define a parameter in one of the following ways:
-
Add a parameter to a Custom step (web only) - you can create a Custom step and then add a parameter to this Custom Step. For detailed instructions, see - Parameters in custom JavaScript steps.
-
Add a parameter to the test data - you can also define the parameter by adding Test Data to the Setup step (the first step of the test). For detailed instructions, see Configuring a data driven test from the visual editor
-
Add a parameter to the config file (web only) - you can add the parameter to the Configuration file. For detailed instructions, see Configuring Data Driven Tests using the Config file.
-
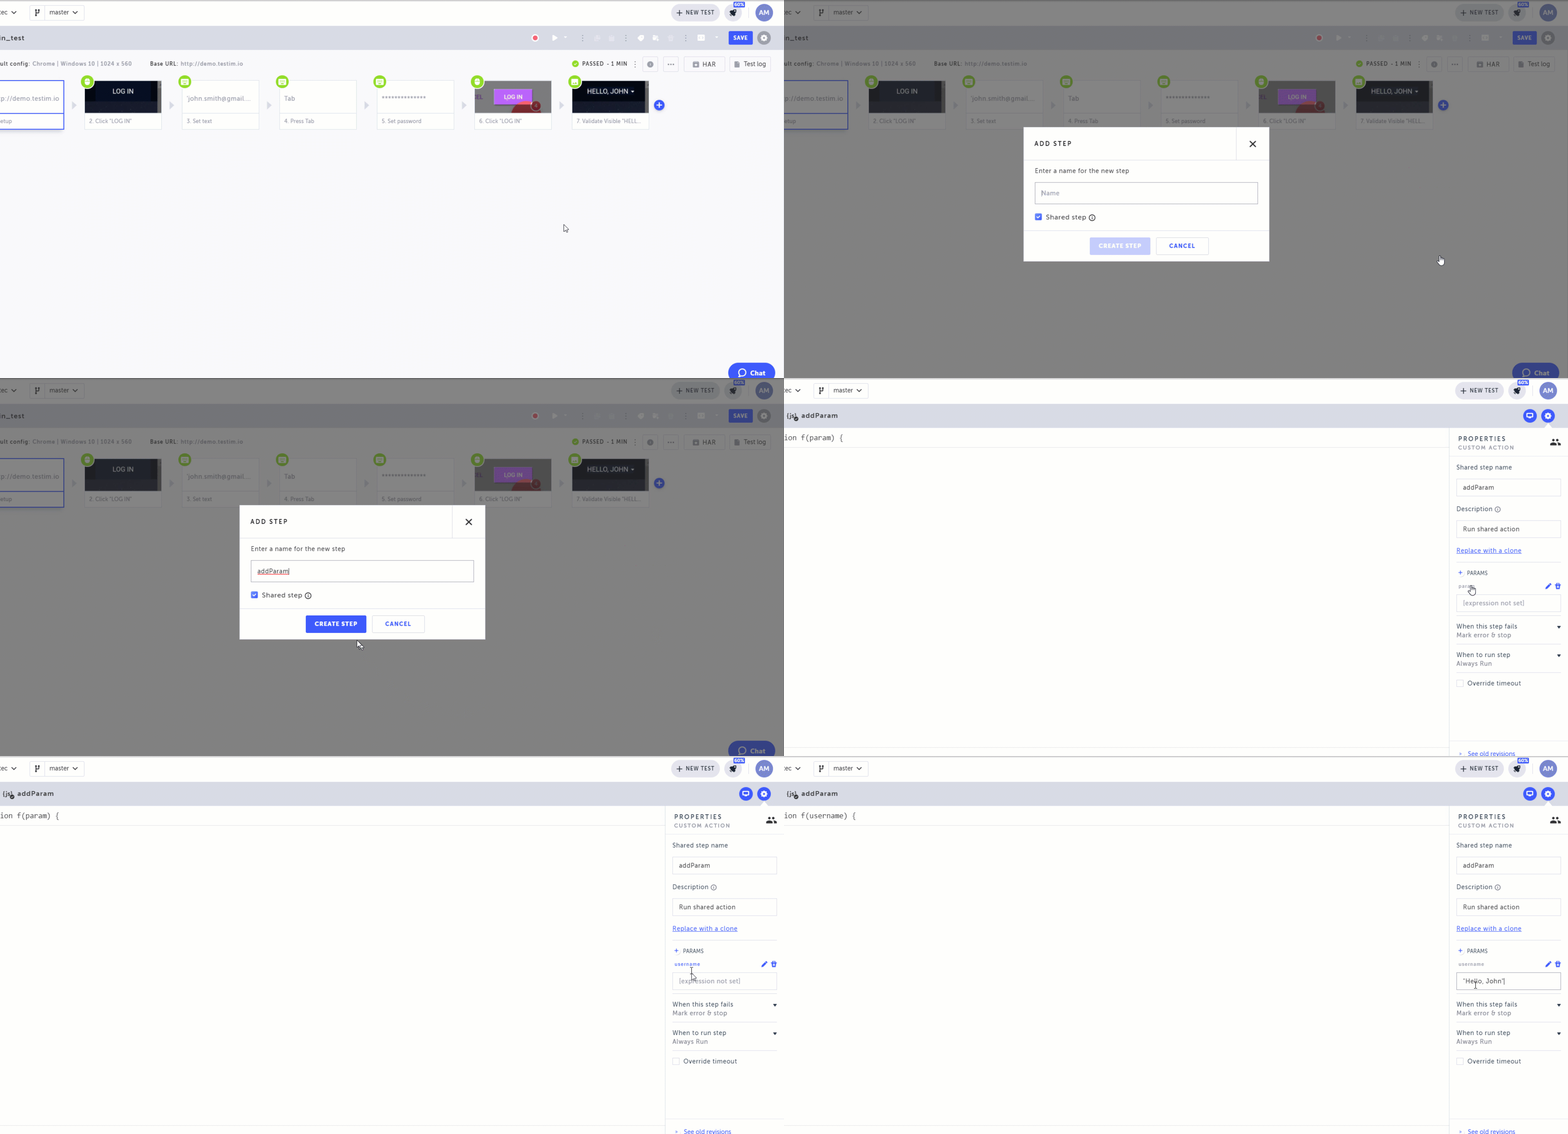
Click on the gif to enlarge
- If the scope of the parameter was define in a step level, you need to pass the parameter to the Element text validation step or to the test level, by exporting the parameter. For detailed instructions, see Exports Parameters.
For example, to export ausernameparameter with the valueHello, John, we will add a new custom action step and type the following in the editor:
exportsTest.usename= "Hello, John"
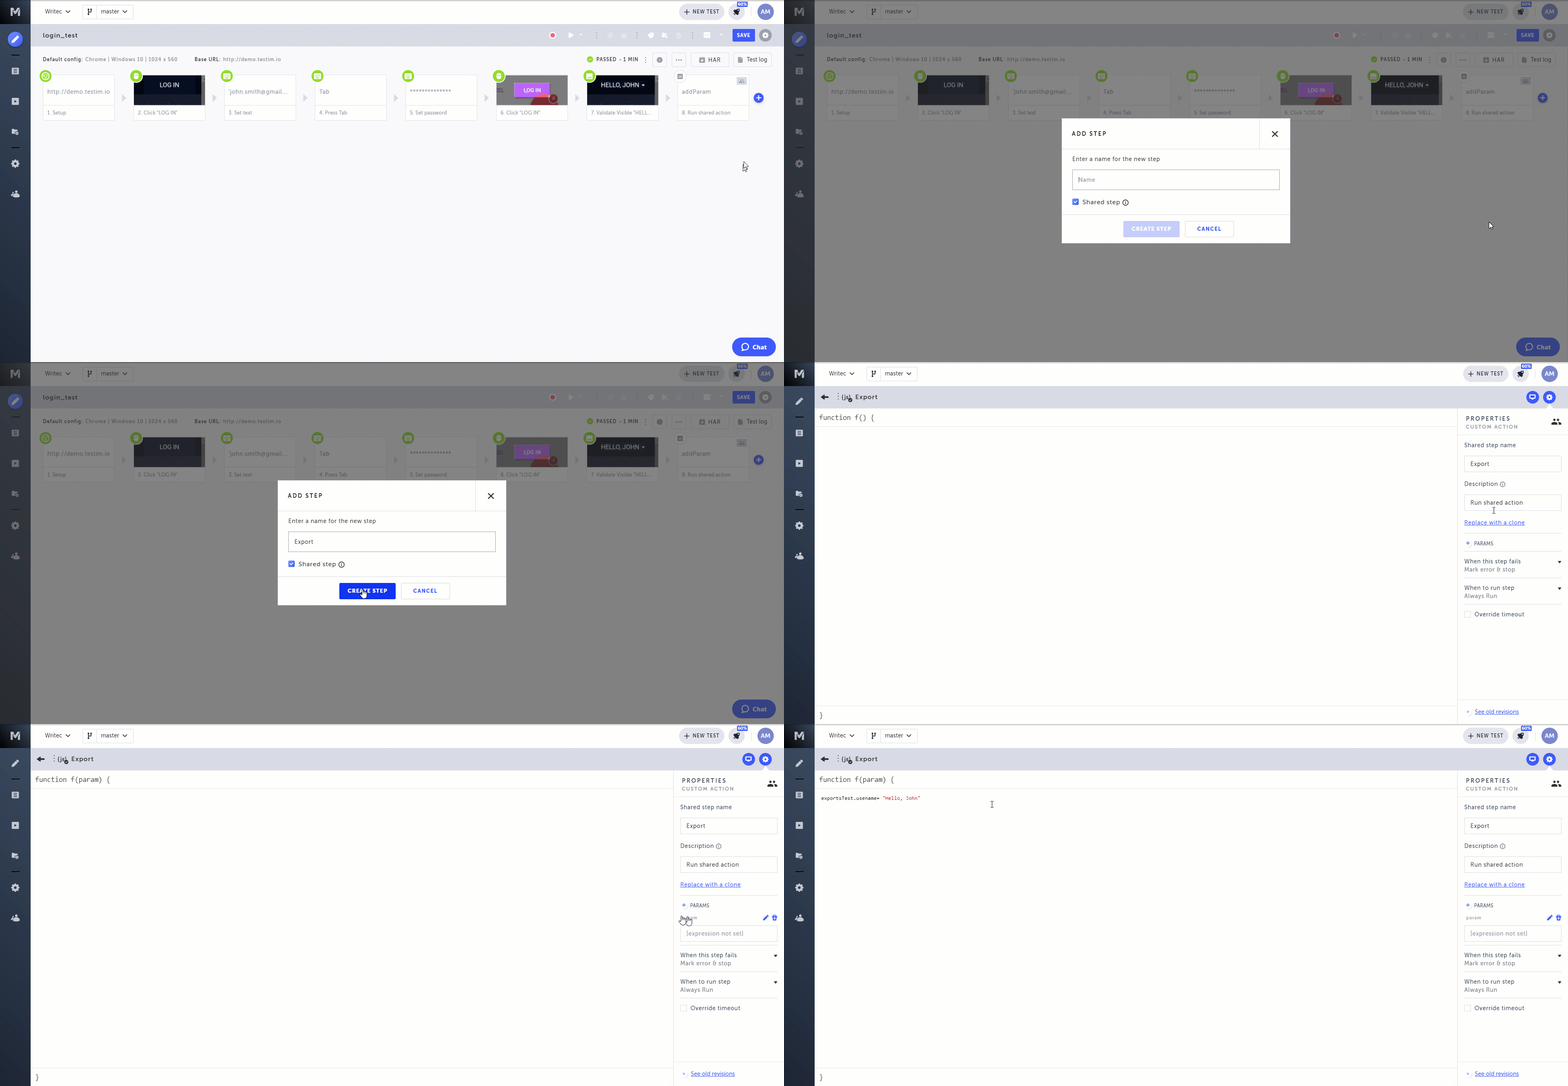
Click on the gif to enlarge
- Create an Element text validation step and add the parameter to the Expected value field.
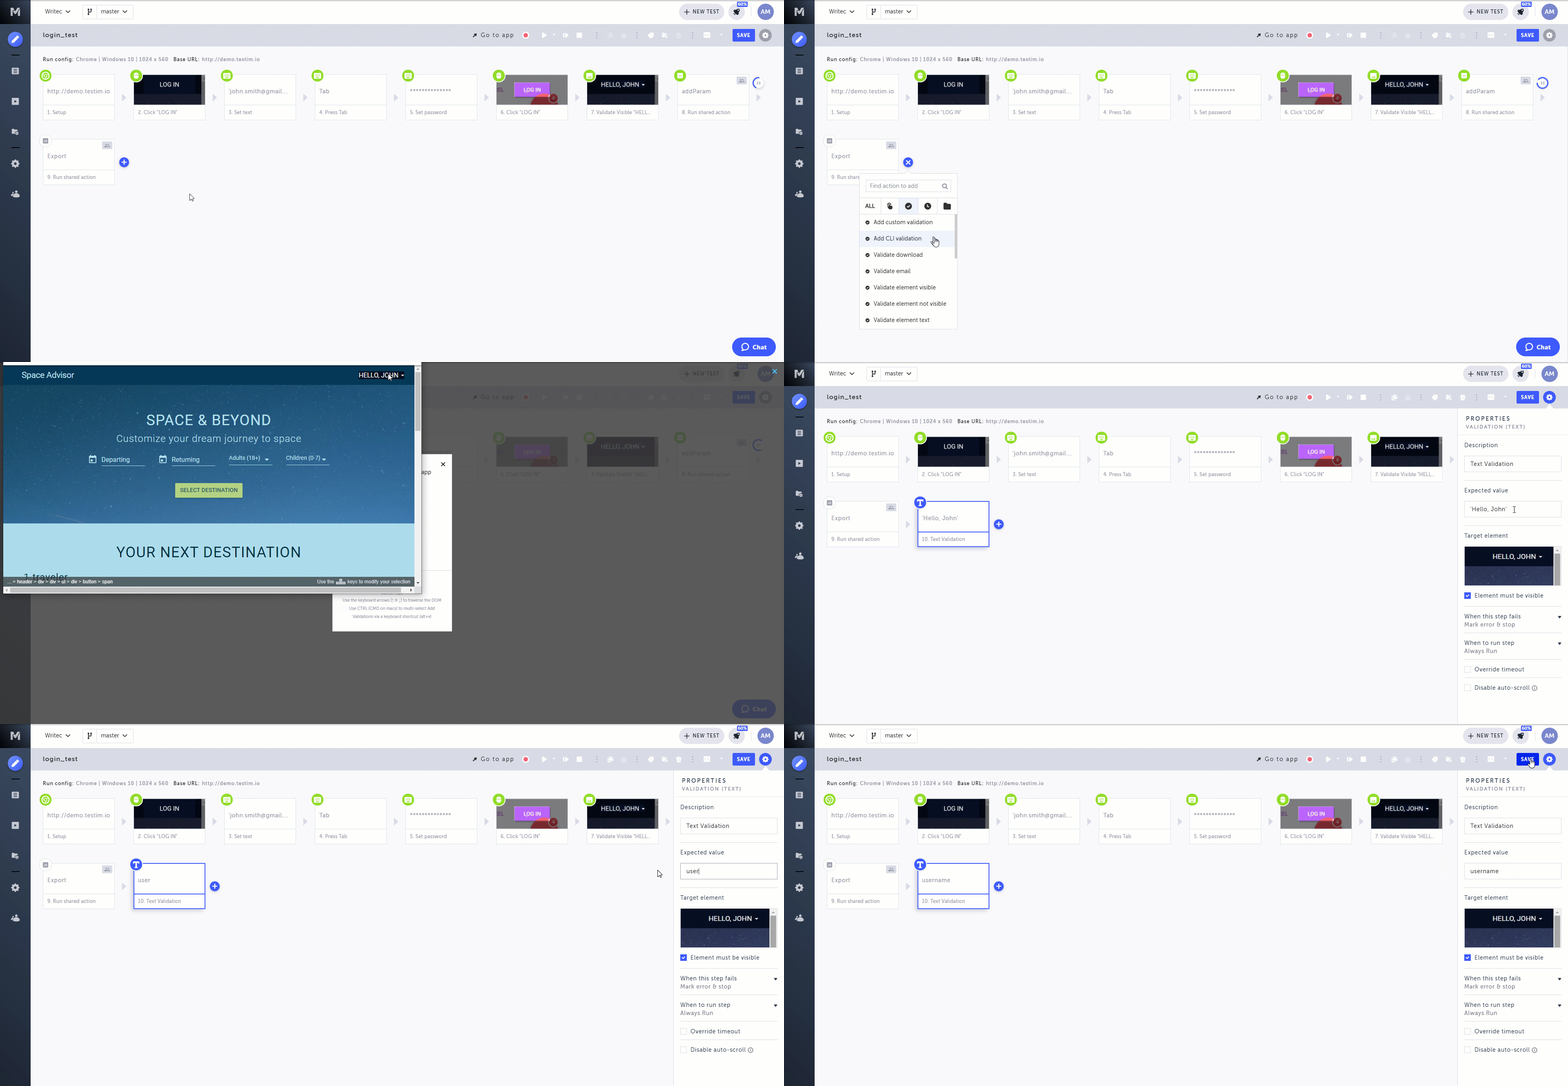
Click on the gif to enlarge
After running the test you will see that Element text validation step will match the expected parameter value.

Click on the image to enlarge
You can also combine the parameter with an exact string by adding a '+' between them. For example, instead of setting the username parameter value to Hello, John, we can define it as John and then specify the Expected Value as:
`'Hello ' + userName
Combining a parameter with Regex.
It is possible to combine the parameter and with Regex by defining a regex function in the Expected value field.
For example a combination that start with the parameter will look like this:
new RegExp("^" +userName)
A combination that ends with the parameter will look like this:
new RegExp(userName+"$")
Updated about 1 year ago
