
TTA for Salesforce Branch Management
Testim/TTA for Salesforce branch management feature is similar to the general Testim branch management feature, except for some key differences. For more information about about the general Testim branch management, see Branch Management.
Using TTA for Salesforce Branches
- As a starting point, each project is composed of a single "main" branch.
- You can create additional branches and switch between branches at any time and modify tests within a branch as you like. Modifications in one branch will not affect other branches. To create a new branch, see Creating a branch. To switch between branches, see Switching Branches.
- Each branch can be associated with a single Salesforce environment. This means that as part of the development of the test, you can associate the same branch to different environment, moving it from one environment to another (e.g. from QA environment, to Staging environment, to Production environment). To change environment in a branch, see Changing the Salesforce Environment of a branch. Although it is not mandatory to associate the branch with a Salesforce environment, to use Salesforce related steps (e.g., Login step), you will need to perform this association.
- Each Salesforce environment is associated with one or more branches. The association is done through the configuration of the branch itself. To create a Salesforce environment, see Connecting a Salesforce environment.
- At a certain point you may want to merge between branches (e.g. merging a feature branch into the Main branch). To merge branches, follow the instructions in the Merging Branches section.
Creating a branch
To create a new branch:
-
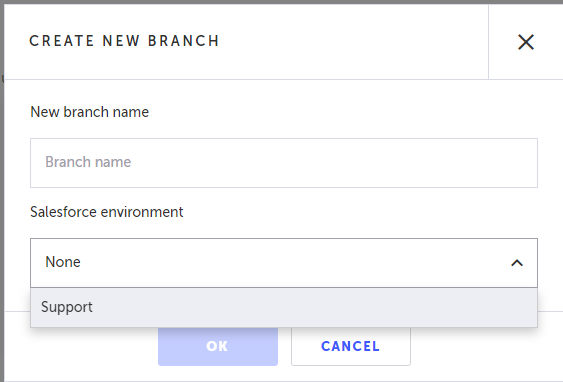
Click the Create New Branch (fork icon) button in the menu.

-
In the Name field, enter a name for the branch.
-
In the Salesforce environment field, associate the relevant Salesforce environment to the branch. Although it is not mandatory to associate the branch with a Salesforce environment, to use Salesforce related steps (e.g., Login step), you will need to perform this association.
-
Click OK.
Changing the Salesforce Environment of a branch
To change the Salesforce environment of a branch:
-
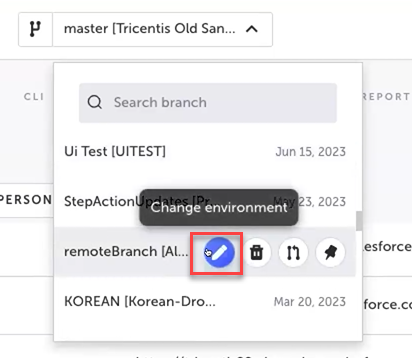
Click the Branches drop-down menu at the top to see the list of branches.
-
Click the Change environment button on the desired branch.
-
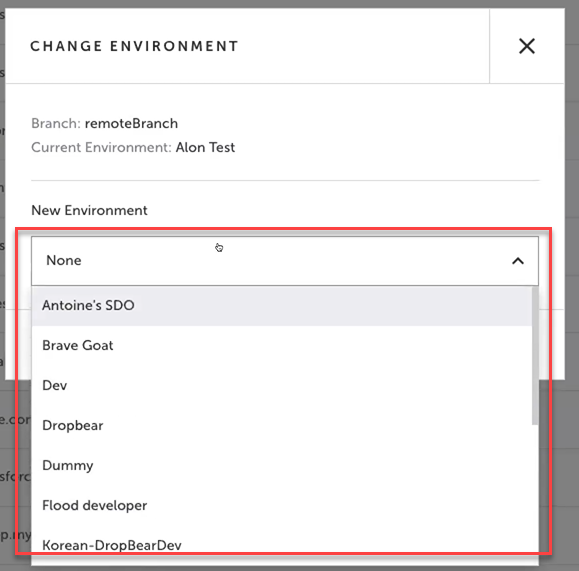
In the Change Environment dialog, under New Environment, select the desired environment from the drop down menu.
-
Click Save.
Updated 4 months ago