
Creating a Salesforce test
Salesforce tests connect to your connected Salesforce environment and carry out the user journey that you would like to test. The test includes a series of Steps, each representing another interaction with the Salesforce application.
Types of Steps
There are two ways to add steps to tests:
- Manually adding steps - you can add steps manually. The steps are organized in the following categories:
- Salesforce steps - steps that are specific to the Salesforce application usage. Salesforce steps are deeply integrated into the Salesforce application, enabling the performance of multiple actions within a single step and/or the ability to display and configure Salesforce objects, such as forms, within Testim/TTA for Salesforce application. For more information, see Salesforce Steps
- Predefined steps - general steps that are related to the testing of a web application. For more information, see Manual Steps
- Shared steps - steps that are shared between multiple tests within a certain Project. For more information, see Shared Steps.
- Recording steps - after clicking the Record button, a browser opens displaying the Salesforce application (which is the base URL). Every interaction, such as every input, click, etc., is automatically turned into a step in the test. Recording of steps is useful also in cases when the Salesforce steps cannot be used due to extensive customizations done in the Salesforce environment.
It is possible to combine the two methods - adding some of the steps manually and then recording additional steps, and vice versa.
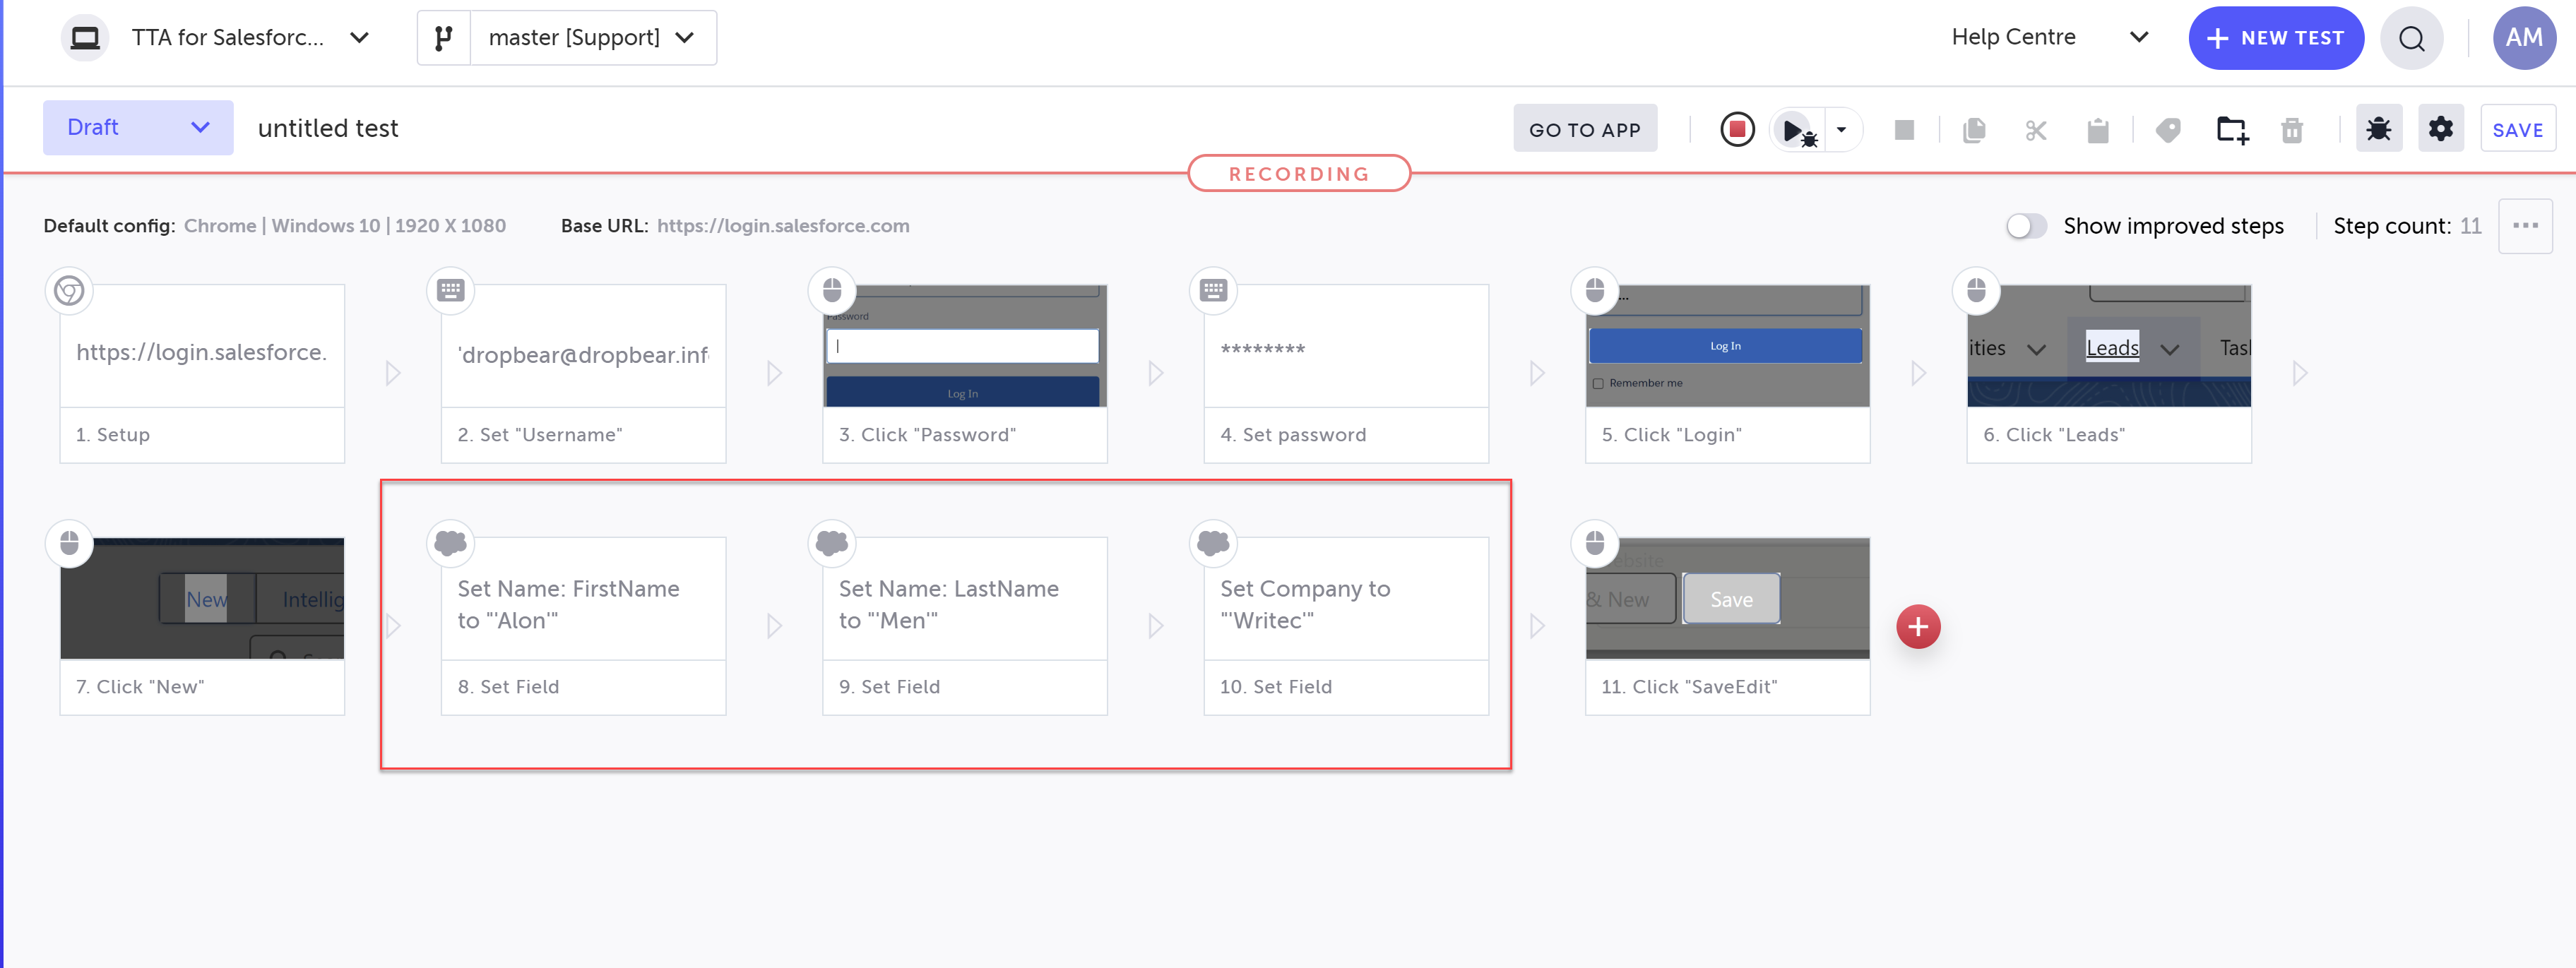
Setup Step
The first step of the test is the Setup Step. This step defines the Base URL of the test. By default, this URL is a generic URL of the Salesforce homepage (https://login.salesforce.com), which is resolved to the specific URL of your connected environment. After the setup step you can record additional steps and/or add them manually.
Selecting a Persona
In the Personas screen (see example below), you can configure for each persona (rows), different login credentials for each environment (columns). When you create a Salesforce test, you can select any persona defined by you in the Salesforce Login step. This persona has a login credentials configured for the environment in which the test was first created. However, if at some point you want to change the environment of this test (see Changing the Salesforce Environment of a branch) you will not need to select different login credentials in the Login step, because the system automatically allocates the relevant credentials for the newly selected environment based on the Personas screen configuration. So there is no need to re-write the test when you want to use a different environment.
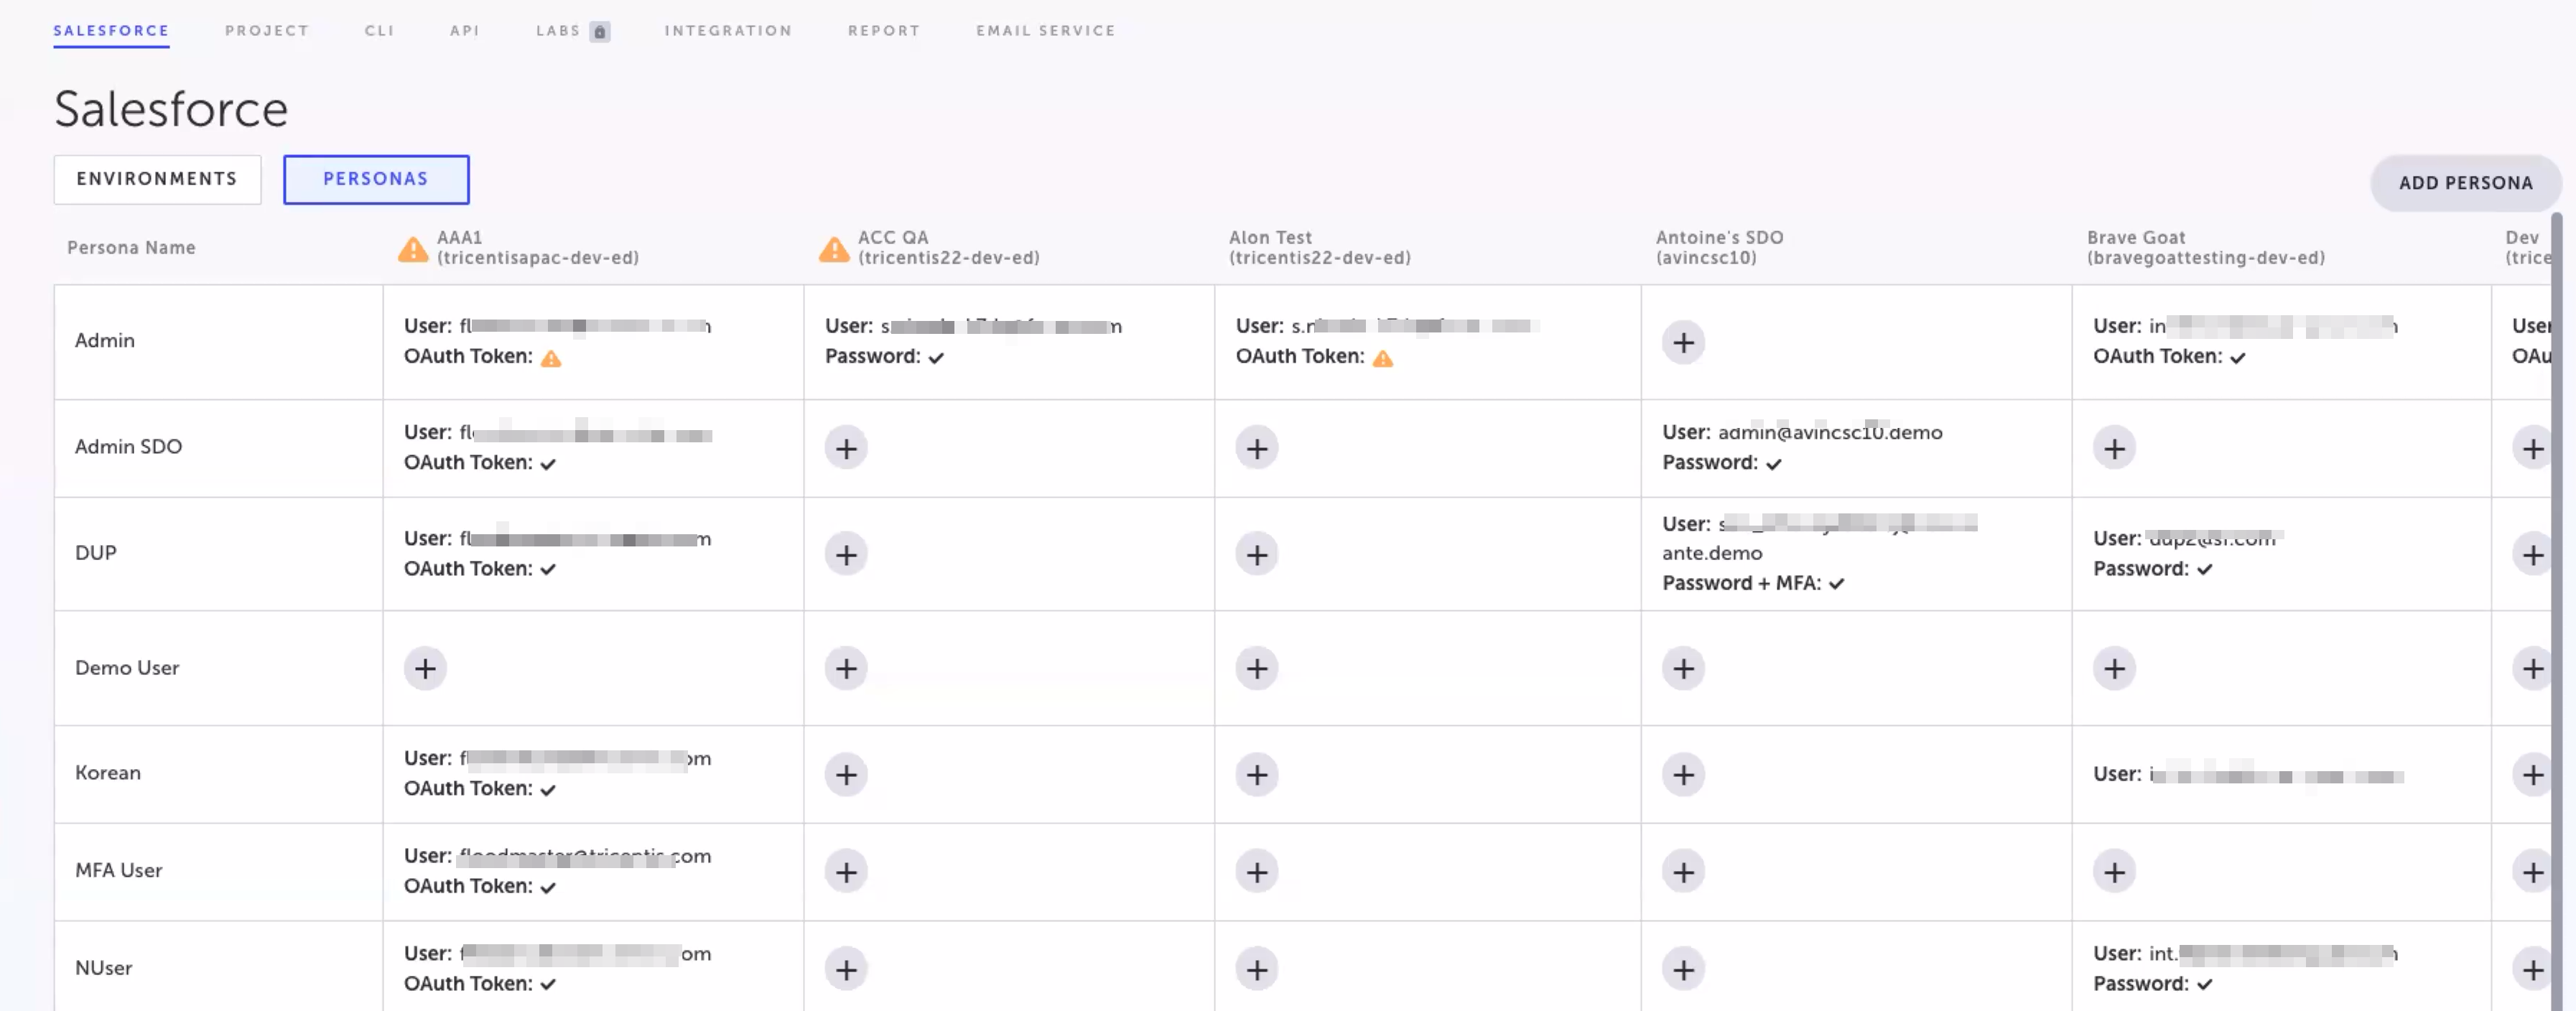
Personas screen - the rows list personas and the columns list environments
Prerequisites:
- Download and install the Testim Extension - Why do you need Testim extension?
- Connect your Salesforce test environment to Testim/TTA for Salesforce.
- Create a persona.
Creating a Salesforce test
To create a new test:
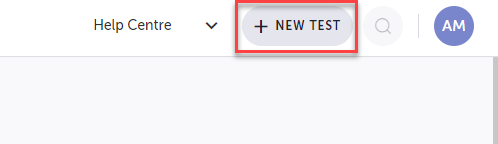
- In your Testim/TTA for Salesforce account, go to Settings > Salesforce and click New test in the top right corner of the screen.
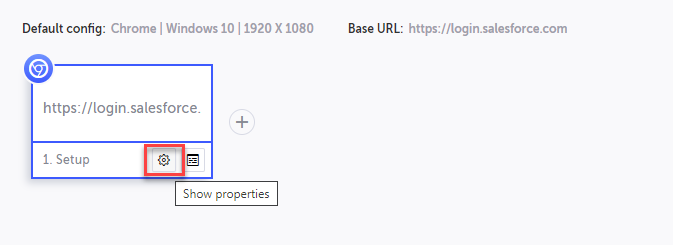
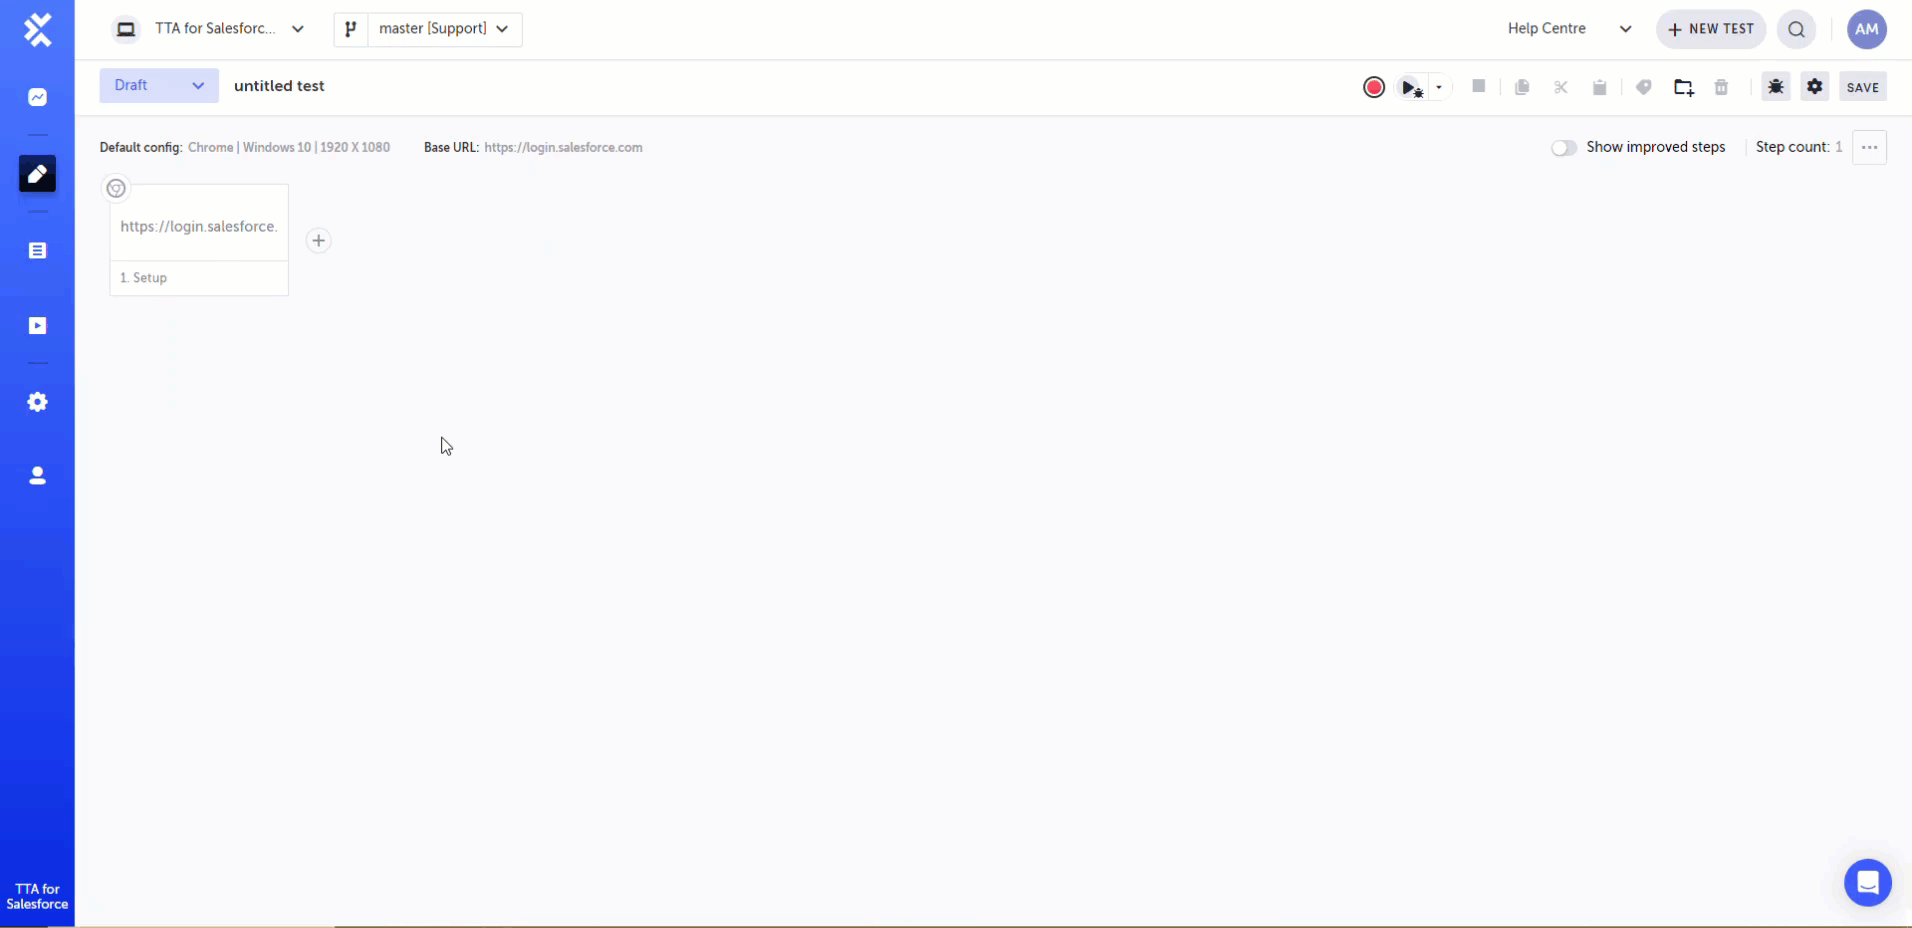
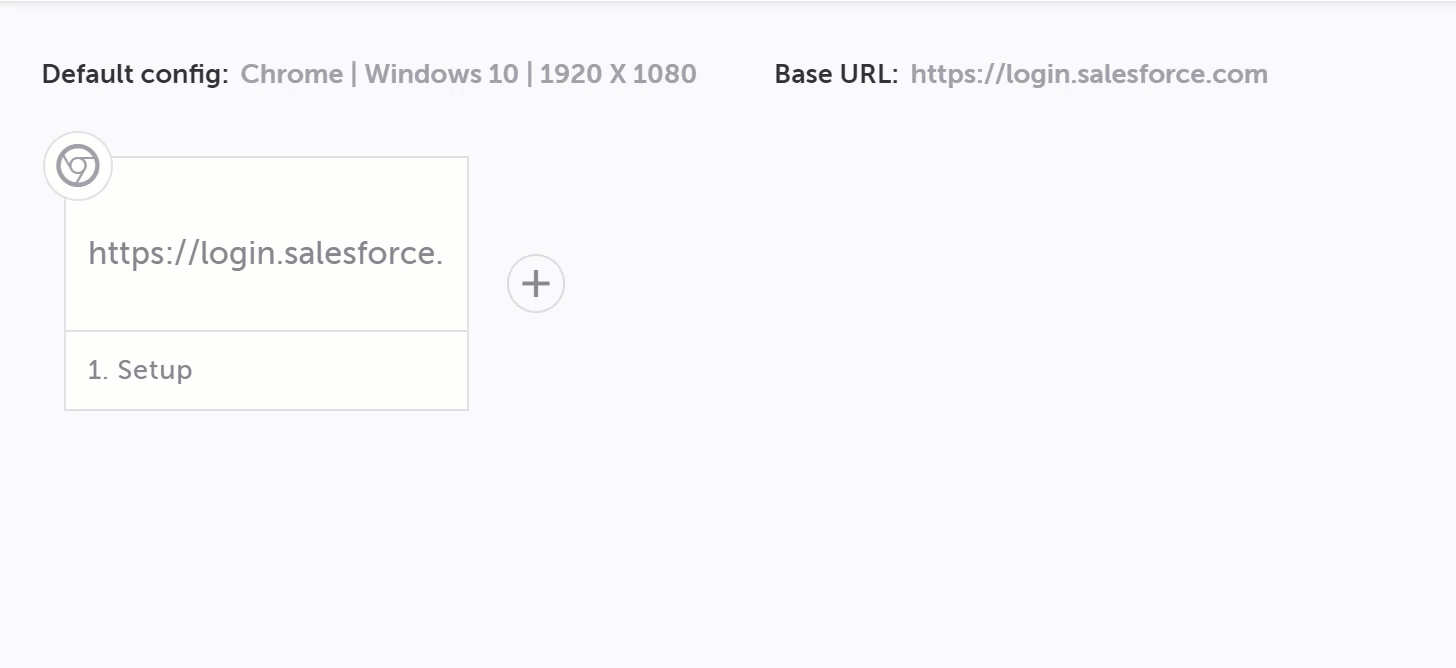
A new test is displayed with the default Setup Step. - You can modify the step's properties by clicking the Show Properties icon and then editing the desired setting in the Properties Panel.
The Setup Step includes the following properties:
| Parameter | Description | |
|---|---|---|
| Base URL | By default, the URL is a generic URL of the Salesforce homepage (https://login.salesforce.com), which is resolved to the specific URL of your connected environment. However it is possible to manually input a different Base URL. For example, you may enter a URL of a web page (not Salesforce) and then once Login step is executed, the test will connect to the related Salesforce environment. . | |
| Test name | Enter a name for the test. By default, the test is saved as 'untitled test'. | |
| Test description | Enter an optional description for the test. | |
| Test owner | By default the test owner is the user that created the test. Click to optionally select a different user from the list. | |
| Mock network | Testim offers the ability to mock network traffic of the Application Under Test (AUT) as part of a test. During the test run, instead of performing real calls, the system will intercept the call and will return a mocked response. For more information, see Mock Network Responses. | |
| Salesforce options | Enable the Log screenshots option if you want to include screenshots of steps in the Salesforce Log. This is only available for Salesforce steps, which perform multiple actions in a single step. The screenshots of Salesforce Steps include all the various actions of the step. To view the Salesforce Log, after running the test, click on the step's View Screenshot button and then click the Salesforce Log tab. For performance reasons it is not recommended to enable this feature unless needed. | |
| Configuration | A test’s configuration determines the system specifications used to run the test. If you want to change the test configuration, click Choose Other to select an existing test configuration or click the Edit button to create a new one. For more information, see Test Configuration | |
| Test in TTM for Jira | Tricentis Test Management (TTM) for Jira is an end-to-end test management inside Jira that keeps QA and development aligned, which allows you to collaborate and build quality into your software from idea to production. For more information, see TTM for Jira Integration | |
| Test Data | The Test Data is used for data-driven testing. For more information, see Configuring a Data-driven Test From The Visual Editor. |
Adding Manual Steps
Manual steps can be either Salesforce steps, Predefined steps, or shared steps.
To add a step manually:
- After the Setup step, hover your mouse on the + button.
- Click the Add Steps button.
- Click the desired tab - Salesforce steps, Predefined steps, or shared steps.
- To search for a step, start typing its name in the search box to narrow the list.
- Click the desired step from the list.
If it is a Salesforce step, the Properties pane is displayed on the right. The pane includes two tabs:
Object - displays the Salesforce object properties for the step. These properties may include mandatory properties that require configuration.
Properties - displays additional optional properties related to the behavior of the step.
Best Practice - Variable Naming Convention
To automate the deletion of Records created during the execution of a testcase or suite, when creating variables in the test, follow the instructions in Best Practice - Variable Naming Convention for Easy Cleanup.
Recording Steps
The Recorder can be used to add steps automatically, while interacting with the AUT (Application Under Test). This method is especially useful when adding specific steps that are not included in the Salesforce steps and/or a case where the environment is highly customized, so that the Salesforce steps are not supported. The recorder offers two modes of operation:
-
Salesforce mode - in this mode, which is indicated by a cloud icon on the recorder (see below), the recorder performs Salesforce steps, which enable the performance of multiple actions within a single step. This mode may not work if your Salesforce environment has been widely customized. In such cases, it is possible to fall back to the Web mode and record all the individual actions/steps. The steps created using this mode are marked with a cloud icon (see below). To revert to Web mode, click the cloud icon on the recorder.

Recorder in Salesforce mode
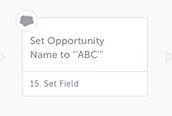
Step recorded in Salesforce mode
-
Web mode - this is the regular mode of the recorder, which is indicated by a crossed out cloud icon on the recorder (see below). In this mode every interaction (e.g., click, scroll, add text, etc.) is represented by a separate step. To revert to Salesforce mode, click the cloud icon on the recorder.

Recorder in Web mode
When you should turn off Salesforce mode
If you notice that the recorded steps are not appearing in the editor, you should turn off Salesforce mode by clicking on the cloud icon.
To record steps using the Recorder:
-
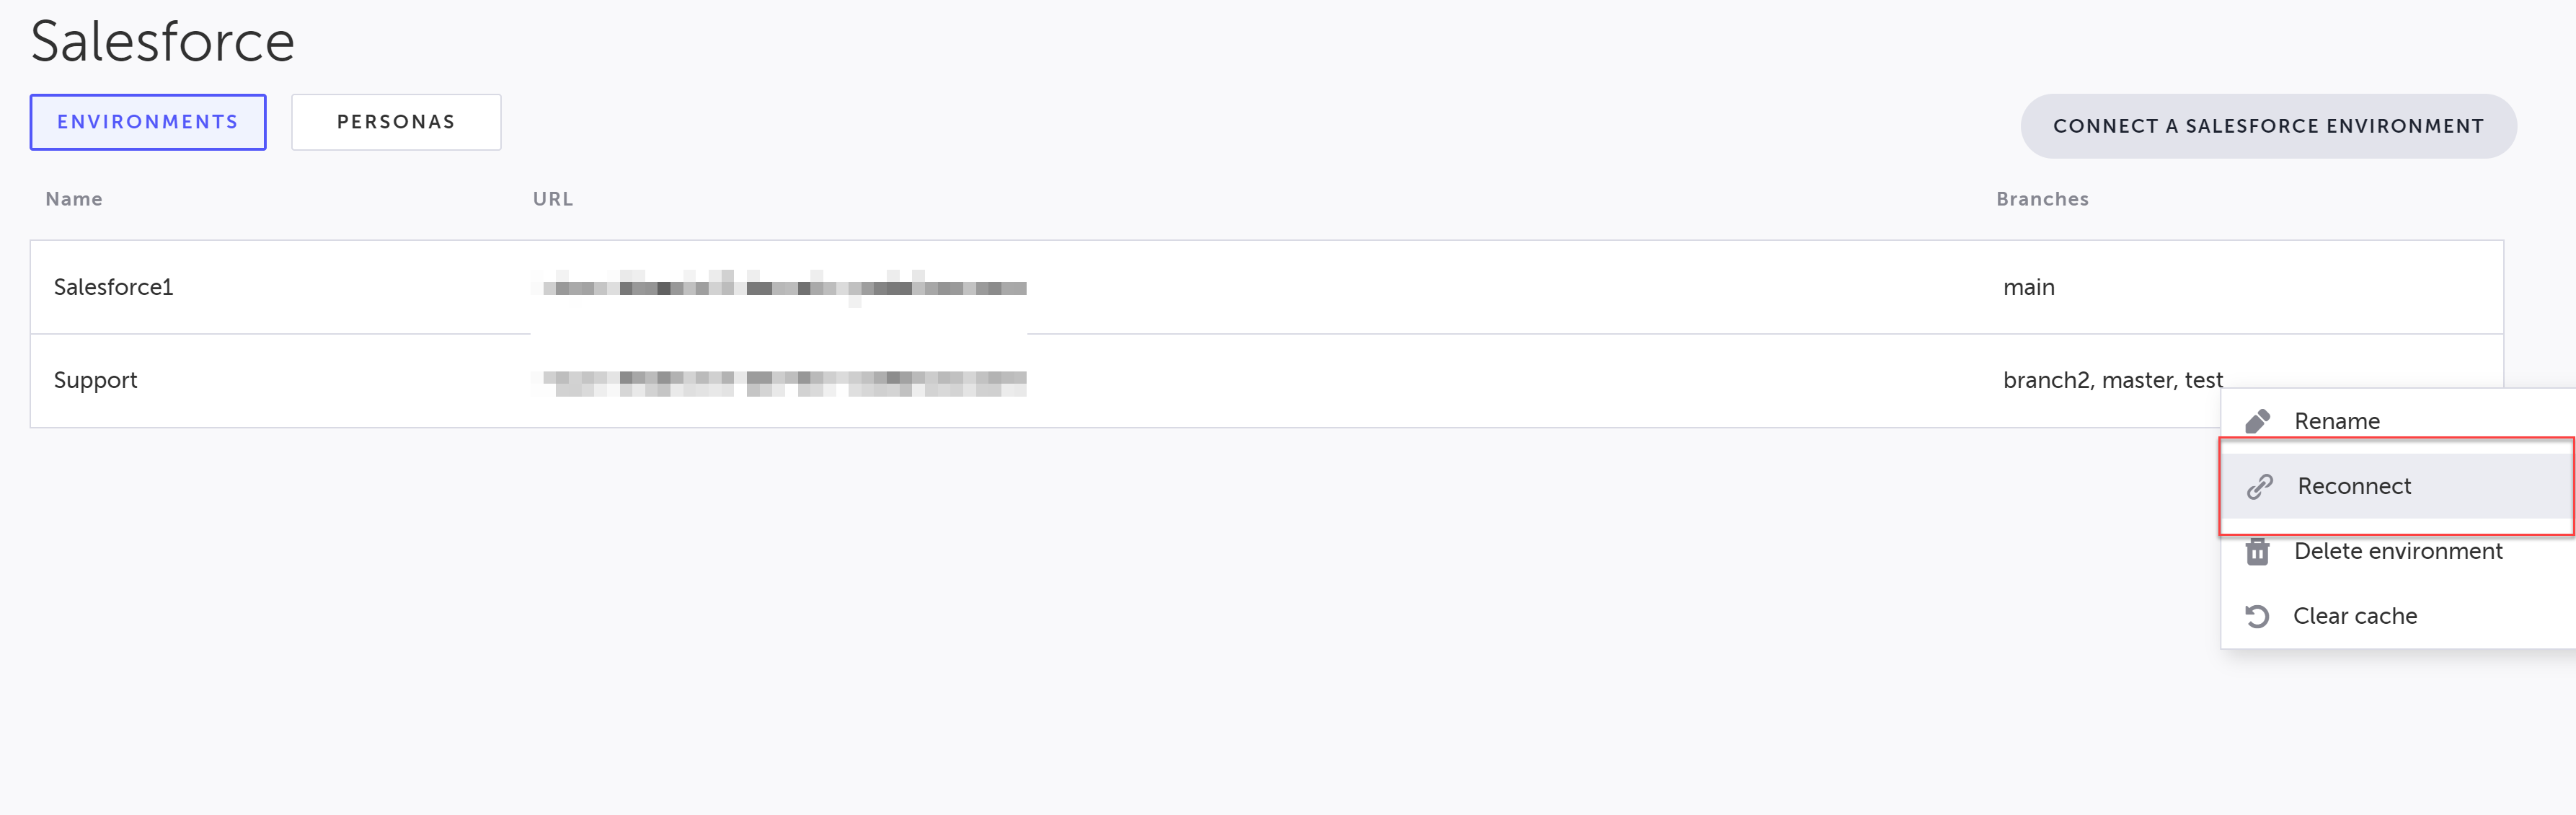
Before you begin, make sure your Salesforce environment is connected. To ensure connection, go to Settings.
-
Under Environments, hover your mouse over the relevant environment, click the Environment Actions menu and select Reconnect.
-
Select the type of environment from the drop down menu and click Connect.
A login window is displayed.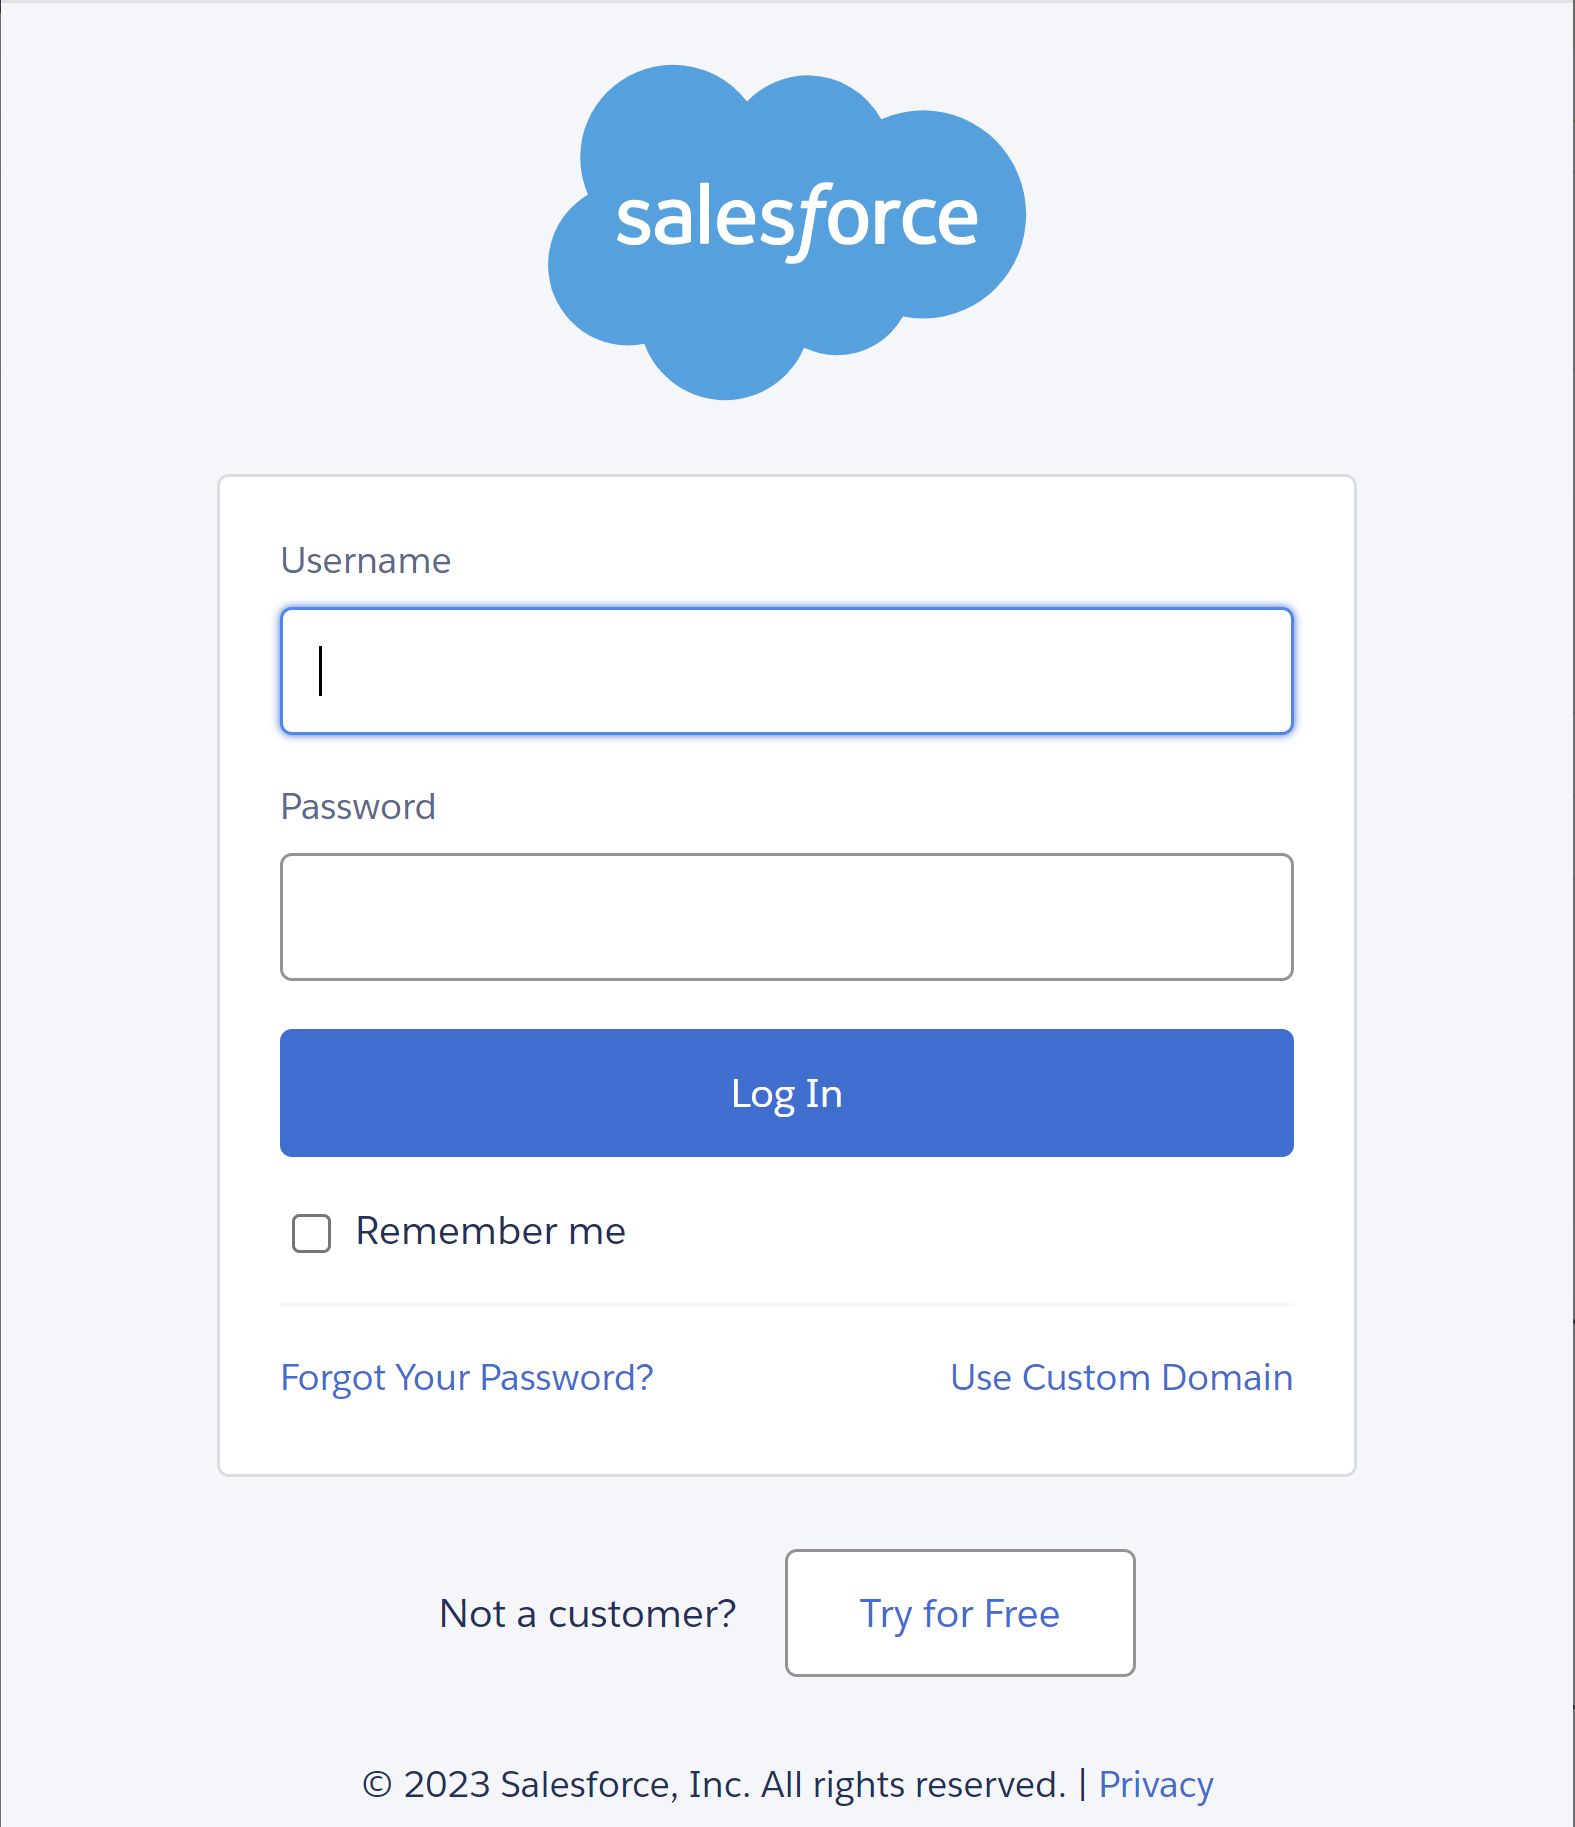
-
Login to the environment.
-
In the test, hover your mouse on the + button next to the desired step and click the Record button.
Another browser instance opens with the login page. Notice that at this point the recorder icon does not include the Salesforce mode.
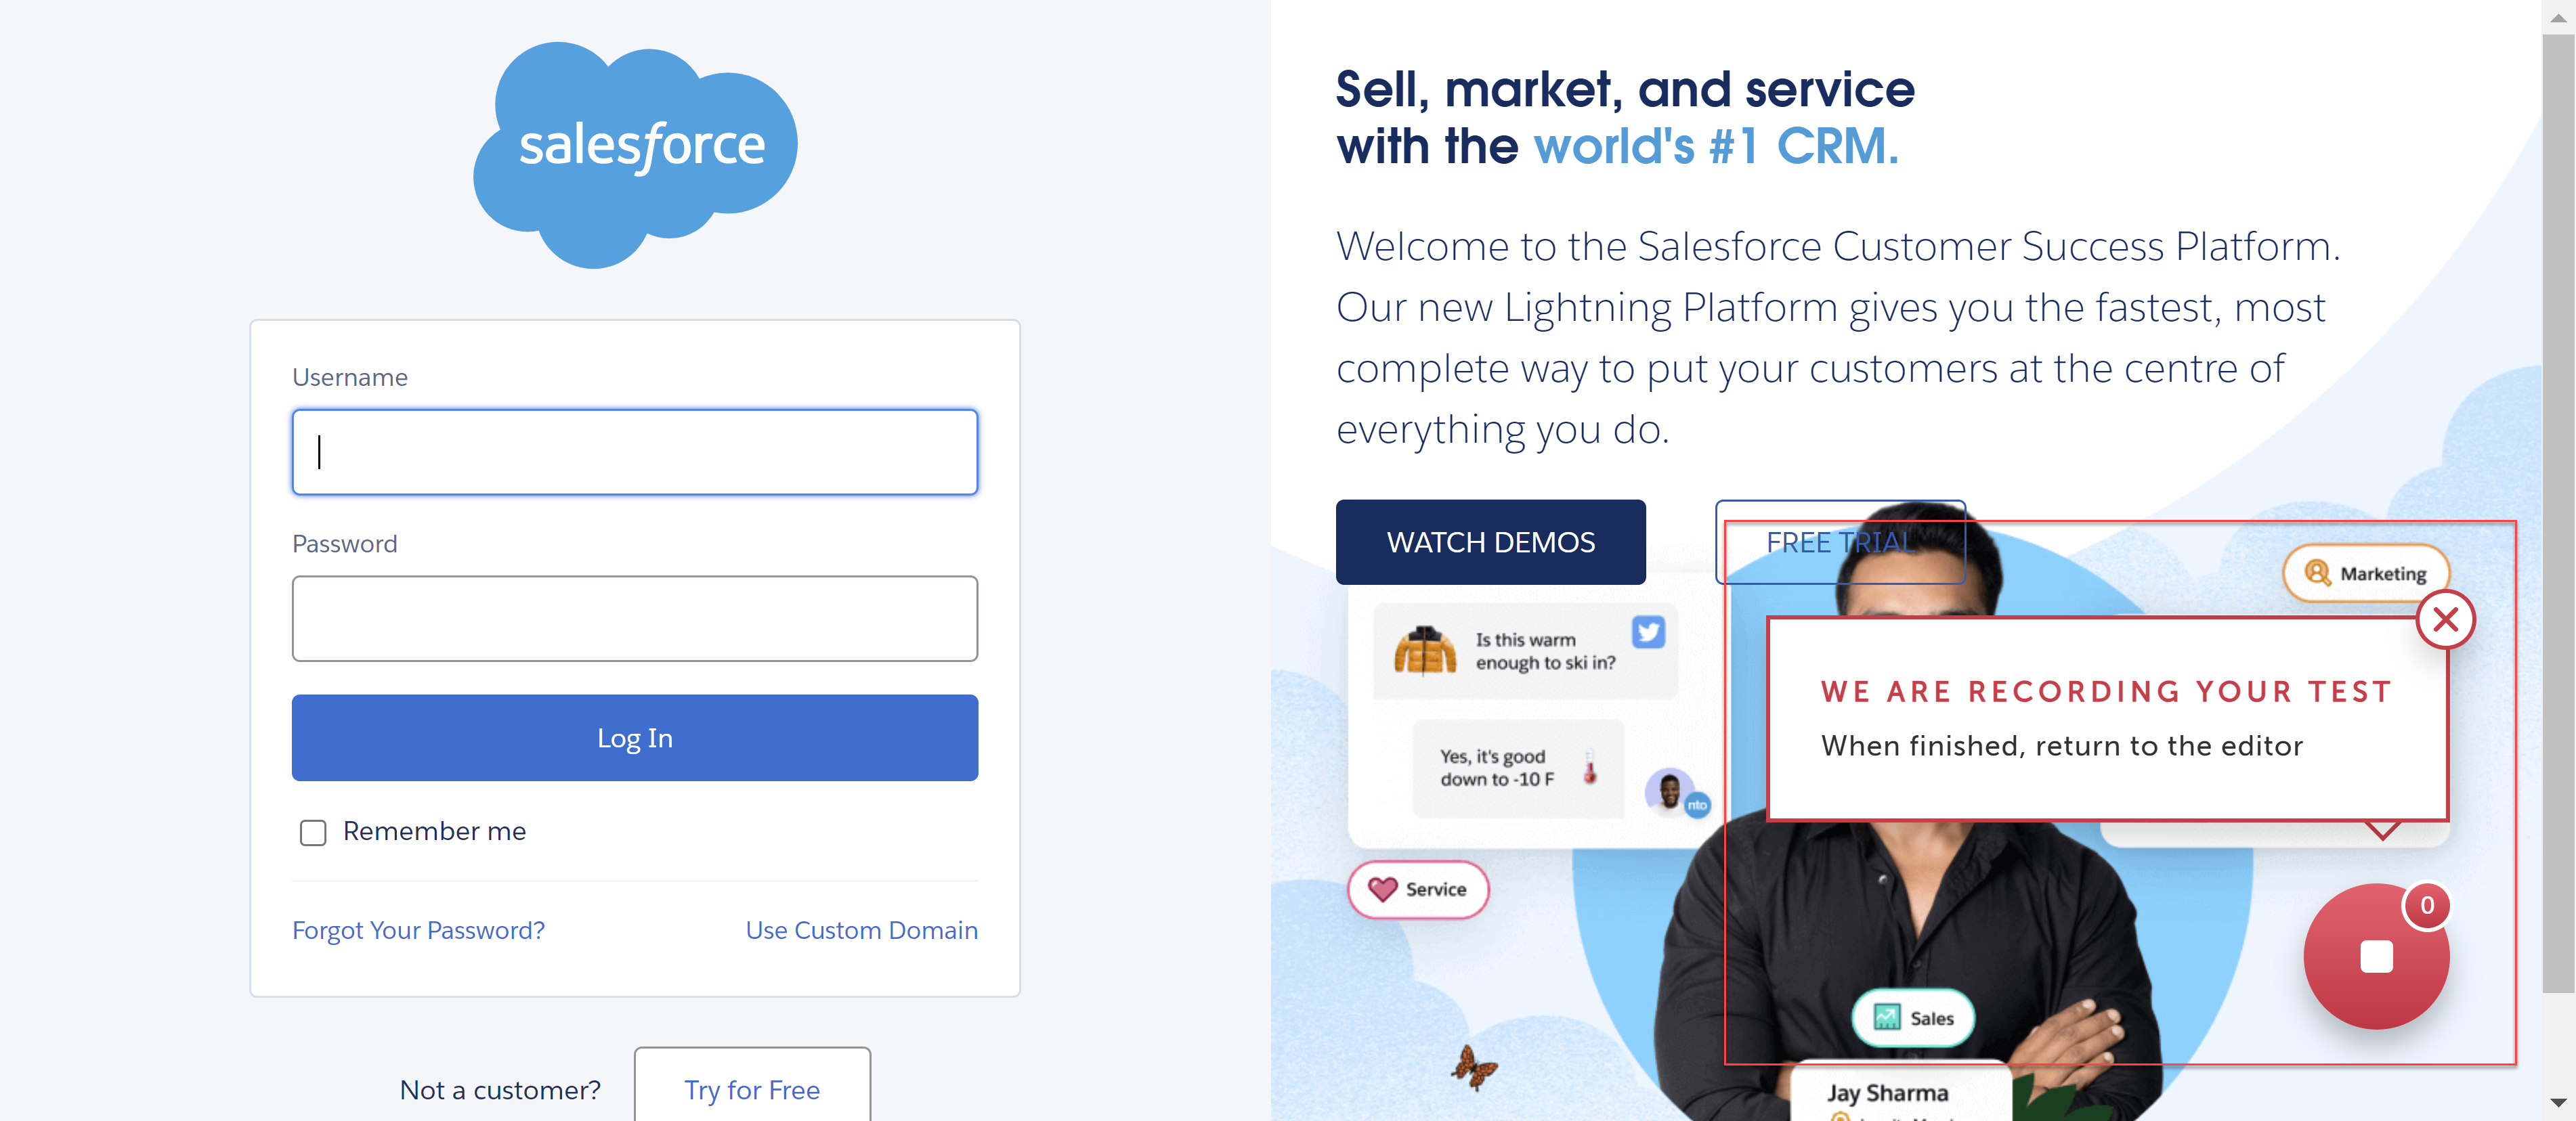
-
Login to your Salesforce environment.
After logging in the recorded automatically is enabled in Salesforce Mode. This means that the interactions with the application generate Salesforce steps, wherever relevant.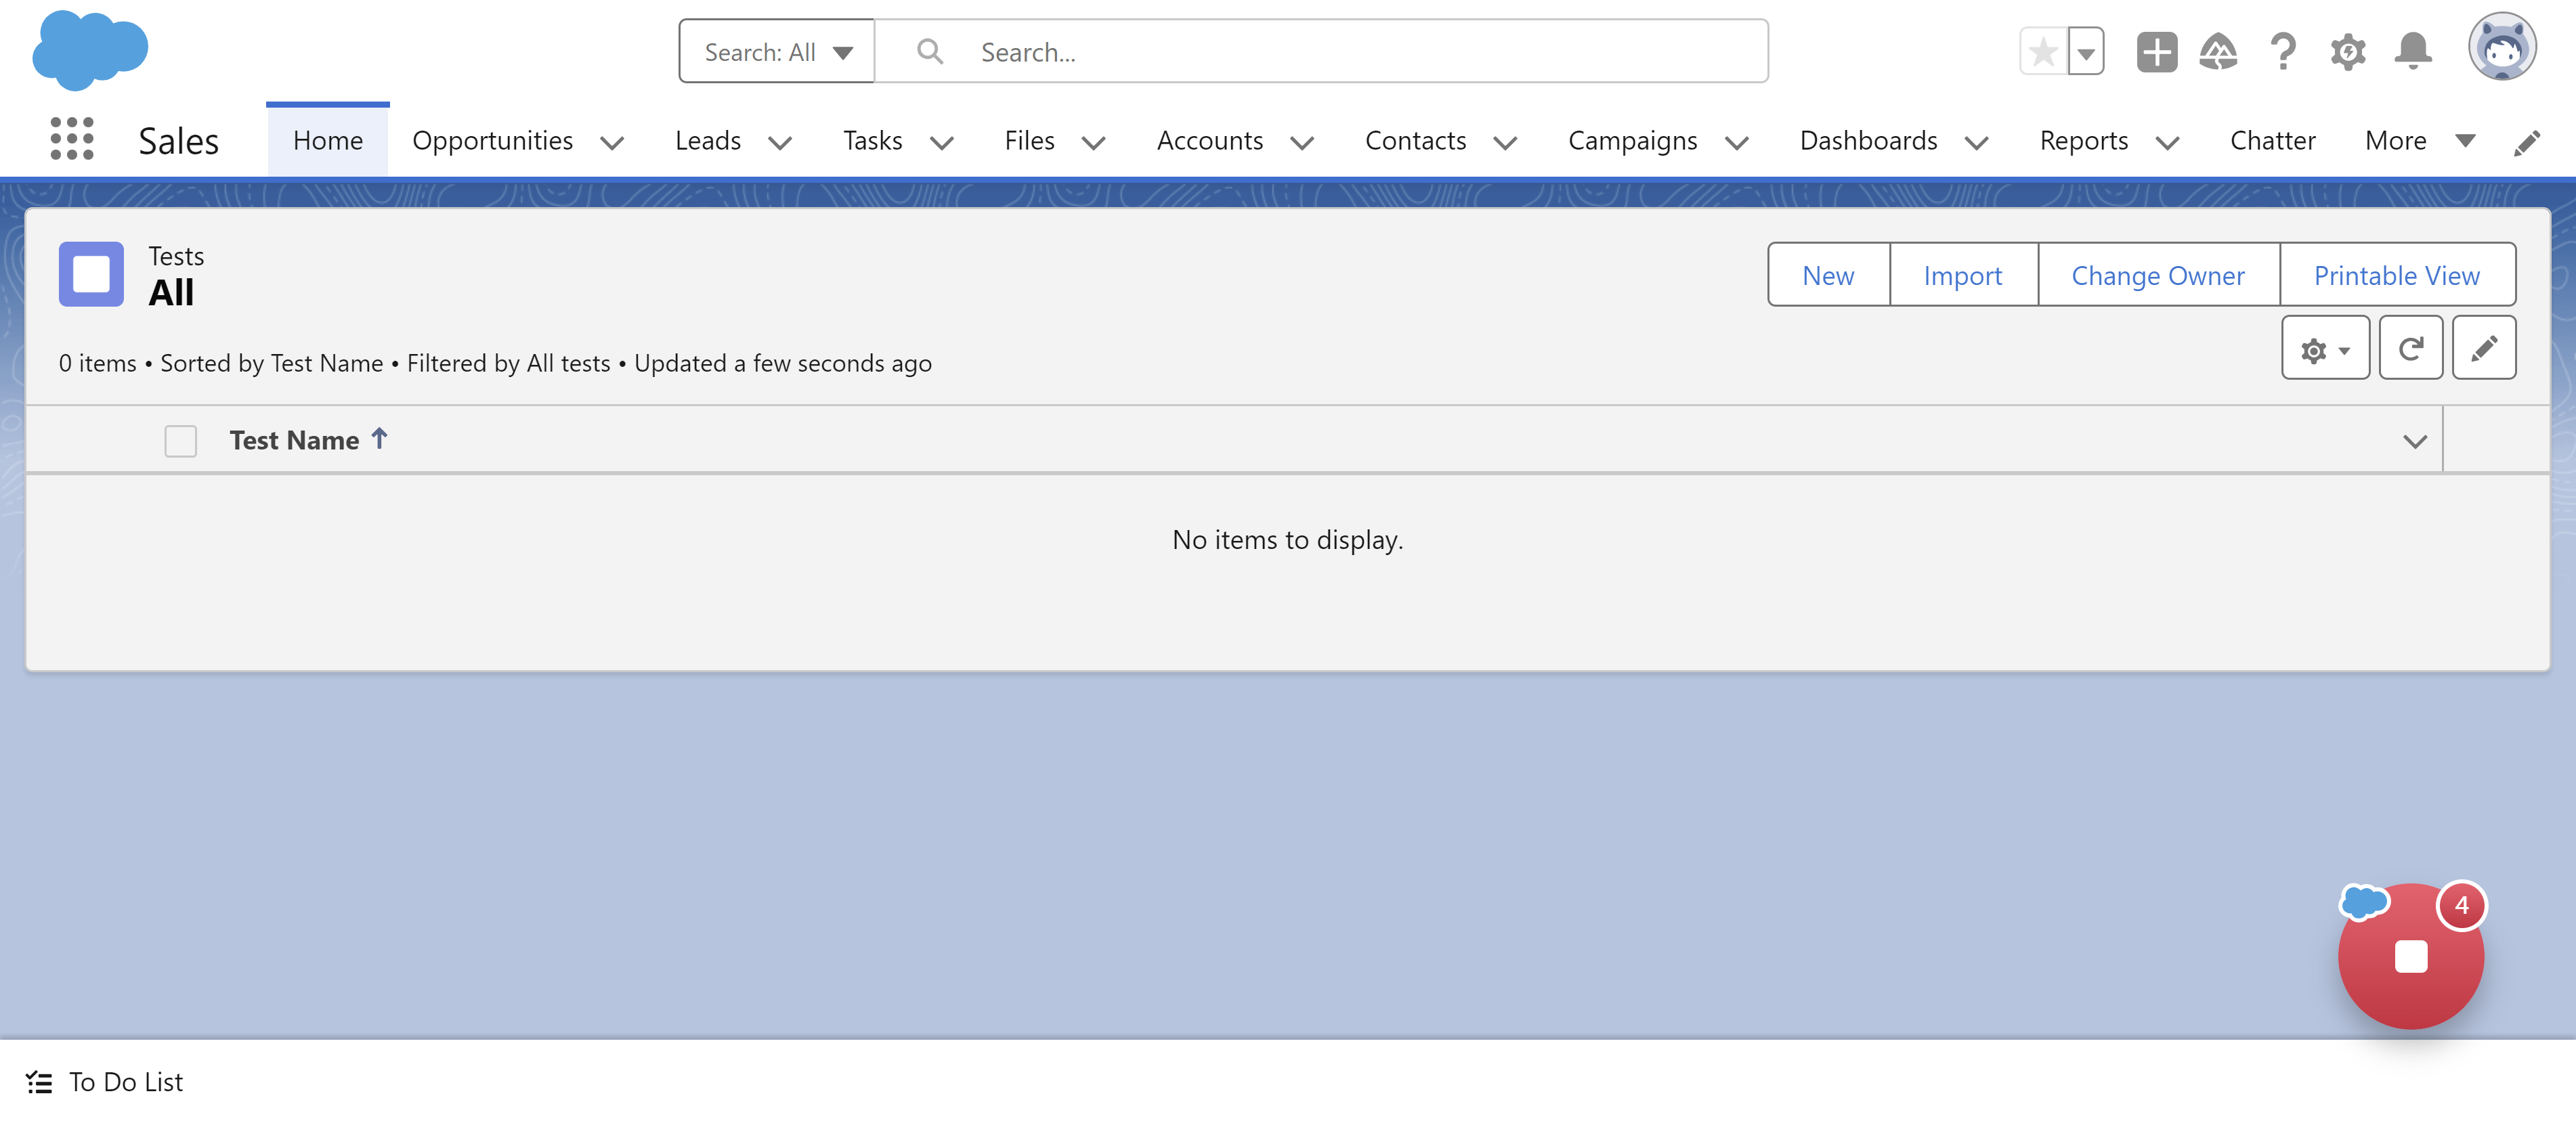
-
Interact with the Salesforce application to generate steps.
-
When done creating the test, click Save.
Updated 2 months ago