Project settings
Learn where to change your project settings (name, default URL, Personal CLI and more)
On the Settings > Project tab you can modify general settings for your project and also change your pull requests settings.
General Settings
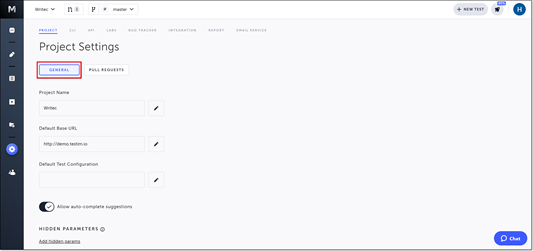
On the General tab you can modify general settings related to your project including its name, the default base URL, and the list of hidden parameters for the project. You can also toggle on/off the auto-complete suggestion feature.
Project Name
The project name is the name applied to your overall project. Only the project owner or the company owner can edit the project name.
To edit the project name:
- On the Settings > Project page, click General.
- In the Project Name section, click the Edit button (pencil).
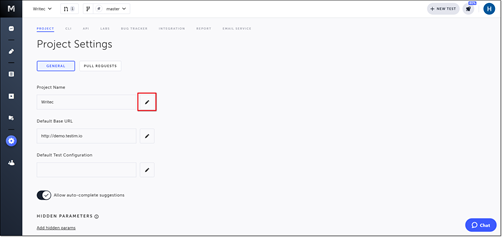
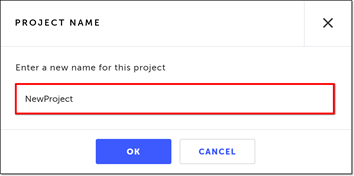
The Project Name window opens.
3. In the Enter a new name for this project field, enter the new name.
- Click OK.
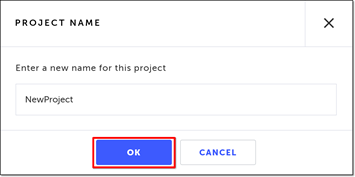
The Project Name window closes, and the project name is updated.
Default Base URL
The base URL is the default URL that is used when creating new tests.
To edit the default base URL:
- On the Settings > Project page, click General.
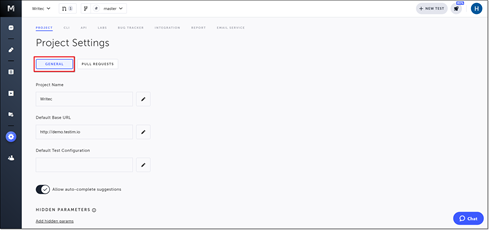
- In the Default Base URL section, click the Edit button (pencil).
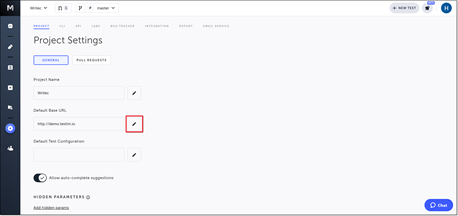
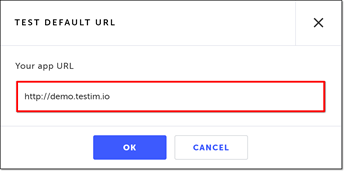
The Test Default URL window opens.
3. In the Your app URL field, enter the URL of the app to be tested.
- Click OK.
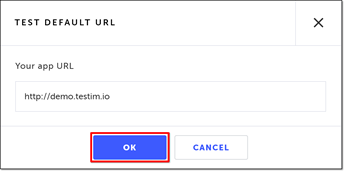
The Test Default URL window closes, and the base URL is updated.
Default Test Configuration
The default test configuration is the configuration that is used when creating new tests. You can choose on of the test configurations available in the Configuration List. For more info, see Configuration List.
To edit the default test configuration:
- On the Settings > Project page, click General.
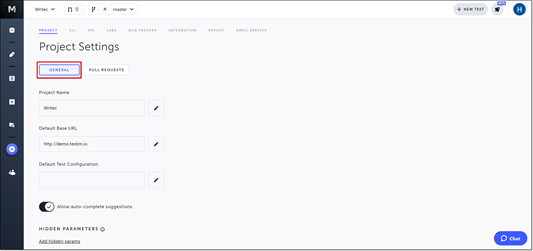
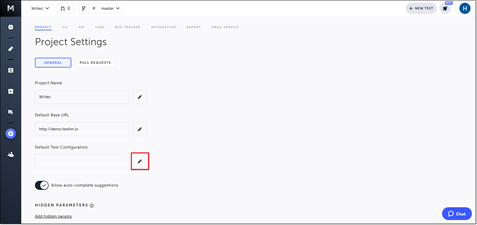
- In the Default Test Configuration section, click the Edit button (pencil ).
- Choose your desired default configuration, and click Select.
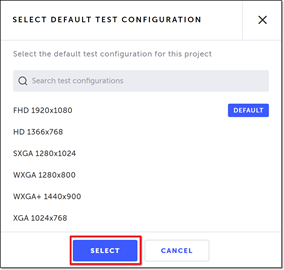
The default test configuration is updated. New tests in this project will run using the chosen configuration.
Allow auto-complete suggestions
Testim’s auto-complete feature offers you the option to automatically use previously recorded shared group steps in the test you are currently recording, helping you expedite the test recording process. To read more about auto-complete, see Auto complete.
This feature is only open to projects on our professional plan. To learn more about our professional plan, click here.
To turn off/on the auto-complete suggestions feature:
- On the Settings > Project page, click General.
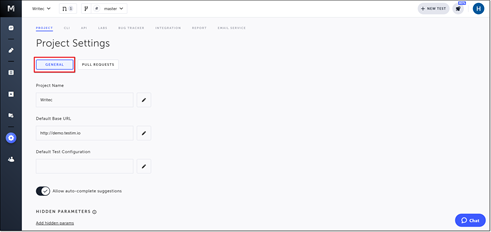
- Click the Allow auto-complete suggestions toggle. (Left = off; Right = on)
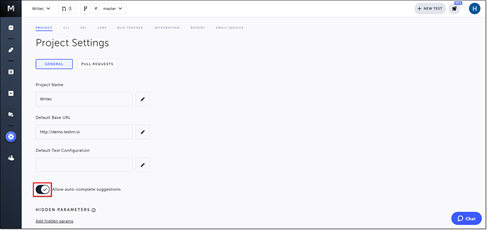
Hidden Parameters
This setting allows you to modify the list of the hidden parameters. When running a test via CLI, Testim allows you to hide parameter values sent to Testim so that their values will not be saved in Testim’s database or displayed in the UI test results. To read more about hidden parameters, see Hidden parameters.
To modify the hidden parameters list:
- On the Settings > Project page, click General.
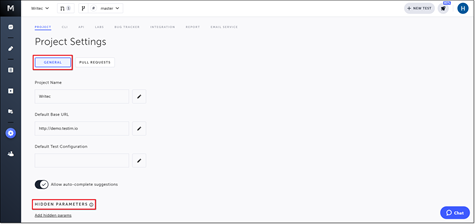
The current list of hidden parameters is shown in the Hidden Parameters section. If there are no parameters currently in the list, the Add hidden params link is shown.
2. Click on the Add hidden params link.
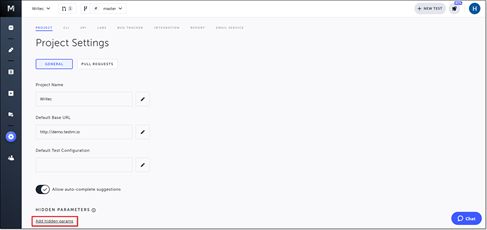
Alternatively, if there are already parameters in the list, click on the parameter list.
The Hidden Parameters window is shown.
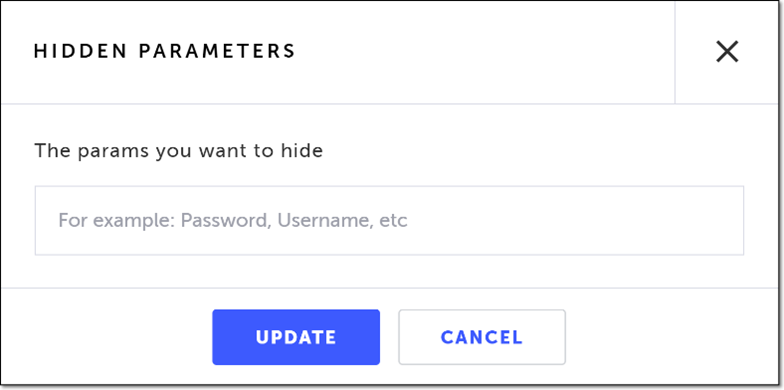
- In the The params you want to hide field:
- For every hidden parameter you wish to add, type the name of the parameter, and press Enter. (The hidden parameter names are case-sensitive.)
- For every hidden parameter you wish to delete, click on the “x” to the right of the parameter name.
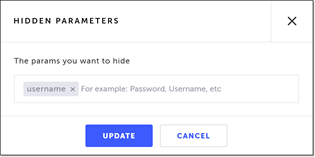
- Click Update.
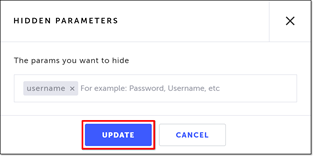
The updated list of hidden parameters is shown in the Hidden Parameters section.
Pull Request Settings
The pull requests settings allow you to protect specific branches of your project from changes, and configure which branches require the approval of a reviewer and the users are allowed to review pull requests. The pull request settings are configured per project. Only the project owner or the company owner can modify these settings . To read more about pull requests, see Pull Requests.
This is a pro feature only open to projects on our professional plan. To learn more about our professional plan, click here.
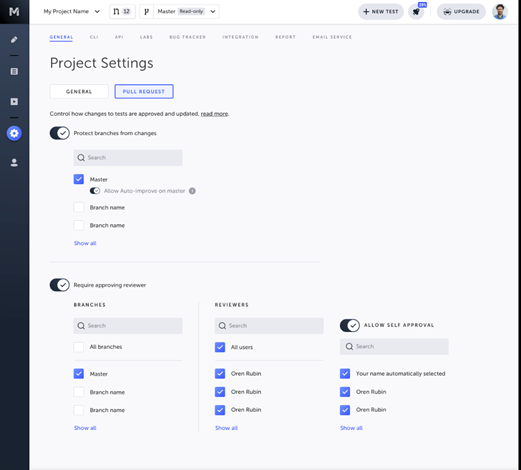
Protecting branches from changes
This setting prevents writing directly to the Master branch and/or to selected branch/es (read-only). If you have selected the Master branch, you can still allow the Auto-improve changes to automatically improve the test locators in order to enhance the stability of the test.
To lock/unlock the master branch of your project:
- Turn on the Protect branches from changes toggle.
- Select the branches that you want to protect. You can use the search box to search for branches.
- If you have selected the Master branch, turn on the Allow Auto-improve on master toggle to allow the Auto-improve feature to automatically improve the test locators in order to enhance the stability of the test.
Requiring approval from reviewer
This setting specifies which branches require a reviewer to approve the pull request before it is merged into the target branch and who are the reviewers.
To configure approval from reviewer branches:
- Turn on the Require approving reviewer toggle.
- Under Branches, select the branches that you want to apply this setting on. You can use the search box to search for branches. You can select All branches to apply the setting on all branches.
- Under Reviewers, select the users from the list to be the reviewers of the project. You can use the search box to search for users. You can select All users to set all the users in the list as reviewers.
Allowing self approval
If you have enabled the Require approving reviewer feature you can optionally select users that can approve their own pull requests.
To configure self approval:
- Turn on the Allow self approval toggle.
- Select the users that you want to apply this setting on. You can use the search box to search for users.
Updated 5 months ago
