Azure AD SSO Integration
Azure Active Directory is Microsoft's cloud-based identity and access management service. With Azure AD Seamless Single Sign-On (Azure AD Seamless SSO) you can have access for all your users and apps.
Testim integrates with Azure AD Seamless SSO, allowing Azure users to authenticate once in Azure and then access Testim without authenticating again.
SSO is a premium feature. Make sure the SSO feature is enabled for your deployment. If it is not, contact your Testim CSM.
To setup the Testim Azure AD integration:
- Login to the Azure Portal Admin account.
- Go to Enterprise application > New Application > Create your own application.
- Under What's the name of your app?, enter a name for the application (e.g., Testim Website SSO).
- Select the Choose Integrate any other application you don’t find in the gallery (Non-gallery) option.
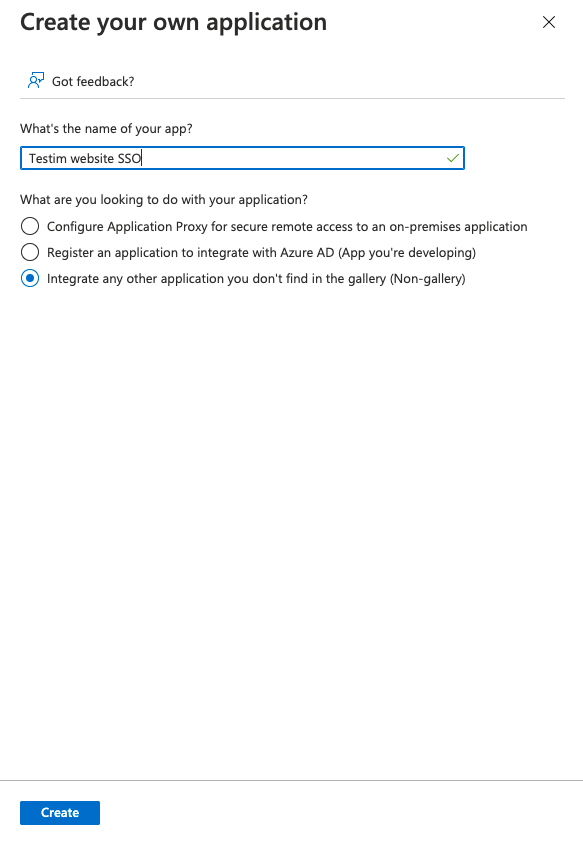
- Click Create.
- Click on Single sign-on on the left menu.
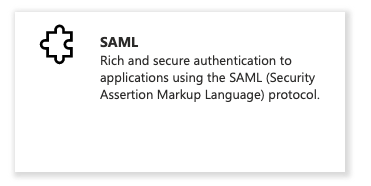
- Click on SAML.
- In another tab open Testim Automate and click the user icon, located in the top-right corner.
- In the drop-down menu, click Settings and click the SSO tab..
- Under the Testim Service Provider Details section, click the Service Provider Metadata to download the XML file.
- Go back to the Azure tab and click Upload Metadata File.

The Basic SAML Configuration screen is displayed.
12. Go back to the Testim tab, and under Testim Service Provider Details, under Assertion Consumer Service URL, click the Copy button.
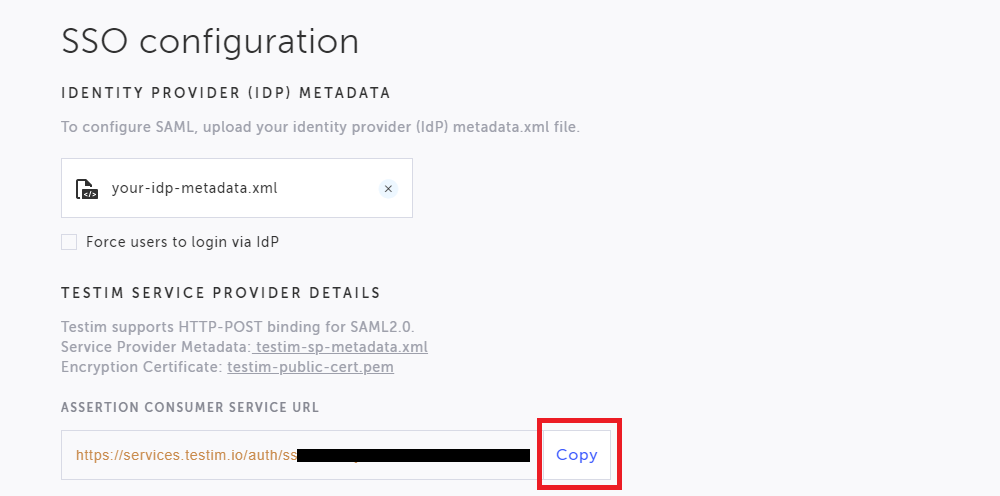
- Go back to the Azure tab and paste the copied Assertion Consumer Service URL into the *Reply URL** field and save.
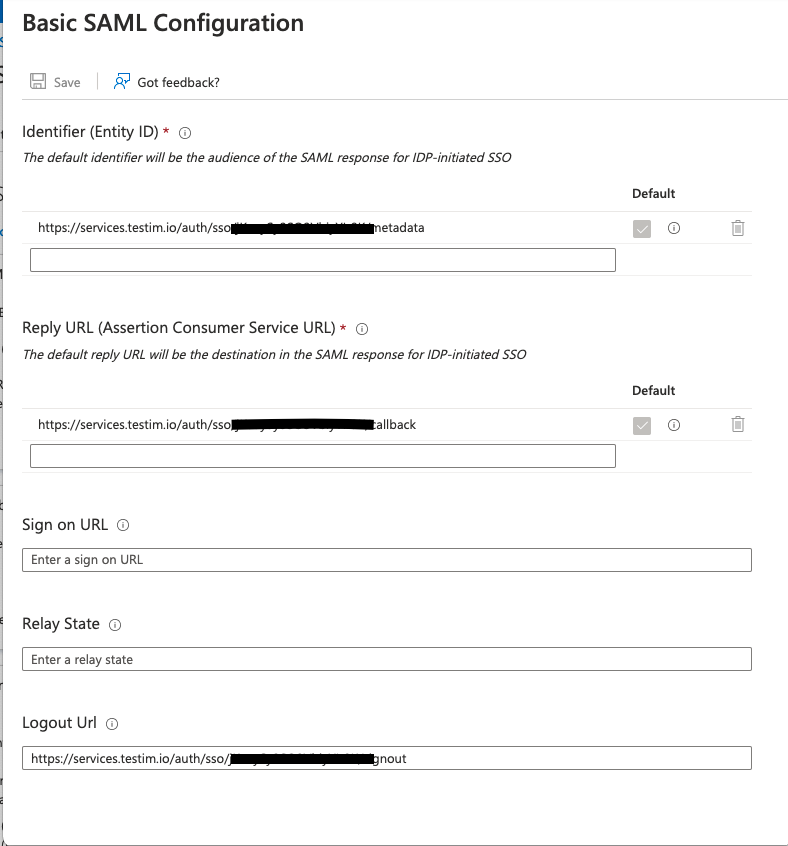
- In the Azure tab, go to User Attribute & Claims.

- Add a new claim with the following details:
- Email
- Name: email
- Source attribute: user.mail or user.userprincipaname. You can check which one by entering one of your organization’s users in Azure AD and then check which field you can see the email address.
- firstName
- Name: firstName
- Source attribute: user.givenname
- lastName
- Name: lastName
- Source attribute: user.surname
- Close the page and under SAML Signing Certificate, download the Federation Metadata XML.
- In the Testim tab, under IDENTITY PROVIDER (IDP) METADATA, click Upload File and select the Federation Metadata XML file.
- To ensure all users are only able to login through Azure, and not through the regular Testim login page, toggle the Enable SSO on and select the Force users to login via idP checkbox.

- In the Azure tab, go to Users and groups screen and click Add users/group.
- Still in Azure, go to the Properties screen in the User assignment required option turn it ON or OFF as required.
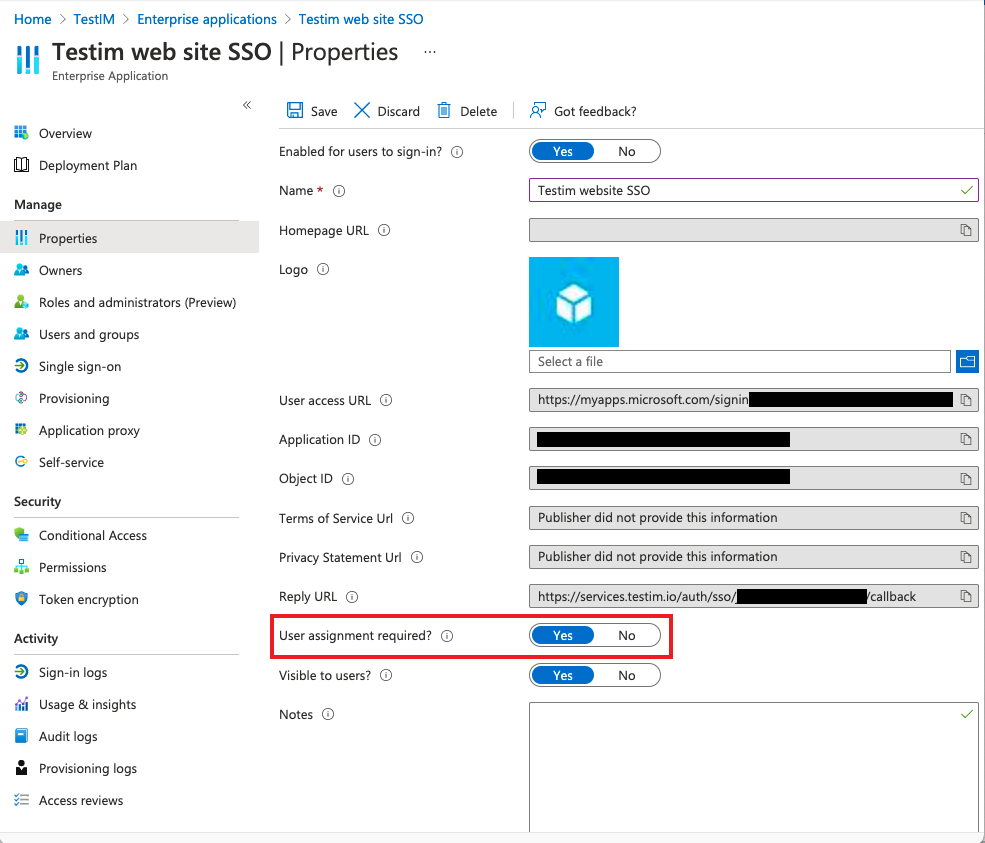
- Go back to Single sign-on on the left menu and test your configuration.
Updated 5 months ago
