
Salesforce Testing Getting Started
Welcome to Testim for Salesforce!
In this tutorial you will learn how to create a test in Testim for Salesforce. As part of the tutorial you will learn how to connect your Salesforce environment, create and record a new test, and finally run it. The tutorial does not cover all the various options in the process, but rather a specific scenario that illustrates a process from beginning to end.
You can access this screen at any time by clicking the Testim icon in your browser toolbar or by going to https://app.testim.io/.
Now, Let's create your first test!
Tutorial Use Case
Testim for Salesforce tests are created by either recording your interactions with your Salesforce application using a Recorder that automatically translates these interactions into steps or by manually adding steps to the test. You can also combine the two methods. The manual steps can include "Salesforce steps". These steps were designed specifically for Salesforce and utilize Salesforce objects in a way that simplify the test creation process and allow deeper integration and smarter capabilities. However, in cases where the deployment includes extensive customizations, the Salesforce steps may not fully work. In these cases, it is recommended to use the Recorder in its regular mode of operation. To learn how to use the Recorder, see Creating a Salesforce test. In this tutorial we are focusing on manual steps.
In this tutorial the test involves logging in to Salesforce, launching the Sales app, creating an account with a certain name, and then validating that the account with the specified name exists.
Prerequisites
To perform the getting started tutorial you will need Salesforce credentials with access to the Sales module and permissions to create an account.
Step 1 - Connect your Salesforce environment
Before you create a Testim for Salesforce test, you need to connect a Salesforce environment to Testim for Salesforce. If your Salesforce environment is already connected, you can skip to the next step.
To connect your Salesforce environment:
- In your Testim for Salesforce account, go to Settings > Salesforce > Environments and select Connect a salesforce environment.

- In the Select Type field, select the type of your Salesforce environment:
- Production - a Production environment is a live environment that is used by end users.
- Sandbox - a Sandbox environment is a smaller development or testing environment.
- In the Environment Name field, enter a name for your environment
- Do one of the following:
- If you want to use an existing branch, under Select Existing Branch, select the desired branch from the drop down menu.
- If you want to create a new branch, enter a name for the branch in the Create New Branch field.
- Click Connect.
The Salesforce login screen is displayed.
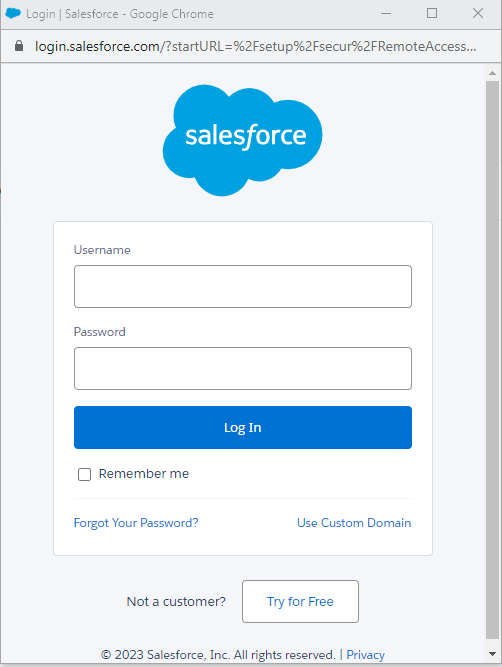
- Log in to your Salesforce account.
- Select Allow, to allow Testim for Salesforce to access the identity URL service, manage user data via APIs, and perform requests at any time.
Creating the Test
To create a new test:
-
Click on New Test.
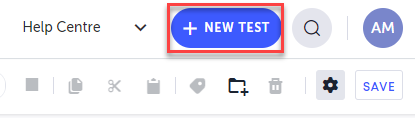
A new test opens in the Editor. This is where you add the test steps.
-
The first step is the Setup step, where the basic test configuration is set. In the Setup step, click the Show properties button.
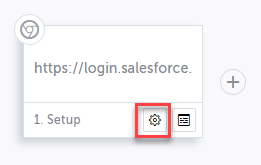
The Properties pane is displayed.
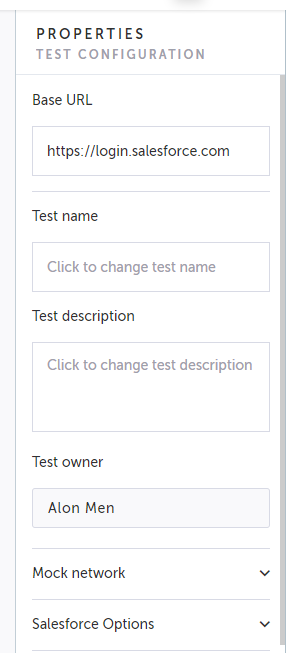
-
Make sure that the Base URL includes to the URL of your Salesforce environment.
-
Following the first step, hover you mouse over the + button and and click the + (Add steps) button.
-
Under the Salesforce steps tab, click the Log in step. This step logs in to the Salesforce environment using the selected persona/user.
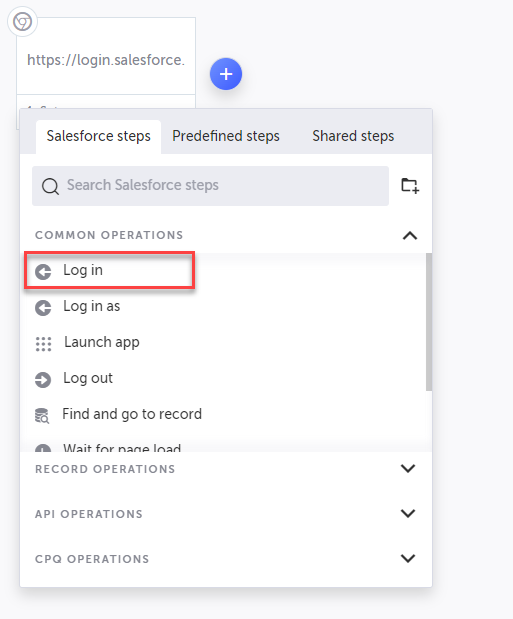
The Log in step is added, while displaying the Object pane.
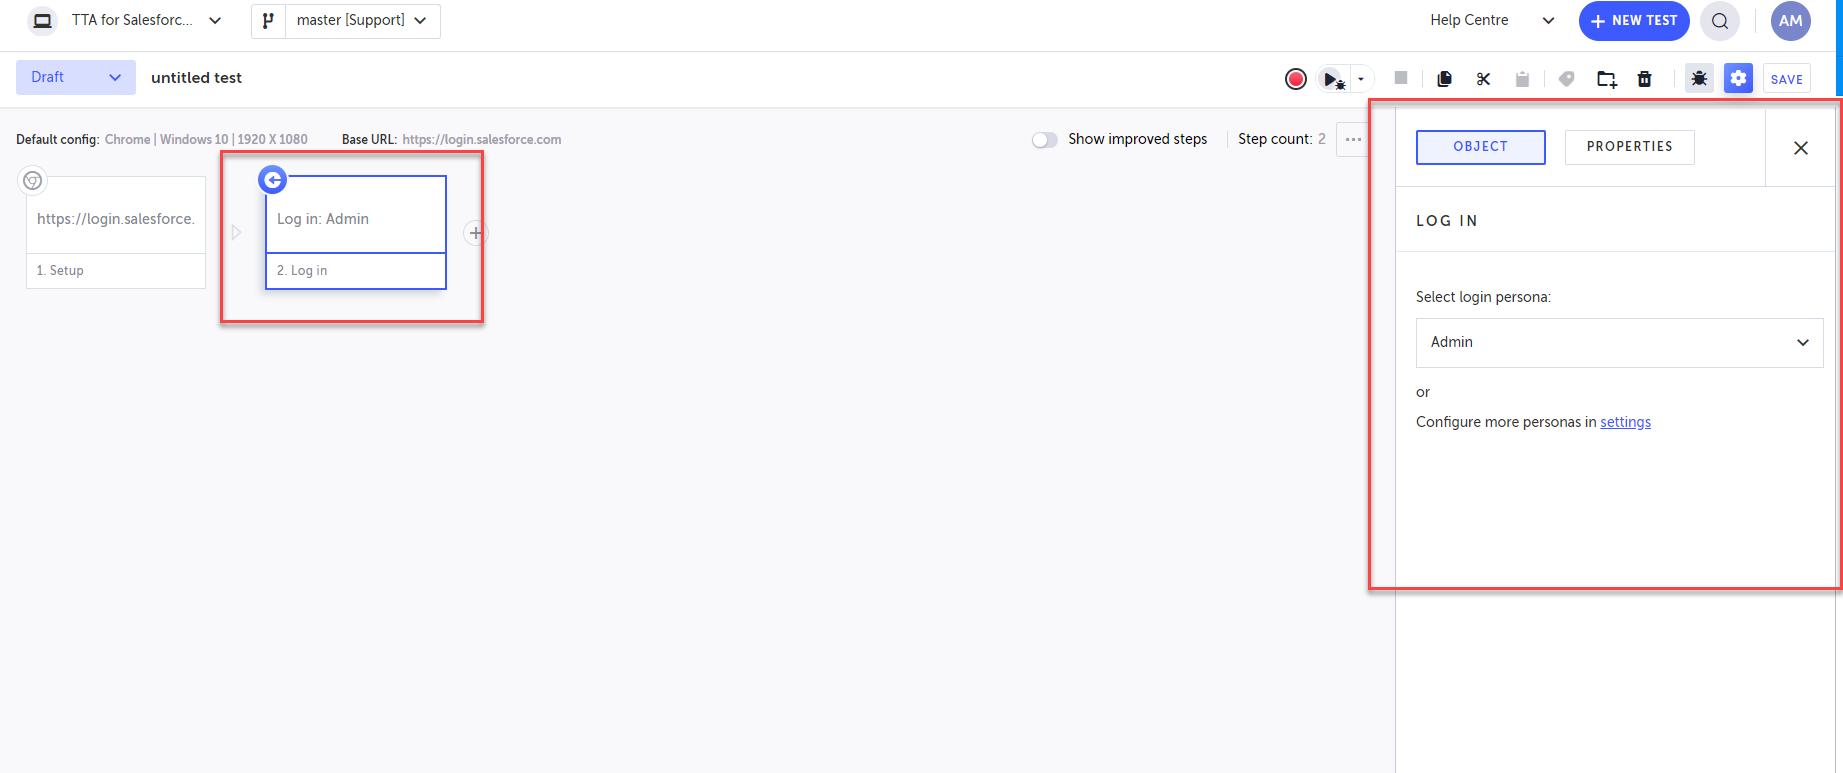
-
Under the Select login persona, click the drop-down menu and select the relevant persona that you want to use throughout the test. When connecting an environment the system creates a default Admin persona. However, additional personas may have been created. If you want to create additional personas, follow the instructions in Creating a persona and adding users.
-
Click the + button to add another step.
-
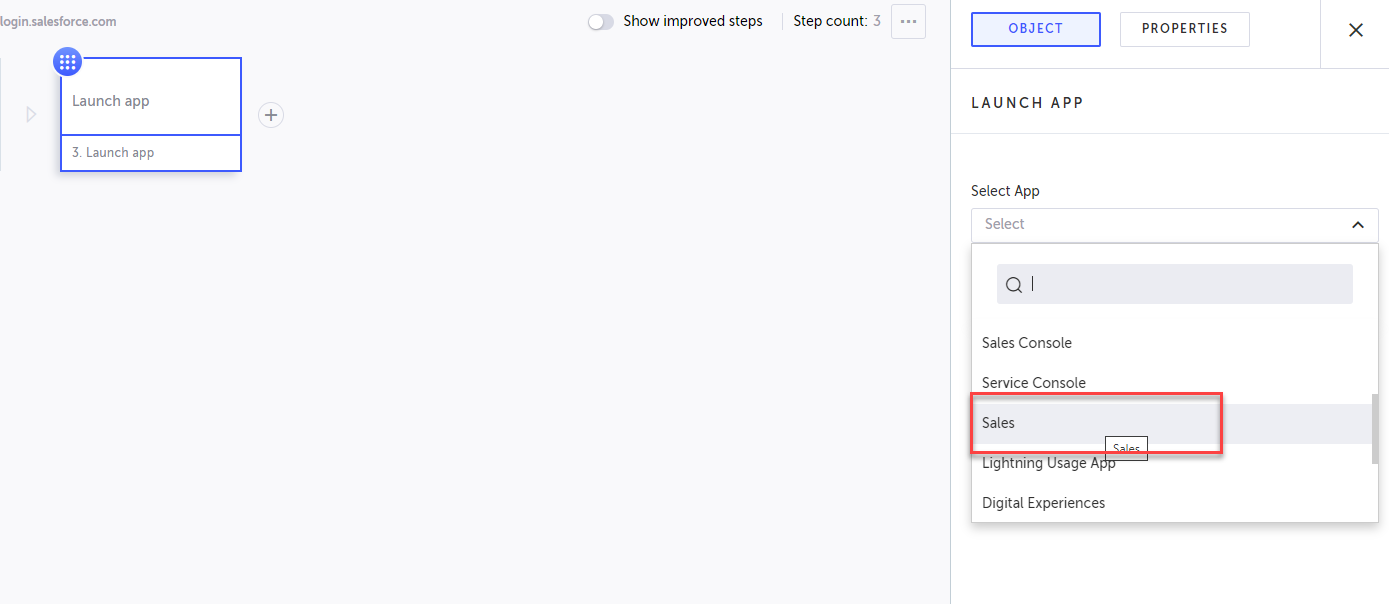
Under the Salesforce steps tab, click the Launch app step. This step launches the selected app within the environment.
-
In the step's Object pane, under Select App, select the Sales option.
-
Click the + button to add another step.
-
Under the Salesforce steps tab, click the Record Operations and then click the Create step. This step creates an Object and a Record.
-
In the step's Object pane, under Select the Object, select Account.
-
If the Select Record Type field is displayed (dependent on your environment's configuration), select any of the available options.
The Customer Account form is displayed in the pane.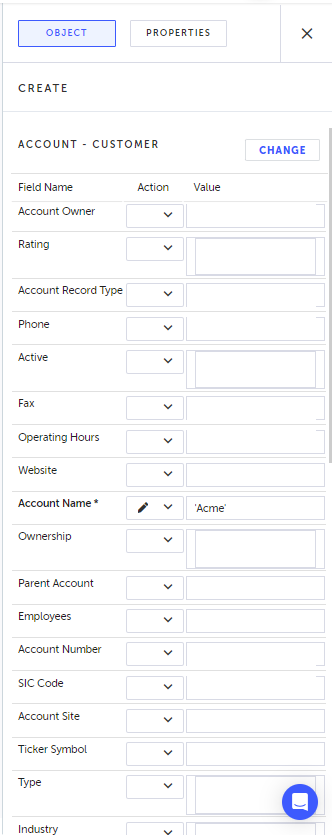
-
Mandatory fields are marked with an asterixis (*). In this case, the
Account Namefield is mandatory. Your deployment may be configured to have other fields as mandatory. For each mandatory field, under Action select Input and then click the Value field and select a value or enter a string. -
Click the + button to add another step.
-
Under the Salesforce steps tab, click the Record Operations and then click the Validate step. This step validates that a record was created with values that were specified. In this case we will validate the Account Name value.
-
In the Account Name field, under the Action column, select the Verify option.
-
Under the Value column, enter the same string that you have used in the Create step, if you want the test to pass, or another value, if you want the test to fail.
-
Click the + button to add another step.
-
Click the Log out step. This step logs out of the Salesforce application.
-
Click Save.
The Save Test window is displayed.
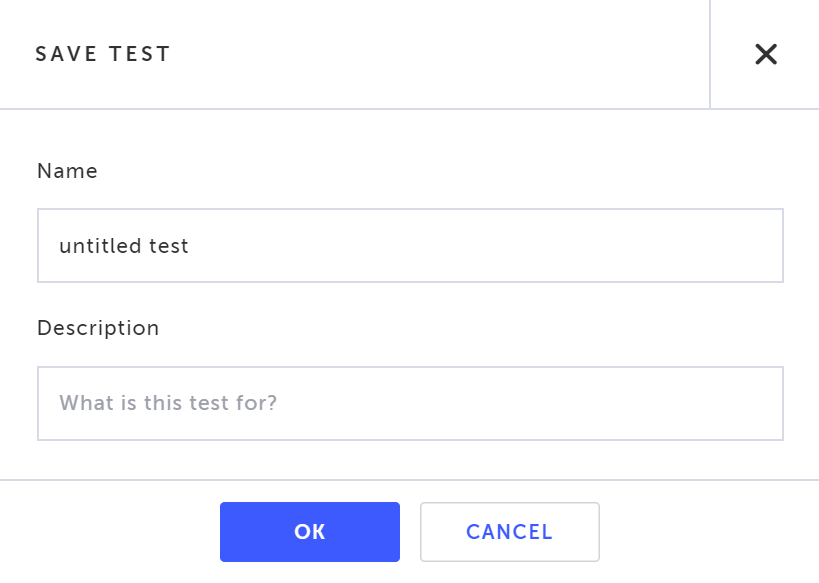
Whenever you create a new test or make changes to an existing test, make sure to save the test. If you close the browser without first saving the test, your work will be lost.
- In the Name field, enter “Create account”, then click OK.
The test is saved.
Congratulations, you have created your first test!
Running a Test
To run the test locally:
-
On the Editor screen, click on the Run button.
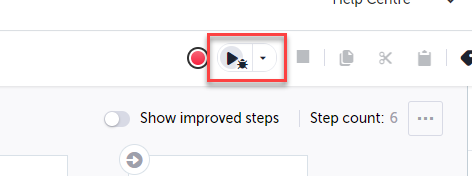
A new browser opens and runs the test steps on the salesforce environment. When the test is completed a pop-up window indicates whether the test was successful.

- Click on the Go back to the Editor link to return to the Editor to view the results.
Viewing Test Results
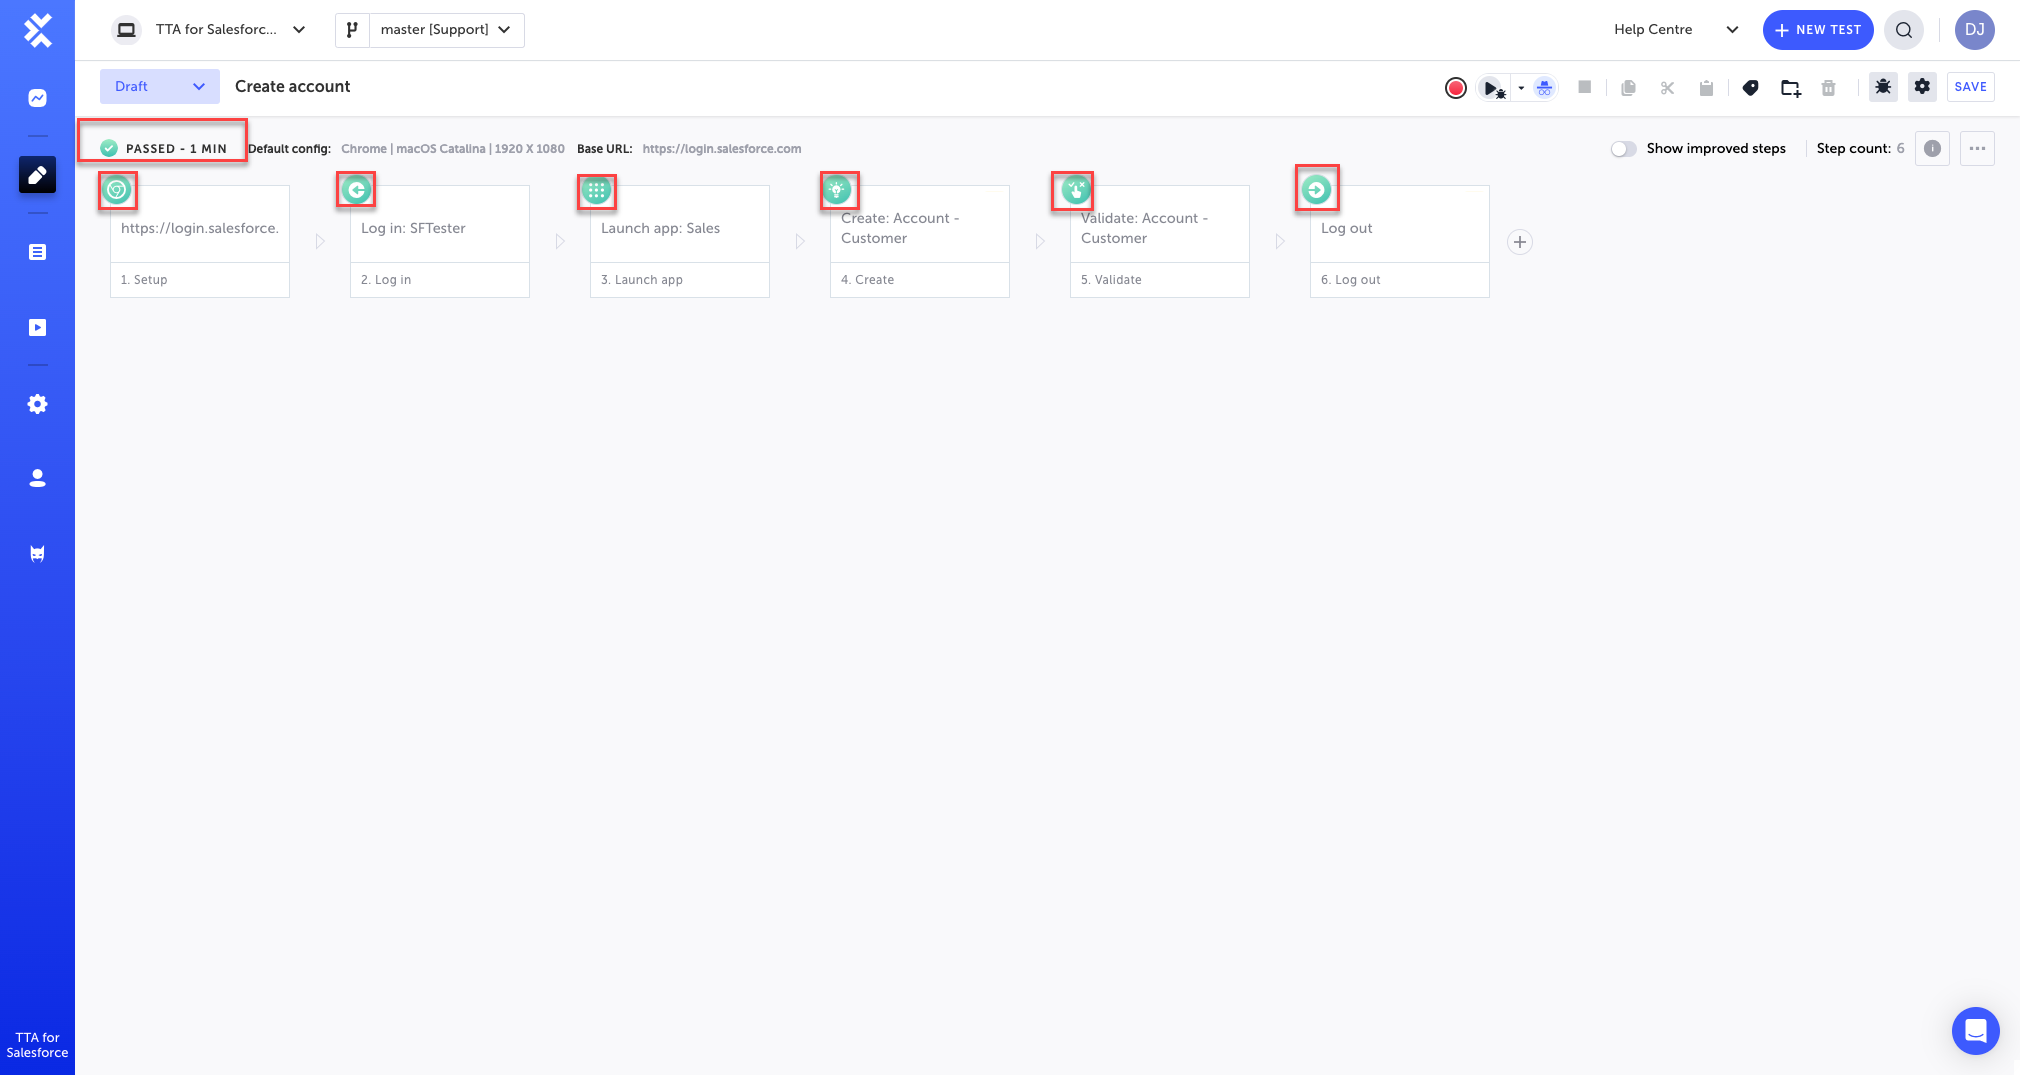
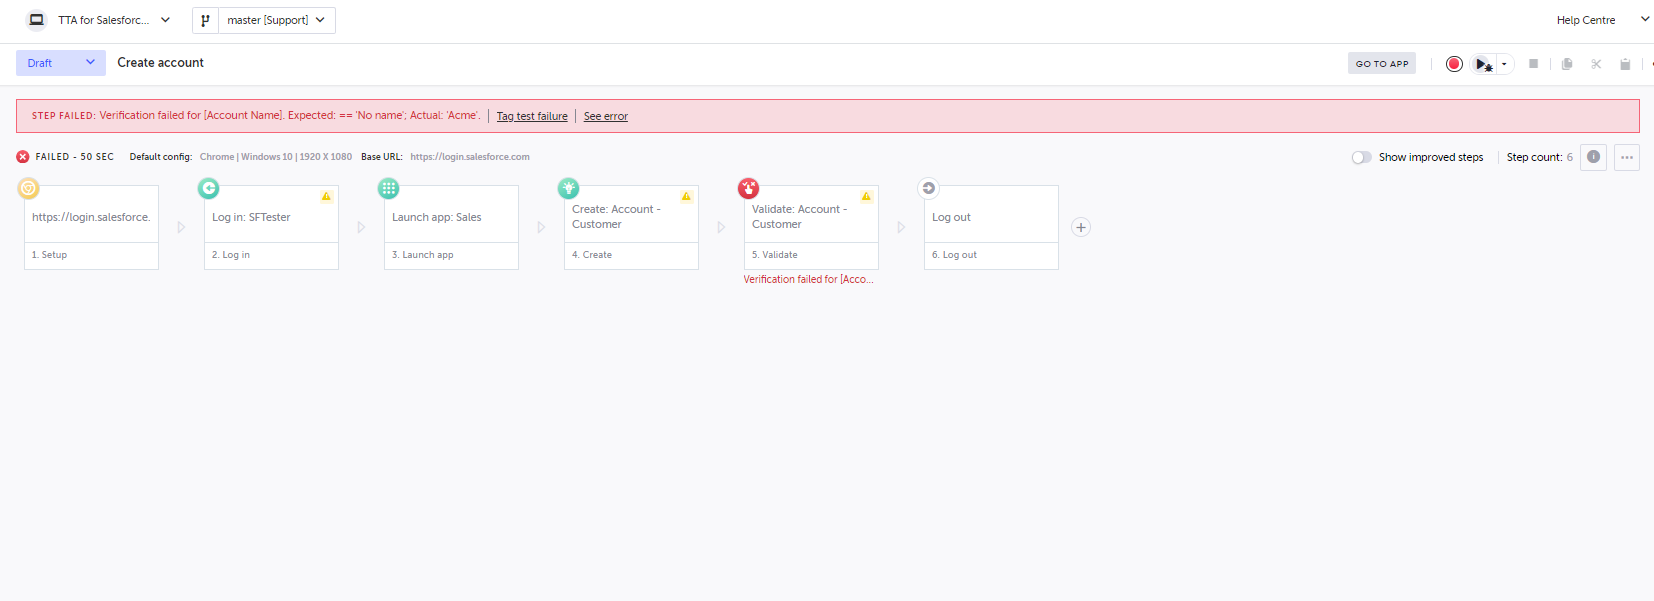
On the test Editor screen, you can view the test results. Overall test result is shown at the top of the screen. In addition, the colored icons at the top of each step indicate whether or not that step was successful.
If you would like to view a screenshot and/or the console log result for a specific step, click the View Screenshot button on the step.
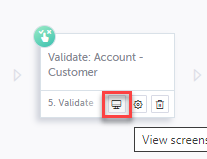
The side-by-side screenshot comparison is displayed for this step. The left side displays the baseline for comparison and the right-hand side displays the actual screenshot taken during the run.
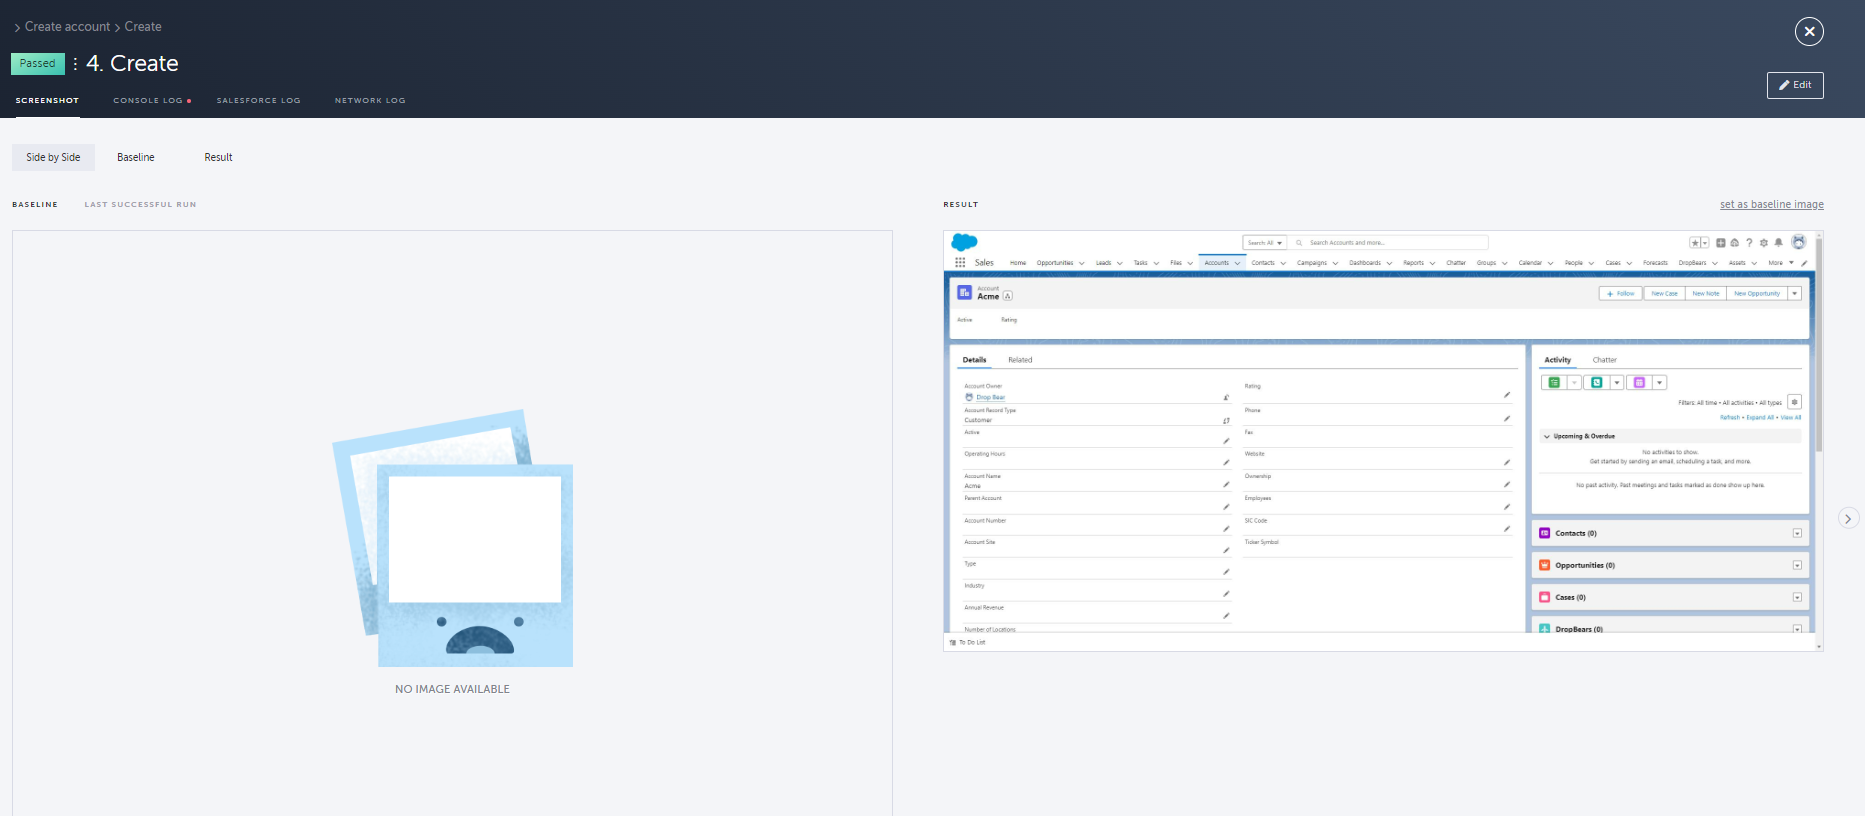
In case of a test failure, detailed info is shown about the cause of the failure. (In the following example, the validation was set to expect “No name” and the value received was “Acme”). You can see details of the failure by clicking the See error link.
Updated 6 months ago