
Custom Action Step (mobile)
There may be times when you want your test to perform an action or validation that is not included in the predefined steps menu. The Custom Action (mobile) step allows you to run a script using Appium for extended capabilities and validations in your tests. The script can run multiple mobile commands in batch and can also use JavaScript parameters.
The Custom Action (mobile) step is fully supported only in TMA. Third-party grids aren't supported, for example:
- Browserstack returns: `
Execute driver script functionality is not available unless server is started with --allow-insecure including the 'execute_driver_script' flag, e.g., --allow-insecure=execute_driver_script - Headspin returns:
An unknown server-side error occurred while processing the command. Original error: The software keyboard cannot be hidden
Prerequisites for running the step locallyWhen running a test that includes this step on a local physical local device or emulator, you will need to execute the following CLI command in your local terminal of the machine before executing the test:
tricentis-mobile-agent start -e
Supported Appium methods on VMG
The following Appium methods are supported:
performActionsfindElementfindElementssendKeyshideKeyboardgetWindowRect
findElement(s) doesn't work with "text" as the strategy - in general, searching by "label" or "value" works best.
If you want to use addition methods, which are not listed above, contact Tricentis Support.
Adding a Custom Action (mobile) Step to your Test
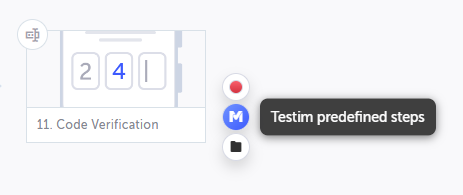
- Hover over the (arrow symbol) or the + where you want to add the Custom Action step. The action options are displayed.
- Click on the “M” (Testim predefined steps). The Predefined steps menu opens.
- Expand the Actions menu and select the Add custom action step.
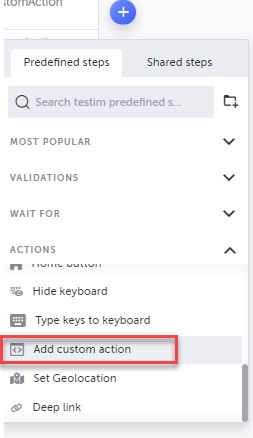
Note:Alternatively, you can use the search box at the top of the menu to search for Add custom action.
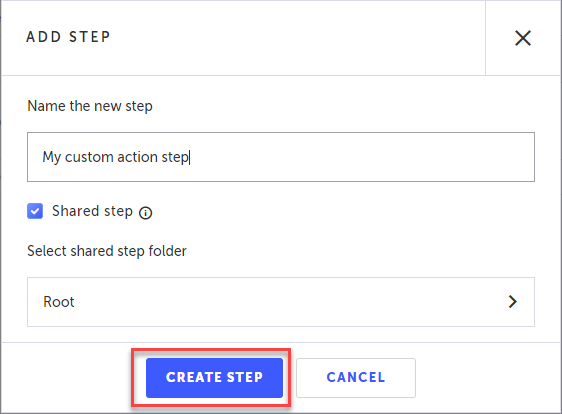
- In the Name the new step field, enter a (meaningful) name for this step.
- If this is a shared step to be made available to reuse in this or other tests, keep the box next to Shared step selected (default), and choose a folder from the Select shared step folder list where you want this step stored. Otherwise, deselect the checkbox. For more information about shared steps, see Groups.
- Click Create Step. The function editor opens, and the Properties panel opens on the right-hand side.
-
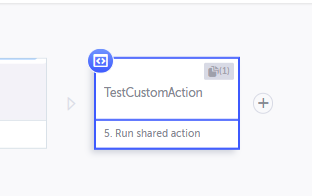
In the Properties panel, in the Description field, optionally edit the description of this step. The default description is “Run shared action” (or “Run action”).
-
Define the parameters you will need for your step as follows:
- In the Properties panel, click the + PARAMS button.
- JS parameter: If you would like to add a JavaScript parameter, select JS from the dropdown list and type in the JavaScript parameter.
-
Optionally fill in the following Properties:
- When this step fails – Specify what to do if this step fails.
- When to run step – Specify conditions for when to run the step. For more information, see Conditions.
- Override timeout – Allows you to override the default time lapse setting which causes Testim to register a fail for a test step, and specify a different time lapse value (in milliseconds).
-
In the function text box, type in the desired JavaScript code. If you have defined parameters, you can refer to those parameters in your JavaScript code.
-
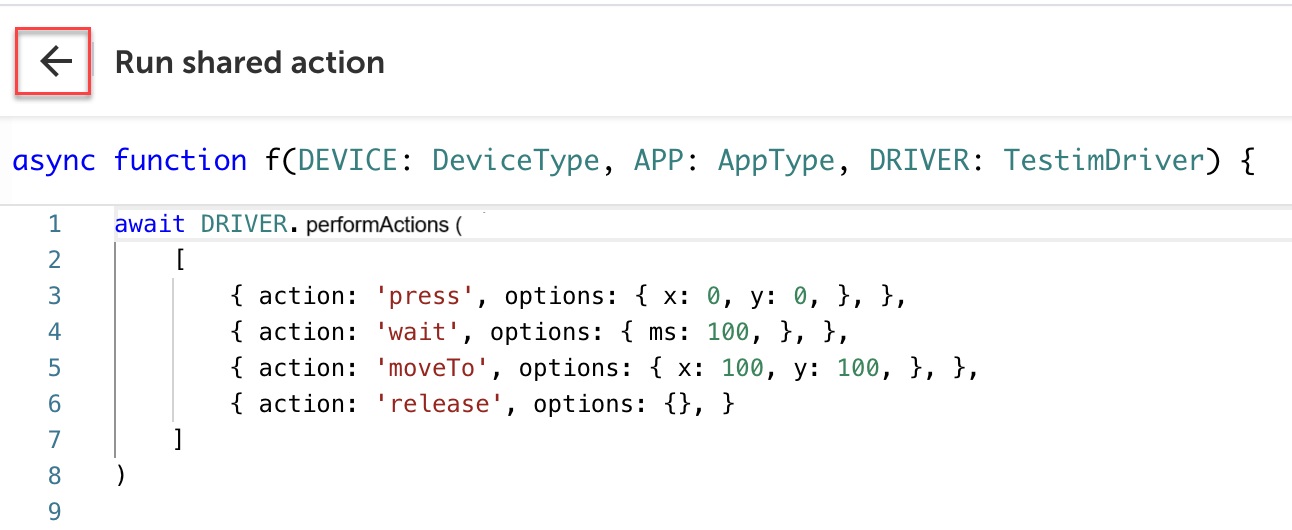
Click the back arrow to return to the main Editor window.
The step is created.
Note:If you opened your AUT to define an element as a parameter, click on the Toggle Breakpoint button to remove the breakpoint.
Custom Action Step Examples
Pulling the navigation bar of the device
The following example illustrates the use of the performActions Appium method in a Custom Action step. In this case the code includes an action to press on the top left of the screen, wait 100 milliseconds, pull down by 100 pixels, and then release.
const start_x = 50
const start_y = 1
const end_x = 50
const end_y = 2000

await DRIVER.performActions([
    {
        "type": "pointer",
        "id": "finger1",
        "parameters": {"pointerType": "touch"},
        "actions": [
            {"type": "pointerMove", "duration": 0, "x": start_x, "y": start_y},
            {"type": "pointerDown", "button": 0},
            {"type": "pause", "duration": 100},
            {"type": "pointerMove", "duration": 500, "x": end_x, "y": end_y},
            {"type": "pointerUp", "button": 0}
        ]
    }
])
Finding a button element via xpath
The following example illustrates the use of the findElement Appium method in a Custom Action step.
const el = await DRIVER.findElement('xpath', "//XCUIElementTypeApplication/XCUIElementTypeWindow/XCUIElementTypeOther/XCUIElementTypeOther[2]/XCUIElementTypeOther/XCUIElementTypeOther/XCUIElementTypeOther/XCUIElementTypeOther/XCUIElementTypeCollectionView");
/*const e2 = await DRIVER.findElement('class name', "XCUIElementTypeButton");*/
Typing on the keyboard
The following example illustrates the use of the sendKeys and hideKeyboard Appium methods. The code types the string when the keyboard is displayed and then hides the keyboard.
await DRIVER.sendKeys('abcdef');
await DRIVER.hideKeyboard();
Updated 5 months ago