Validate Viewport Visualization
Validate visual details down to the pixel level
Validate viewport visualization allows you to compare the visual difference between your baseline and your current test run of your viewport. This functionality is provided as a service by Applitools, and requires integration with their Applitools Eyes app. For more information see Visual Validation (element, viewport, full-page).
The RCA and Ultrafast Test Cloud (i.e. adding extra environments) features will be rejected by Applitools without appropriate licensing. Contact your Applitools representative for more information.
This is a PRO featureThis feature is only open to projects on our professional plan. To learn more about our professional plan, click here.
Adding a Validate viewport visualization step
To add a Validate viewport visualization or Validate full-page visualization step:
- Hover over the (arrow symbol) where you want to add the validation.

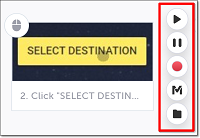
The action options are displayed.

- Click on the “M” (Testim predefined steps).
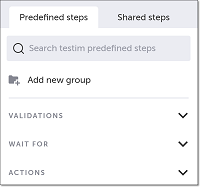
The Predefined steps menu opens.

- Click on Validations.
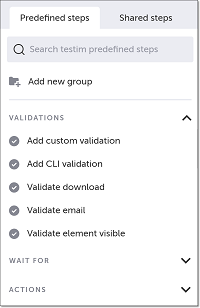
The Validations menu expands.

- Scroll down through the menu and select Validate viewport visualization.
Alternatively, you can use the search box at the top of the menu to search for Validate viewport visualization or Validate full-page visualization.
- The visual validation step is added in the Editor, and a thumbnail of the selected element is shown in the step.
When you run your test, the baseline visualization will be compared to the test run. If the step fails due to a visual validation failure, double-click the failed visual validation step to open the details in Applitools Eyes.
You can also use keyboard shortcuts to add a Validate viewport visualization step. See Keyboard shortcuts.
Updated 5 months ago
