
Managing tests and folders
You can keep your tests organized by saving them in folders and using labels. This guide also covers cloning tests and changing the test's base URL.
Creating a new folder
To create a new folder:
- In the Test Library screen, click the + button and select New Folder.

- Give your folder a New Name and click the OK button.
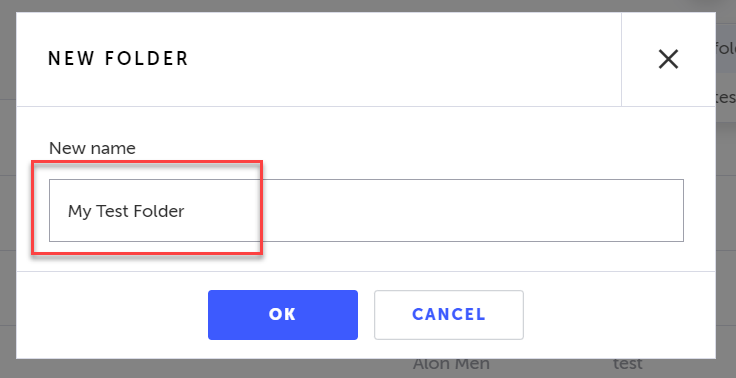
The new folder is added to the Test Library.

The name of the new folder must not be the same as any other folders that already exist in this project.
Moving tests/folders to folders
By default, new tests are placed in the root folder. You can move tests and folders into other folders.
To move an item to a folder:
- Click on the test or folder name to select.
- Click the Move to Folder button.

You can also right click the test and select the Move to Folder option.

- You can select multiple tests and/or folders by holding down the CTRL/CMD key and then clicking on each of the desired tests and folders.* To select a sequence of items select the first item in the sequence and then hold the tab key + right-click on the last item in the sequence.* You can also select all of your tests or folders by holding down the CTRL/CMD key + A on the keyboard.
- The Move To window opens. Select the folder you want to move the test to and click the Select button.
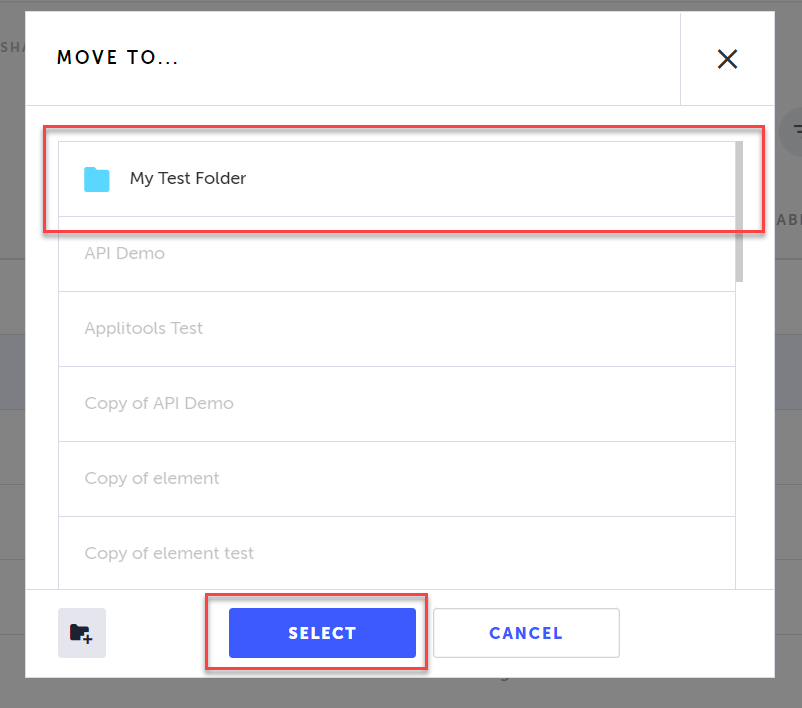
If the target folder doesn't yet exist, you can create it now by clicking on the New Folder icon (bottom left of the window), entering the new folder's name, and clicking OK.
Applying labels to tests
You can apply or remove an existing label to a test or tests. You can also create new labels to apply to your tests.
To apply/remove a label:
- Click on the test name to select it.
- Click the Edit Labels button.

You can also right click the test and select the Edit Labels option.

- Select or deselect existing labels to apply to the test.

- To add a new label, type your new label, click the Create New link, and then click Apply.

- You can select multiple tests by holding down the CTRL/CMD key and then clicking on each of the desired tests.* If there are no folders in your Test Library, you can also select all of your tests by holding down the CTRL/CMD key + A on the keyboard.
Label names should not contain any spaces.
A success message is shown.

Changing the test's base URL
You can specify a different Base URL than the default base URL that was configured for the test, for a specific test or multiple tests.
To change the base URL:
- Click on the test name to select it. You can use the CTL/cmd button to select multiple tests.
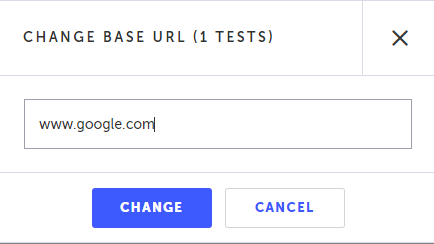
- Click the Change Base URL button.
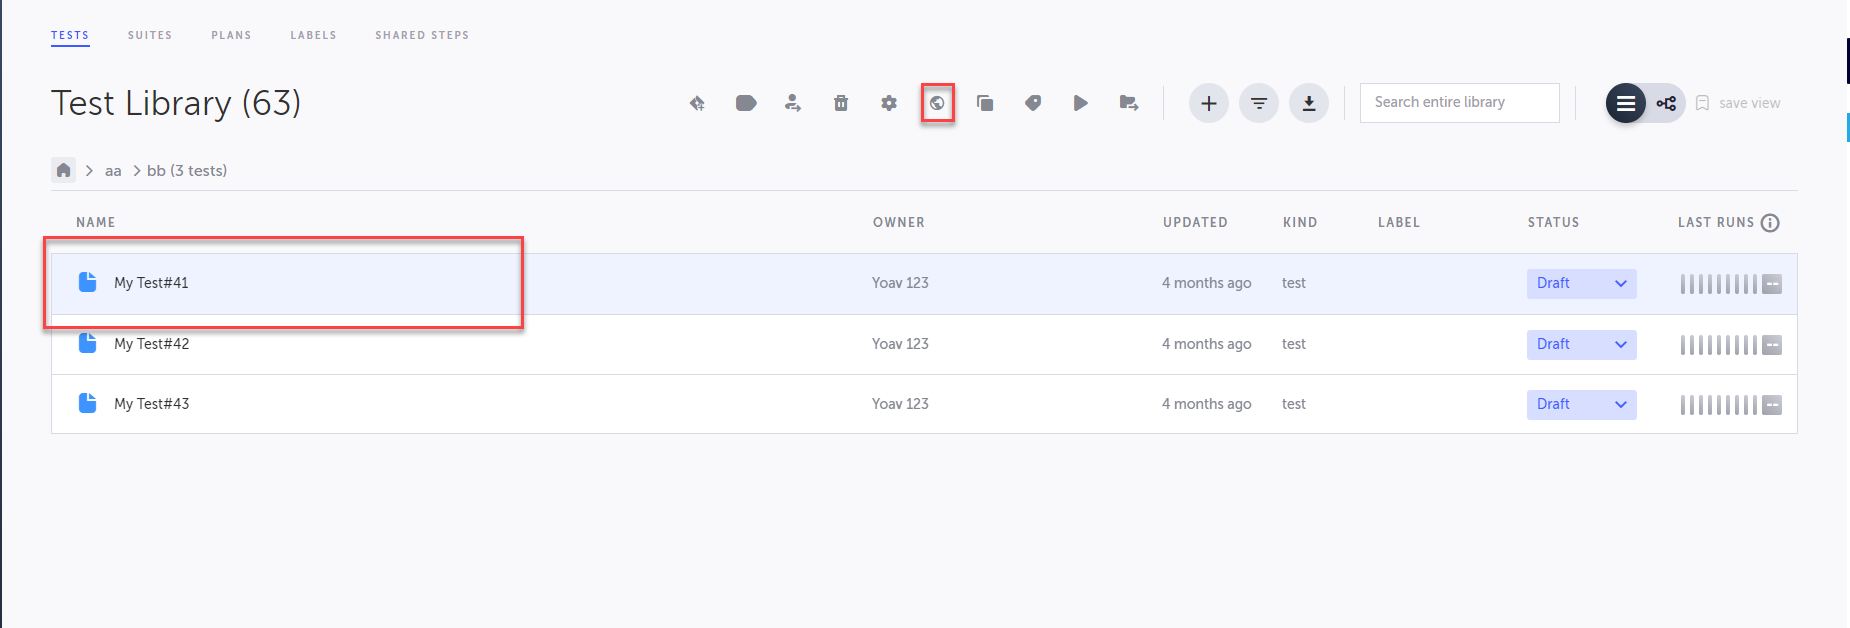
- Enter the desired base URL and click Change.
Cloning tests
You can clone tests within the same project or clone them to another project to which you are a member, even if the project is not in the currently selected Company. See Cloning tests for more details.
Renaming tests/folders
You can rename tests and folders in the Test Library screen.
To rename a test or folder:
- Right-click on the test or folder.
- Click Rename.
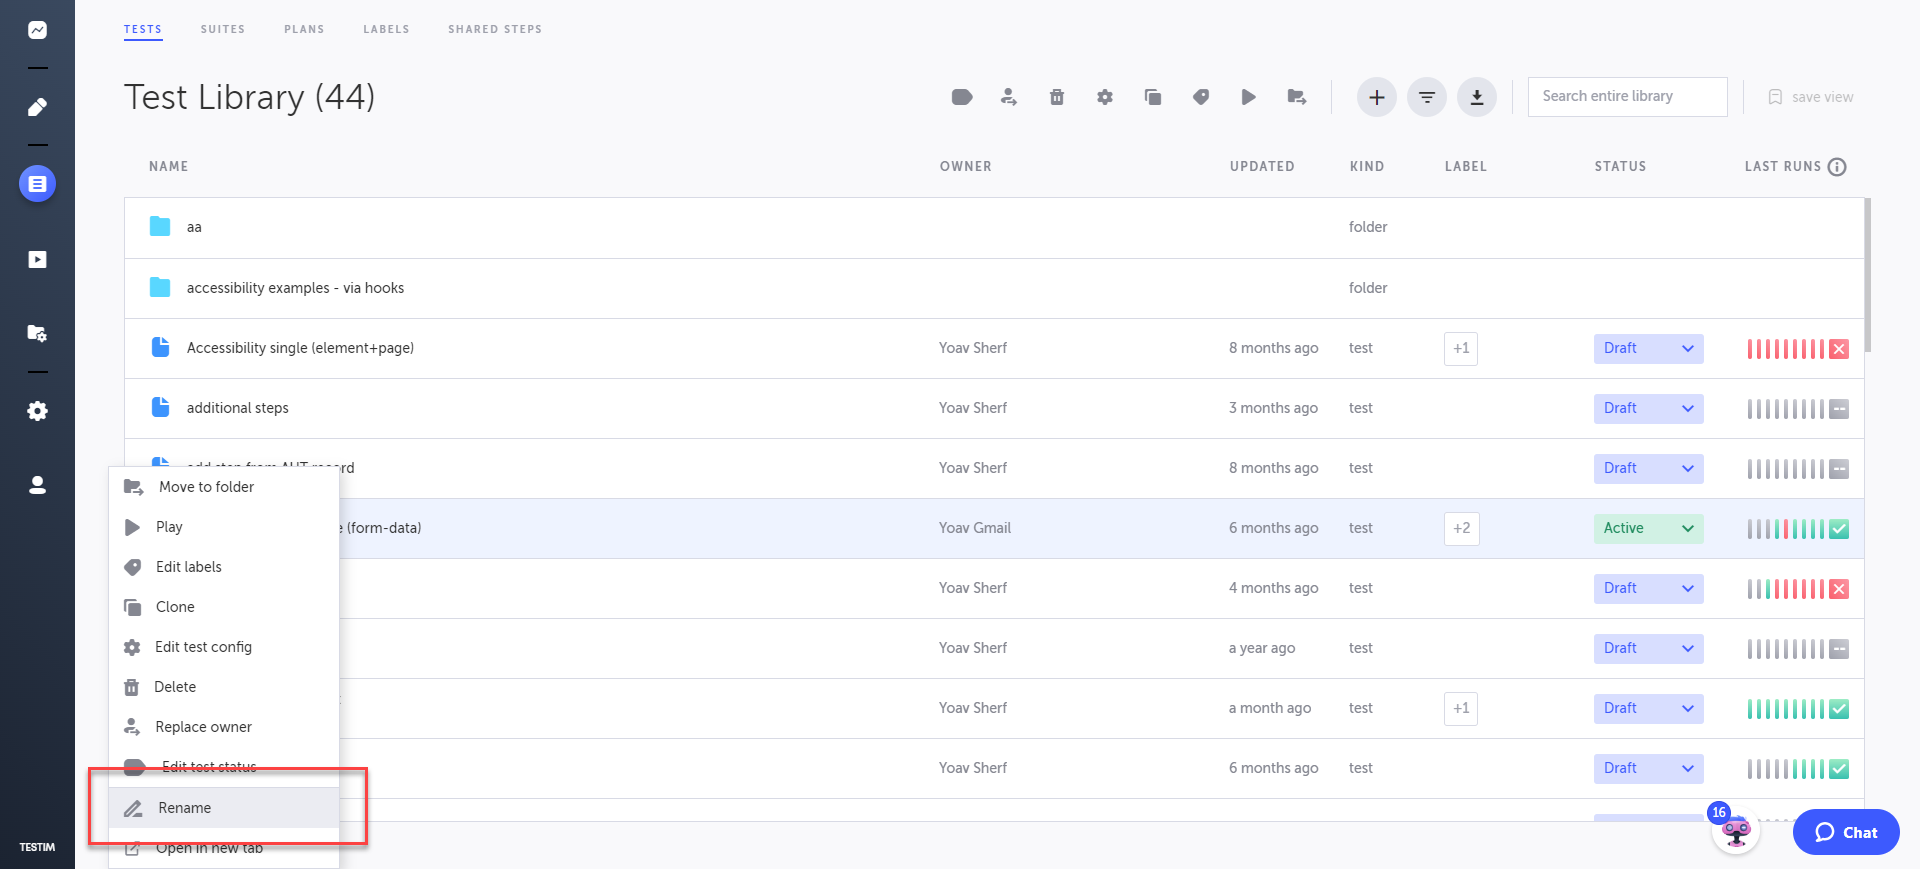
The Edit Name window opens.
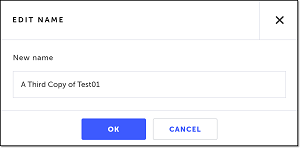
- In the New name field, enter the new name of the file or folder.
- Click OK.
The renamed file or folder can be viewed in the Test Library.
Deleting tests/folders
You can delete a test or folder or multiple tests or folders through the Test Library screen.
To delete tests or folders:
- Click on the test or folder name to select it.
- Click the Delete icon

You can also right-click on the test or folder name and choose Delete from the right-click menu.

- You can select multiple tests by holding down the ctrl/cmd key and then clicking on each of the desired tests.* You can also select all of your tests and folders by holding down the ctrl/cmd key + A on the keyboard.
The Delete confirmation window opens.
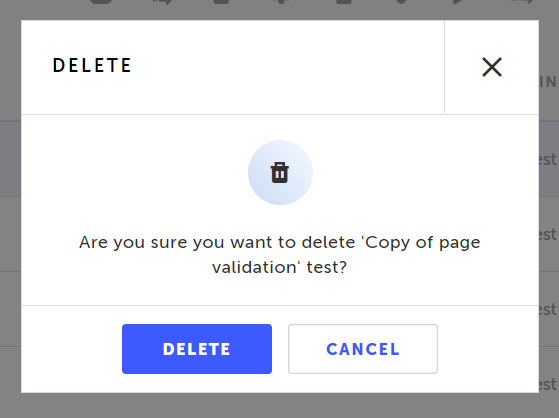
- Click the Delete button.
The file/s and/or folder/s are deleted.
Updated 6 months ago