
Vision Locate
Vision Locate mode scans the screen to find the elements using visual analysis algorithms. It essentially creates a DOM-like structure based on an image and enables identification of an element during test recording and playback, while maintaining the test's stability despite small changes in the location of the element.
You can switch between the DOM and Vision Locate modes during the recording.
When should you use Vision Locate?
- When the element does not appear in the DOM - i.e., when in DOM Locate mode, you hover your mouse over it and it is not highlighted.
- When the screen is in WebView.
- Complex scenarios where using vision may yield better results.
Which actions can be applied on an element that was identified using Vision Locate?
It is possible to tap on the element but it is currently not possible to apply actions on the text within the element (e.g., validate element text, wait for element text, etc.).
Using Vision Locate
To use Vision Locate:
-
Start recording a mobile test.
-
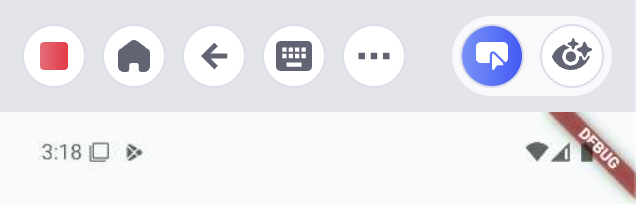
If you want to select a certain element on the screen and it isn't highlighted, click the Vision Locate button on the Mirroring Toolbar.
The screen is scanned by the Vision Locate feature. All the elements on the screen are identified using the vision algorithm and marked/highlighted when hovering your mouse of the element.
-
Select the element by hovering your mouse over it. You should see it highlighted.
The Vision Locate mode is maintained until you click the DOM Locate button on the toolbar.
It is recommended to switch back to DOM Locate mode whenever possible.
Test playback
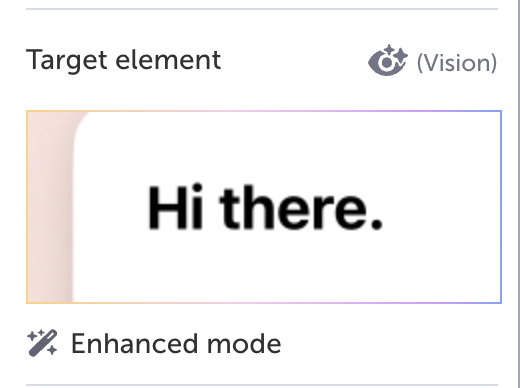
When Vision Locate was used to find the target element of any test step, there's an indicator showing the Vision icon in the test step's Properties panel.
Updated 6 months ago