
Quick Actions
Salesforce StepThis is a Salesforce step.
Some Salesforce records can display Quick Action buttons under the Activity tab, which include New task, Log a call, New event, and Email.
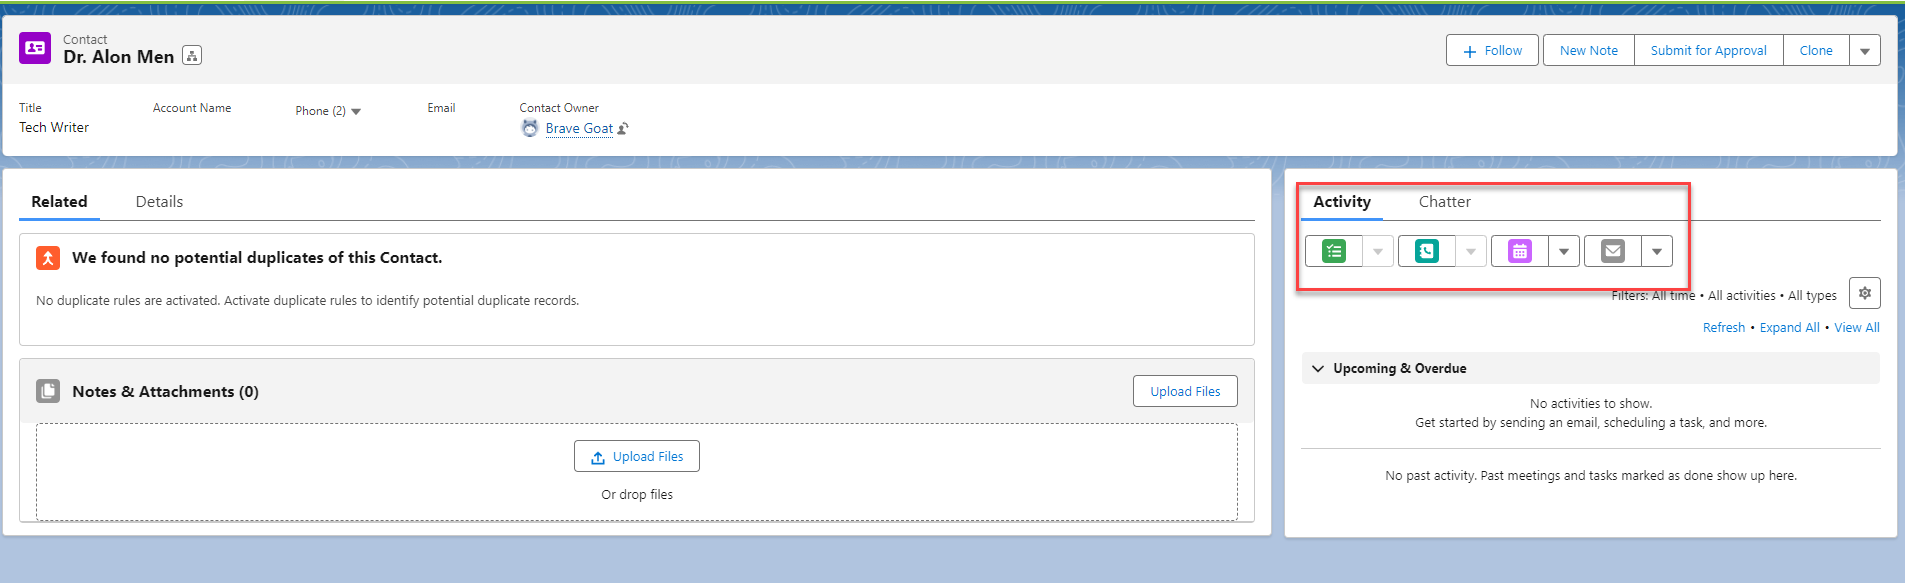
The Quick Actions step runs the specified quick action on the current record. This means that it will simulate clicking on the relevant quick action button and filling up the specified fields. The Quick Actions step can be used to perform the following quick actions on a record:
- New task
- Log a call
- New event
Record display requirementThe step itself does not navigate to the record, so you will need the system to navigate to the specific record during the execution of a test, so that the designated step will be performed when the record is displayed on Salesforce. To learn more, see Find and display a specific Salesforce record during test execution.
Creating a Quick Actions Step
To create a Quick Actions step:
-
In your test, add a step before the Quick Actions step that will navigate to the desired record. To learn more, see Find and display a specific Salesforce record during test execution.
-
Add a step by clicking the + button.
-
Under the Salesforce steps tab, click Record Operations and select the Quick Actions step.
The Quick Actions step is added and the following Object properties is displayed.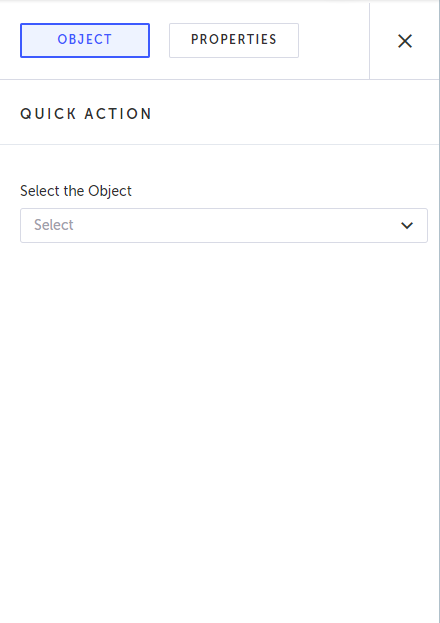
-
Under Select Record Type, select the record type of the record for which you want to add a quick action item.
-
Under Select Quick Action, select the desired Quick Action.
The form of the Quick Action is displayed. Each Quick Action has a different form. Fields that are indicated with (*) are mandatory.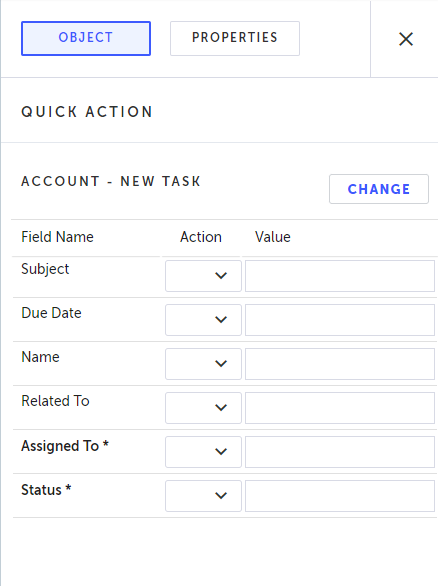
-
For each field that you want to fill, under Action select one of the following options:
- Input - inputs the specified value into the field. If the field is not editable, this action will not be listed. The action requires entering a value, as described below.
- Verify -this action verifies that the value in the field matches that in the record. The action requires entering a value, as described below. The action requires entering a value, as described below.
- Verify not visible - this action verifies that the field is not visible to the connected user. The action does not require entering a value.
- Store - this action stores the existing value in the record field into a specified Javascript variable. This action requires entering a name for the variable into the value field.
- Ignore - this action performs no action on the field. The action does not require entering a value.
- Reset - resets the value in the field to a "no entry" state. Note that if the field is empty, it will try to enter an empty string to the field, however if you select the Reset option, it will not try to enter an empty string.
-
Under Value, enter the value of the field. If the field is a "pick list" (drop down menu), select the relevant option.
The value field has two modes, to switch between the modes click the filed and the click the sign to alternate between T and {JS}:- T. Text mode. The value is treated as a literal string.
- {JS}. JavaScript mode. The value is evaluated as a JavaScipt expression. The field will evaluate JavaSrcipt variables and functions.
-
When finished, click Save.
Updated 6 months ago