Validate Element Visualization
Validate visual details down to the pixel level
The Validate element visualization step allows you to compare visual differences of a specific element between your baseline and your current test run. This functionality is provided as a service by Applitools, and requires integration with their Applitools Eyes app. For more information see Visual Validation (element, viewport, full-page)
This is a PRO featureThis feature is only open to projects on our professional plan. To learn more about our professional plan, click here.
Adding a Validate element visualization step
To add a Validate element visualization step:
- Hover over the (arrow symbol) where you want to add the validation.

The action options are displayed.

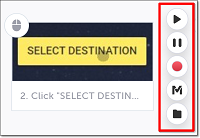
- Click on the Toggle breakpoint button.

- Click on the Run test button, to run the test until the breakpoint.

- Hover over the (arrow symbol) again and click on the “M” (Testim predefined steps).
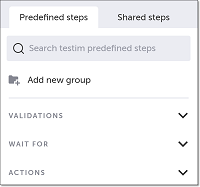
The Predefined steps menu opens.

- Click on Validations.
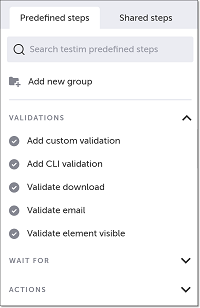
The Validations menu expands.

- Scroll down through the menu and select Validate element visualization.
Alternatively, you can use the search box at the top of the menu to search for Validate element visualization.
- In the AUT window, identify the relevant element for which you wish to validate an HTML attribute, and click on it to select it.
The “Element Visual Validation” step is added in the Editor, and a thumbnail of the selected element is shown in the step.

- Click on the Toggle Breakpoint button after the validation step to remove the breakpoint.
When you run your test, the baseline visualization will be compared to the test run. If the step fails due to a visual validation failure, double-click the failed visual validation step to open the details in Applitools Eyes.
You can also use keyboard shortcuts to add a Validate element visualization step. See Keyboard shortcuts.
Testim automatically creates a baseline in the first step run. It is recommended that in the Applitools UI you review, customize, and confirm that this baseline meets your expectations.
Updated 5 months ago
