Editing Tests
Learn how to edit an existing test - Add new steps, copy & paste, delete steps and modify steps.
After a test is created, you can edit it by adding or deleting new steps at any location within the test. You can also modify existing steps by editing the Properties panel.
Adding/Removing Steps
You can add new steps to an existing test either at the end of the test, or at a specific location between steps. The new steps can be added in the following ways:
- By recording them in the AUT (Application Under Test)
- By manually creating them
- By copying & pasting them from somewhere else
Record Additional Steps
You can add additional steps to the end of your test or between current steps by recording them in the AUT browser.
Recording additional steps at the end
To record additional steps at the end of your current test:
- Click on the Toggle Recording icon (in the top bar) to start recording.

The AUT browser opens with a message that your test is being recorded.
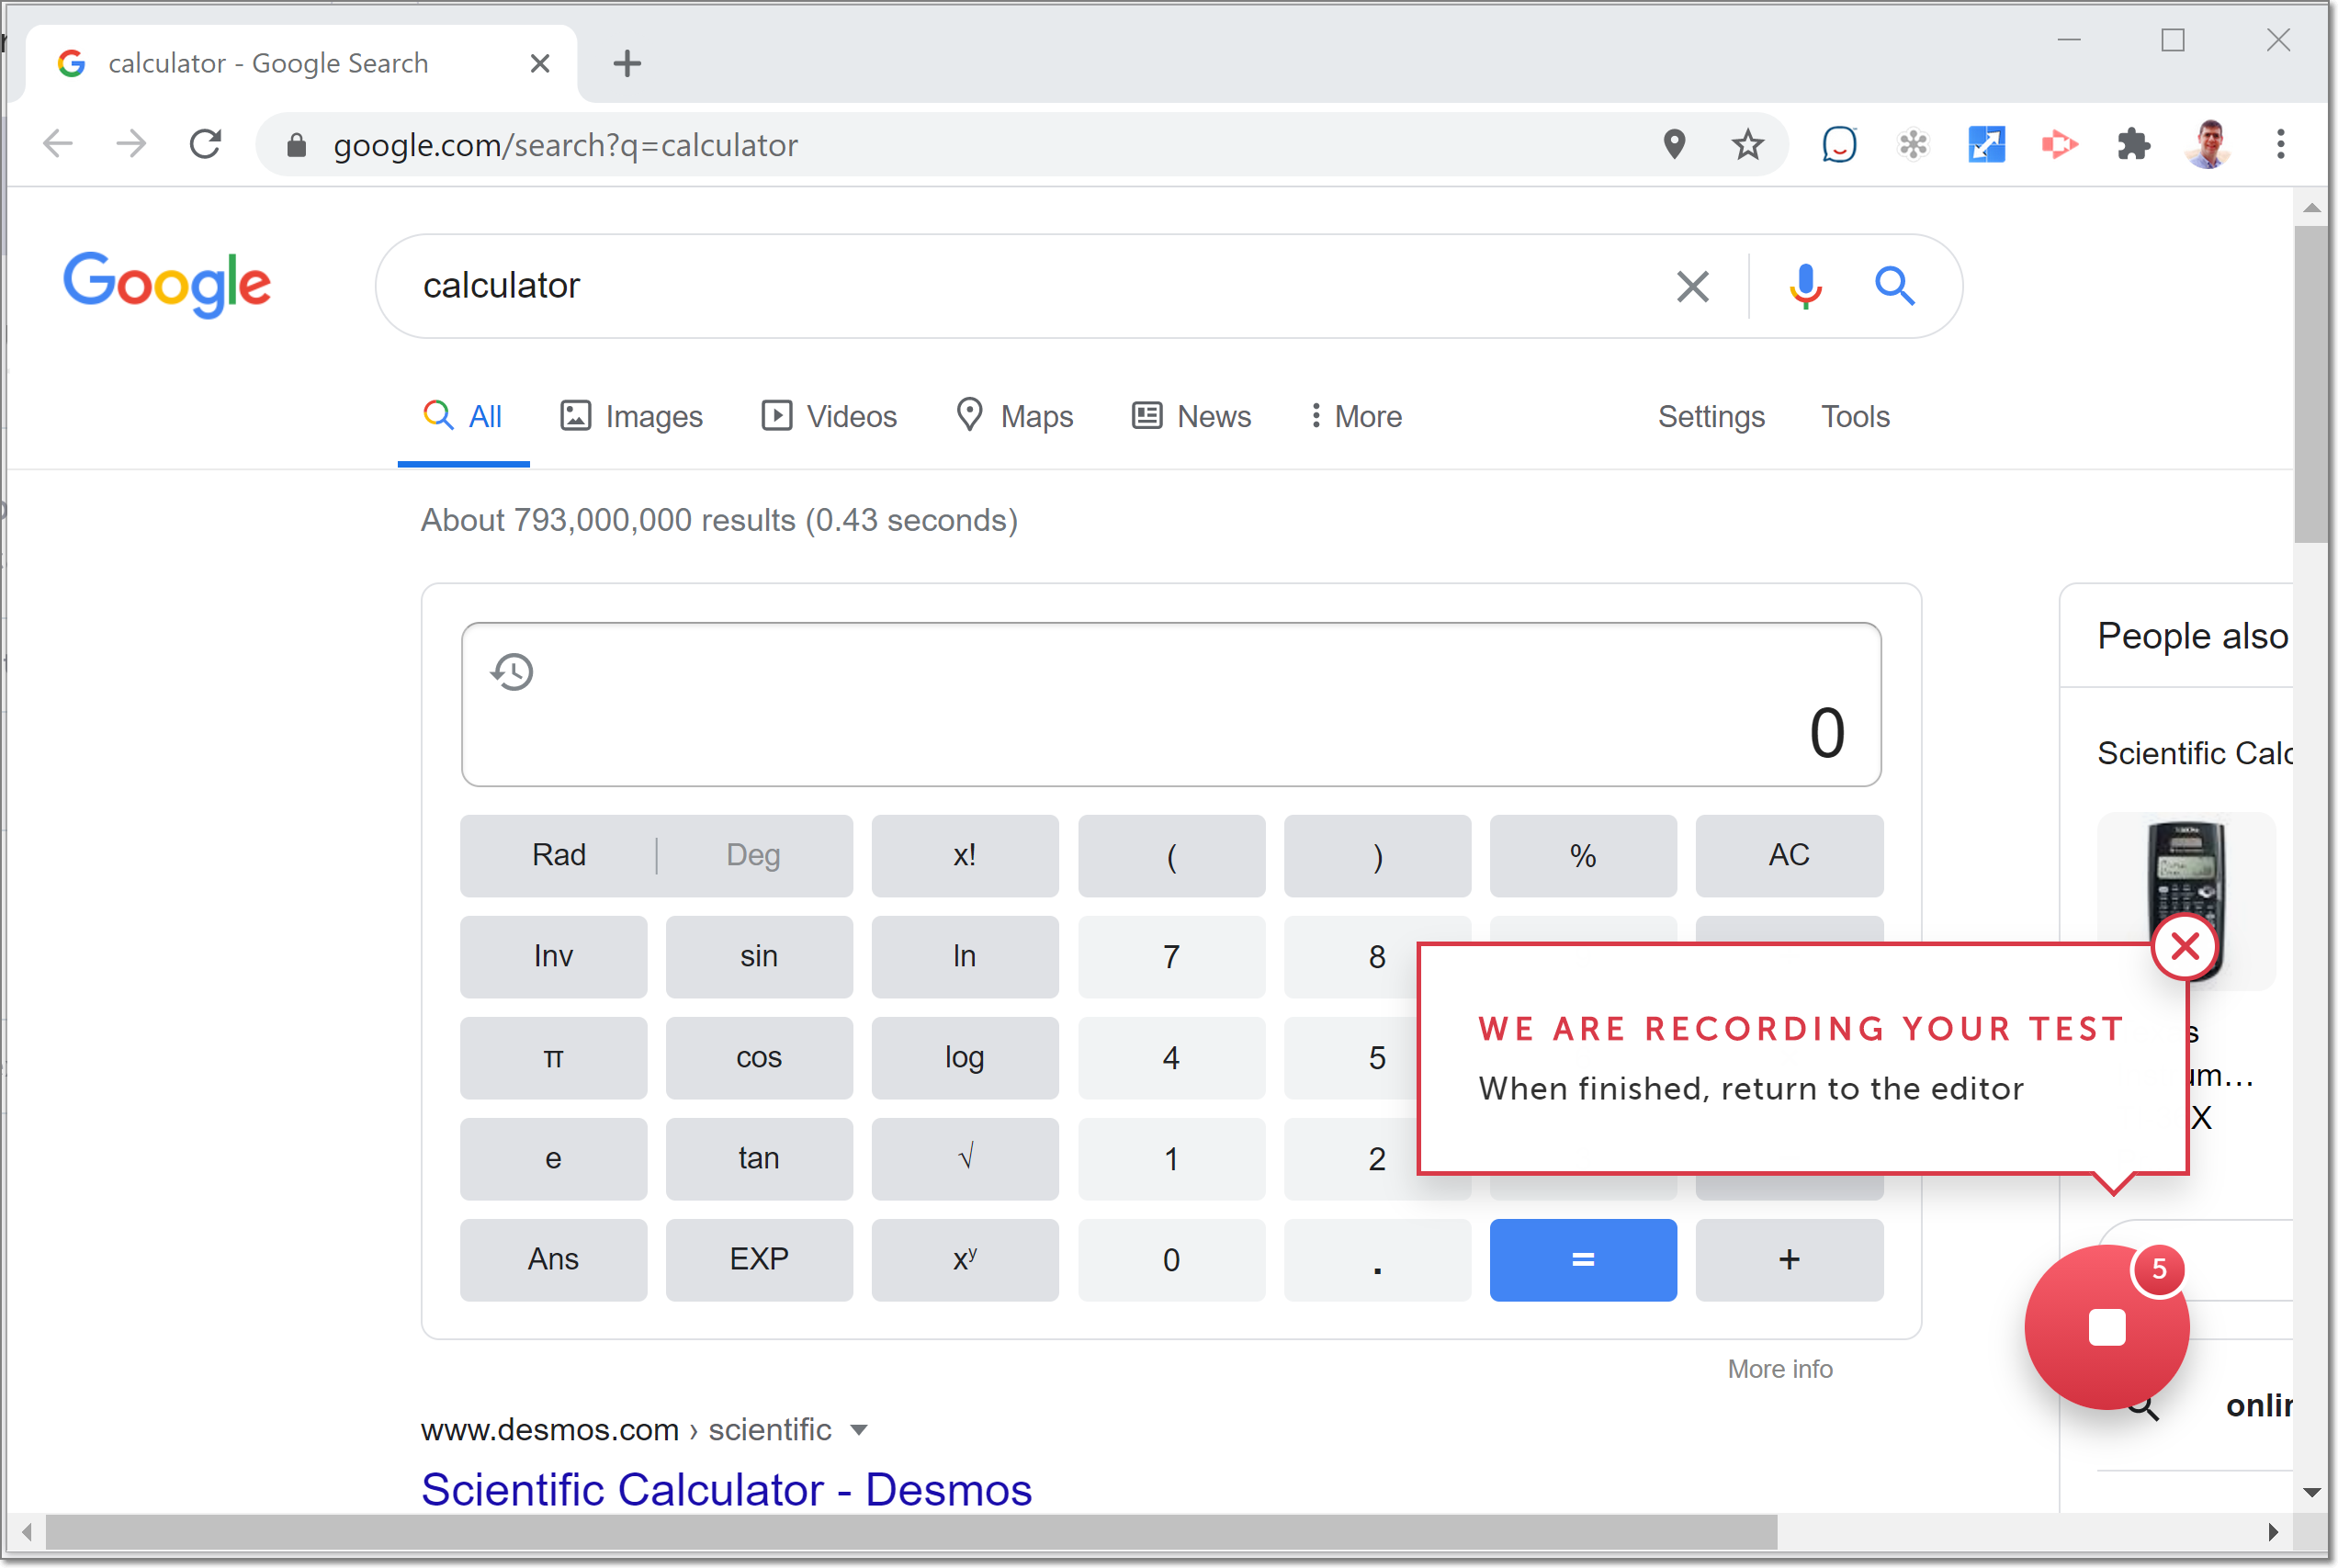
- Record the new steps in your test just as you would if you were recording a new test. See Recording the test on the How to Record a Test page.
- Click the Stop Recording button when you have completed recording your new steps.
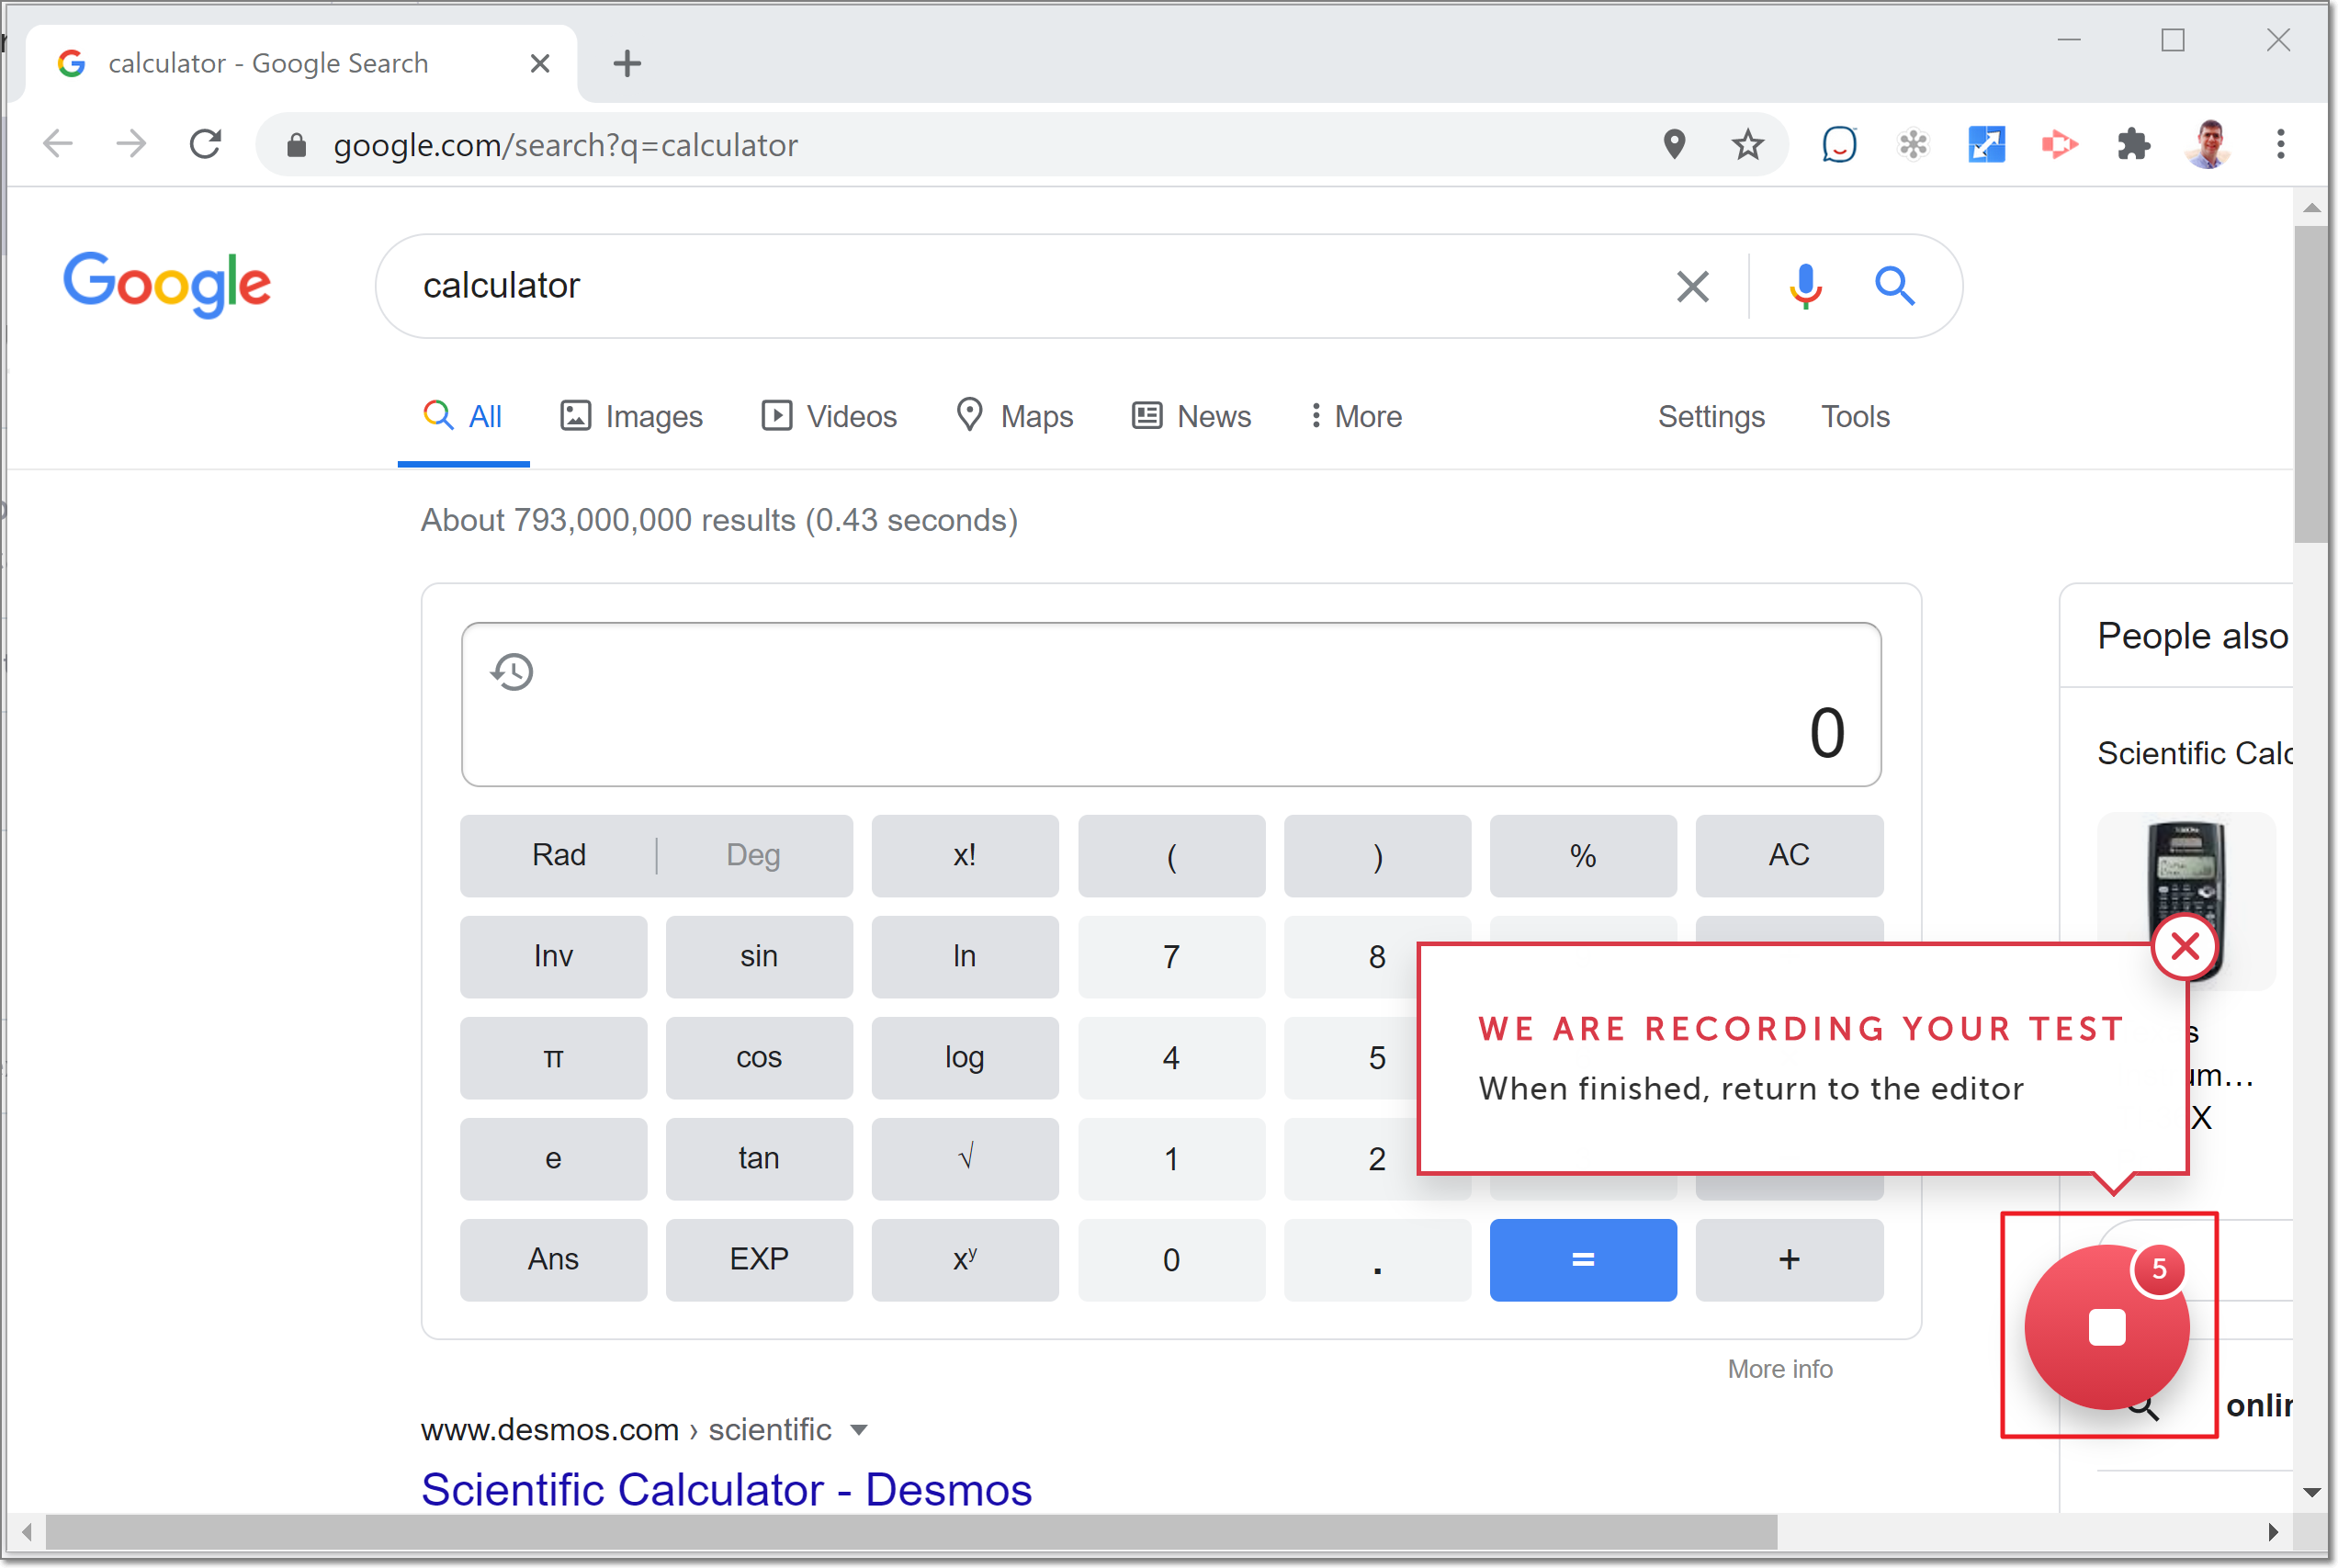
You are redirected to the Editor, and the new steps are appended to the end of your test.
Recording additional steps between existing steps
To record additional steps between two currently existing steps:
- Hover over the > (arrow symbol) between the two steps.

The action options are displayed.
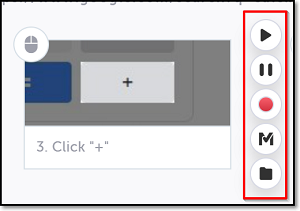
- Click on the red circle (Record actions here).
The AUT browser opens with a message that your test is being recorded.
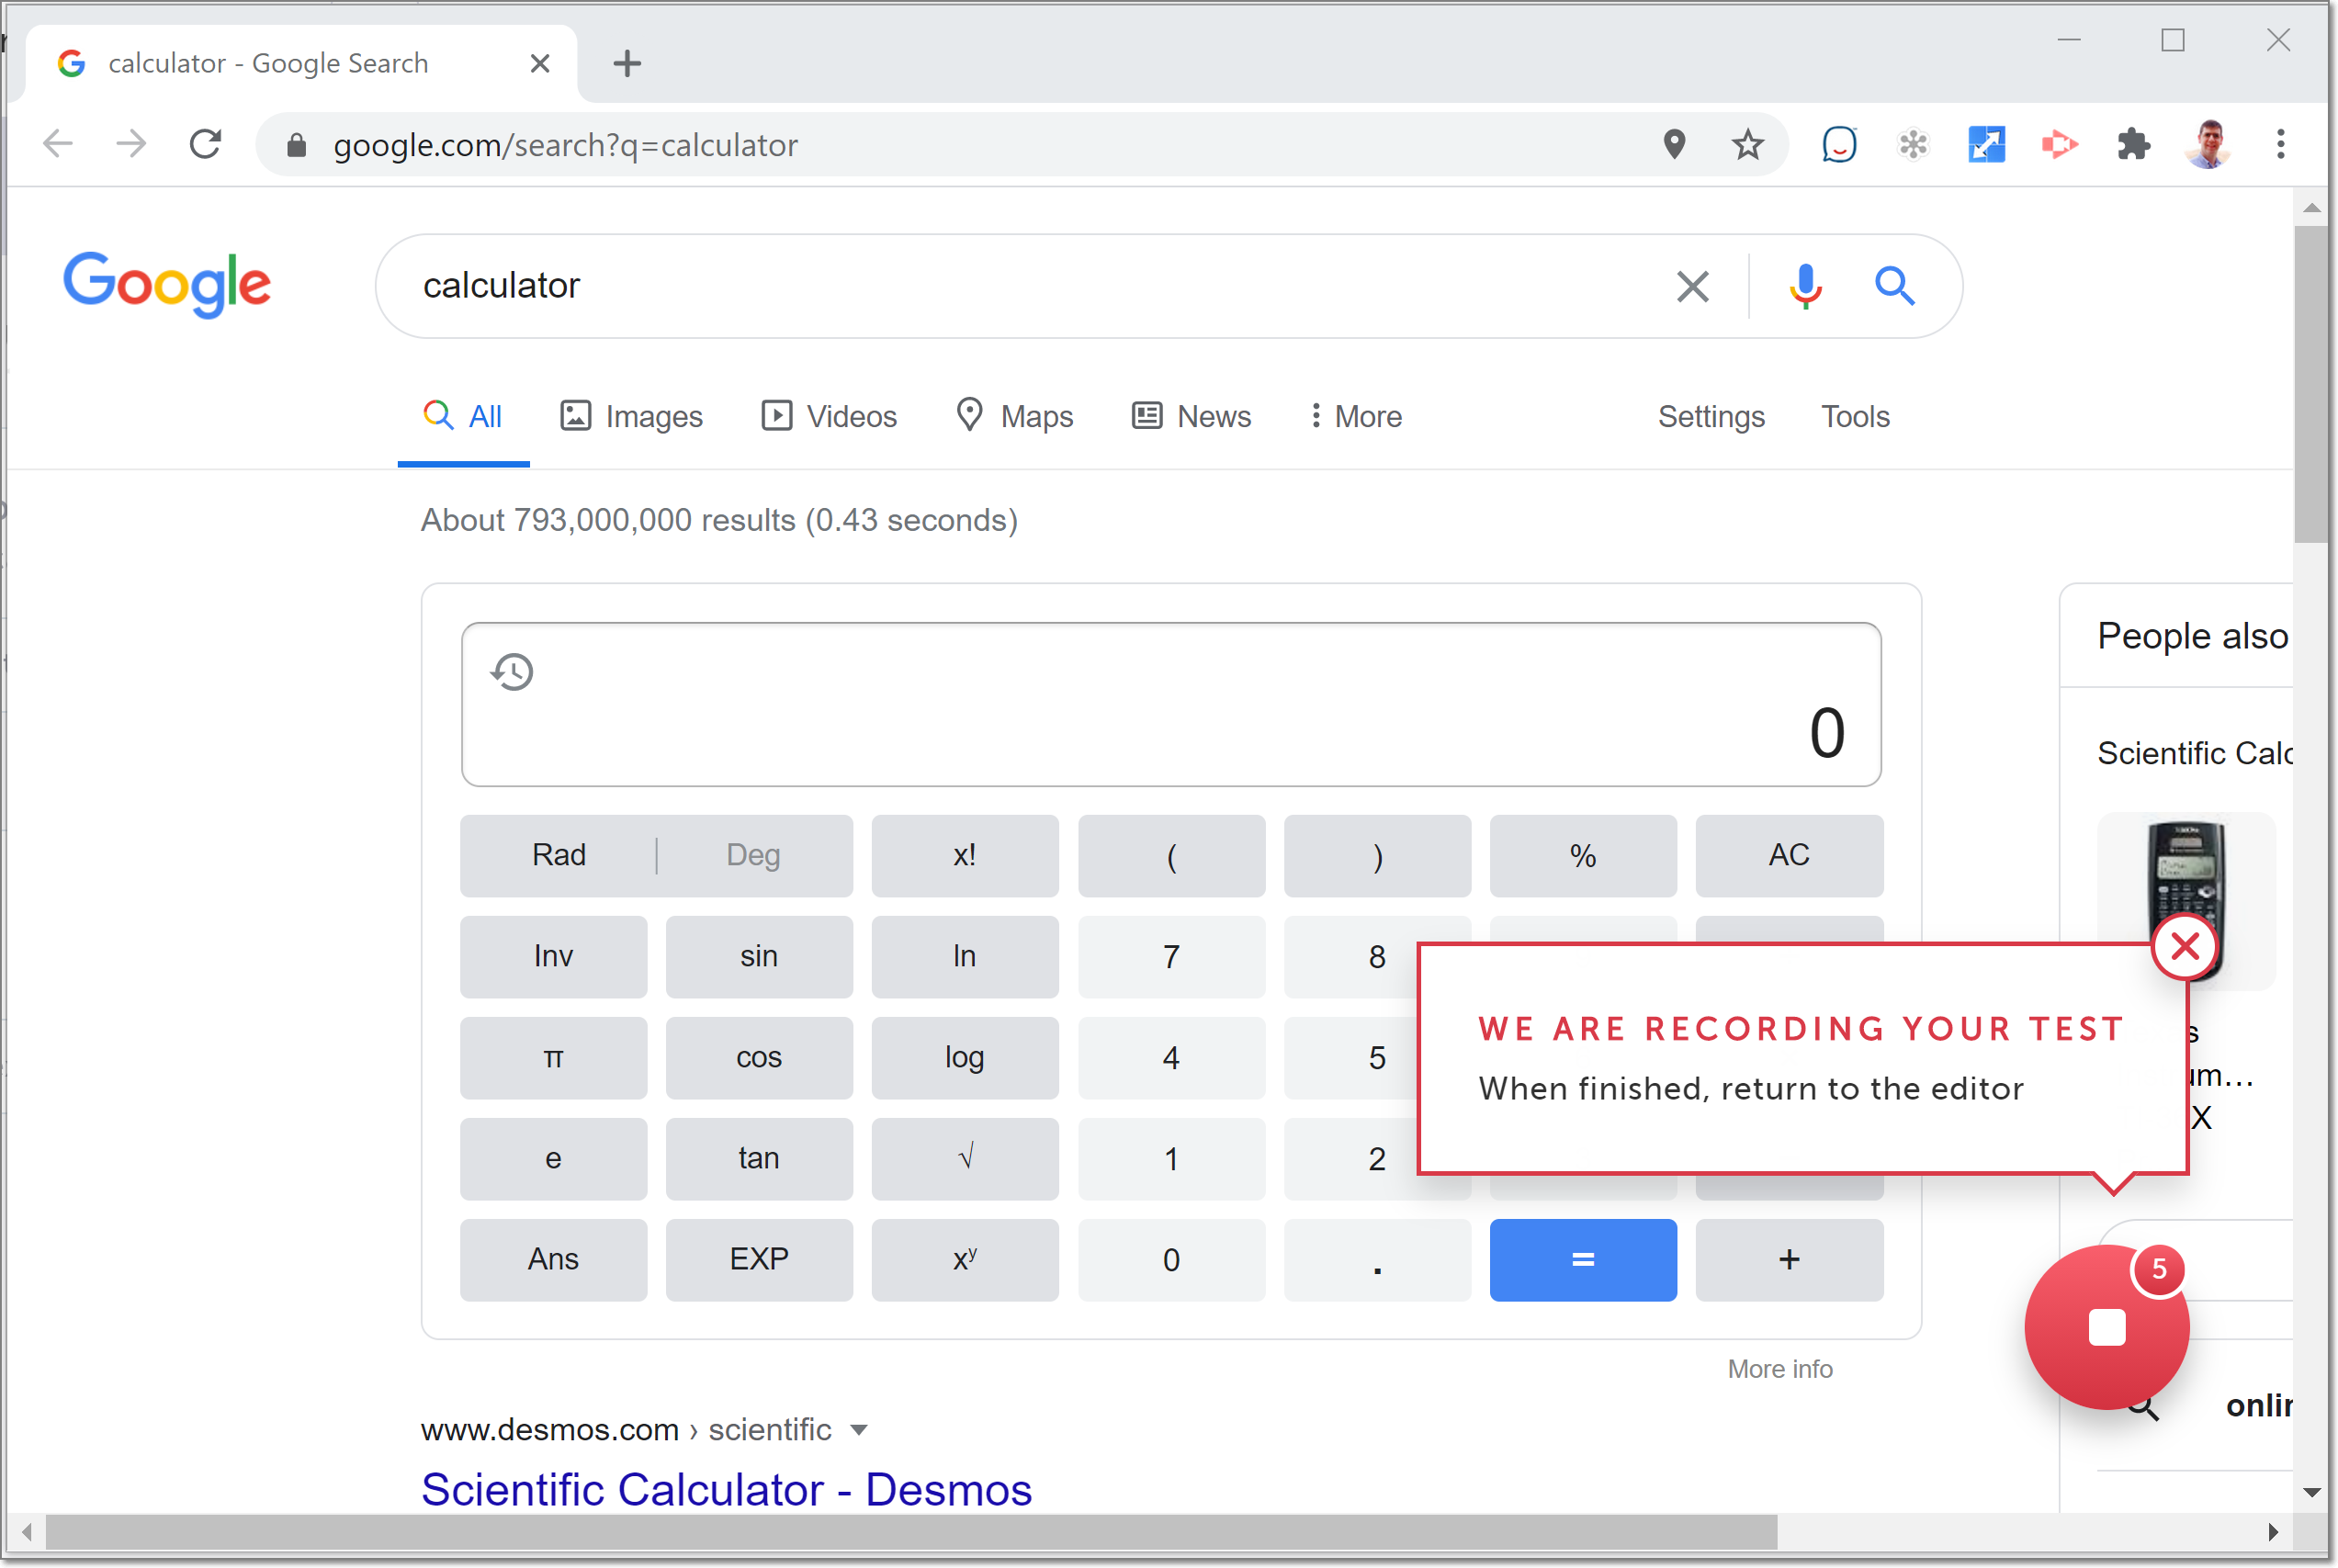
- Record the new steps in your test just as you would if you were recording a new test. See Recording the test on the How to Record a Test page.
- Click the Stop Recording button when you have completed recording your new steps.
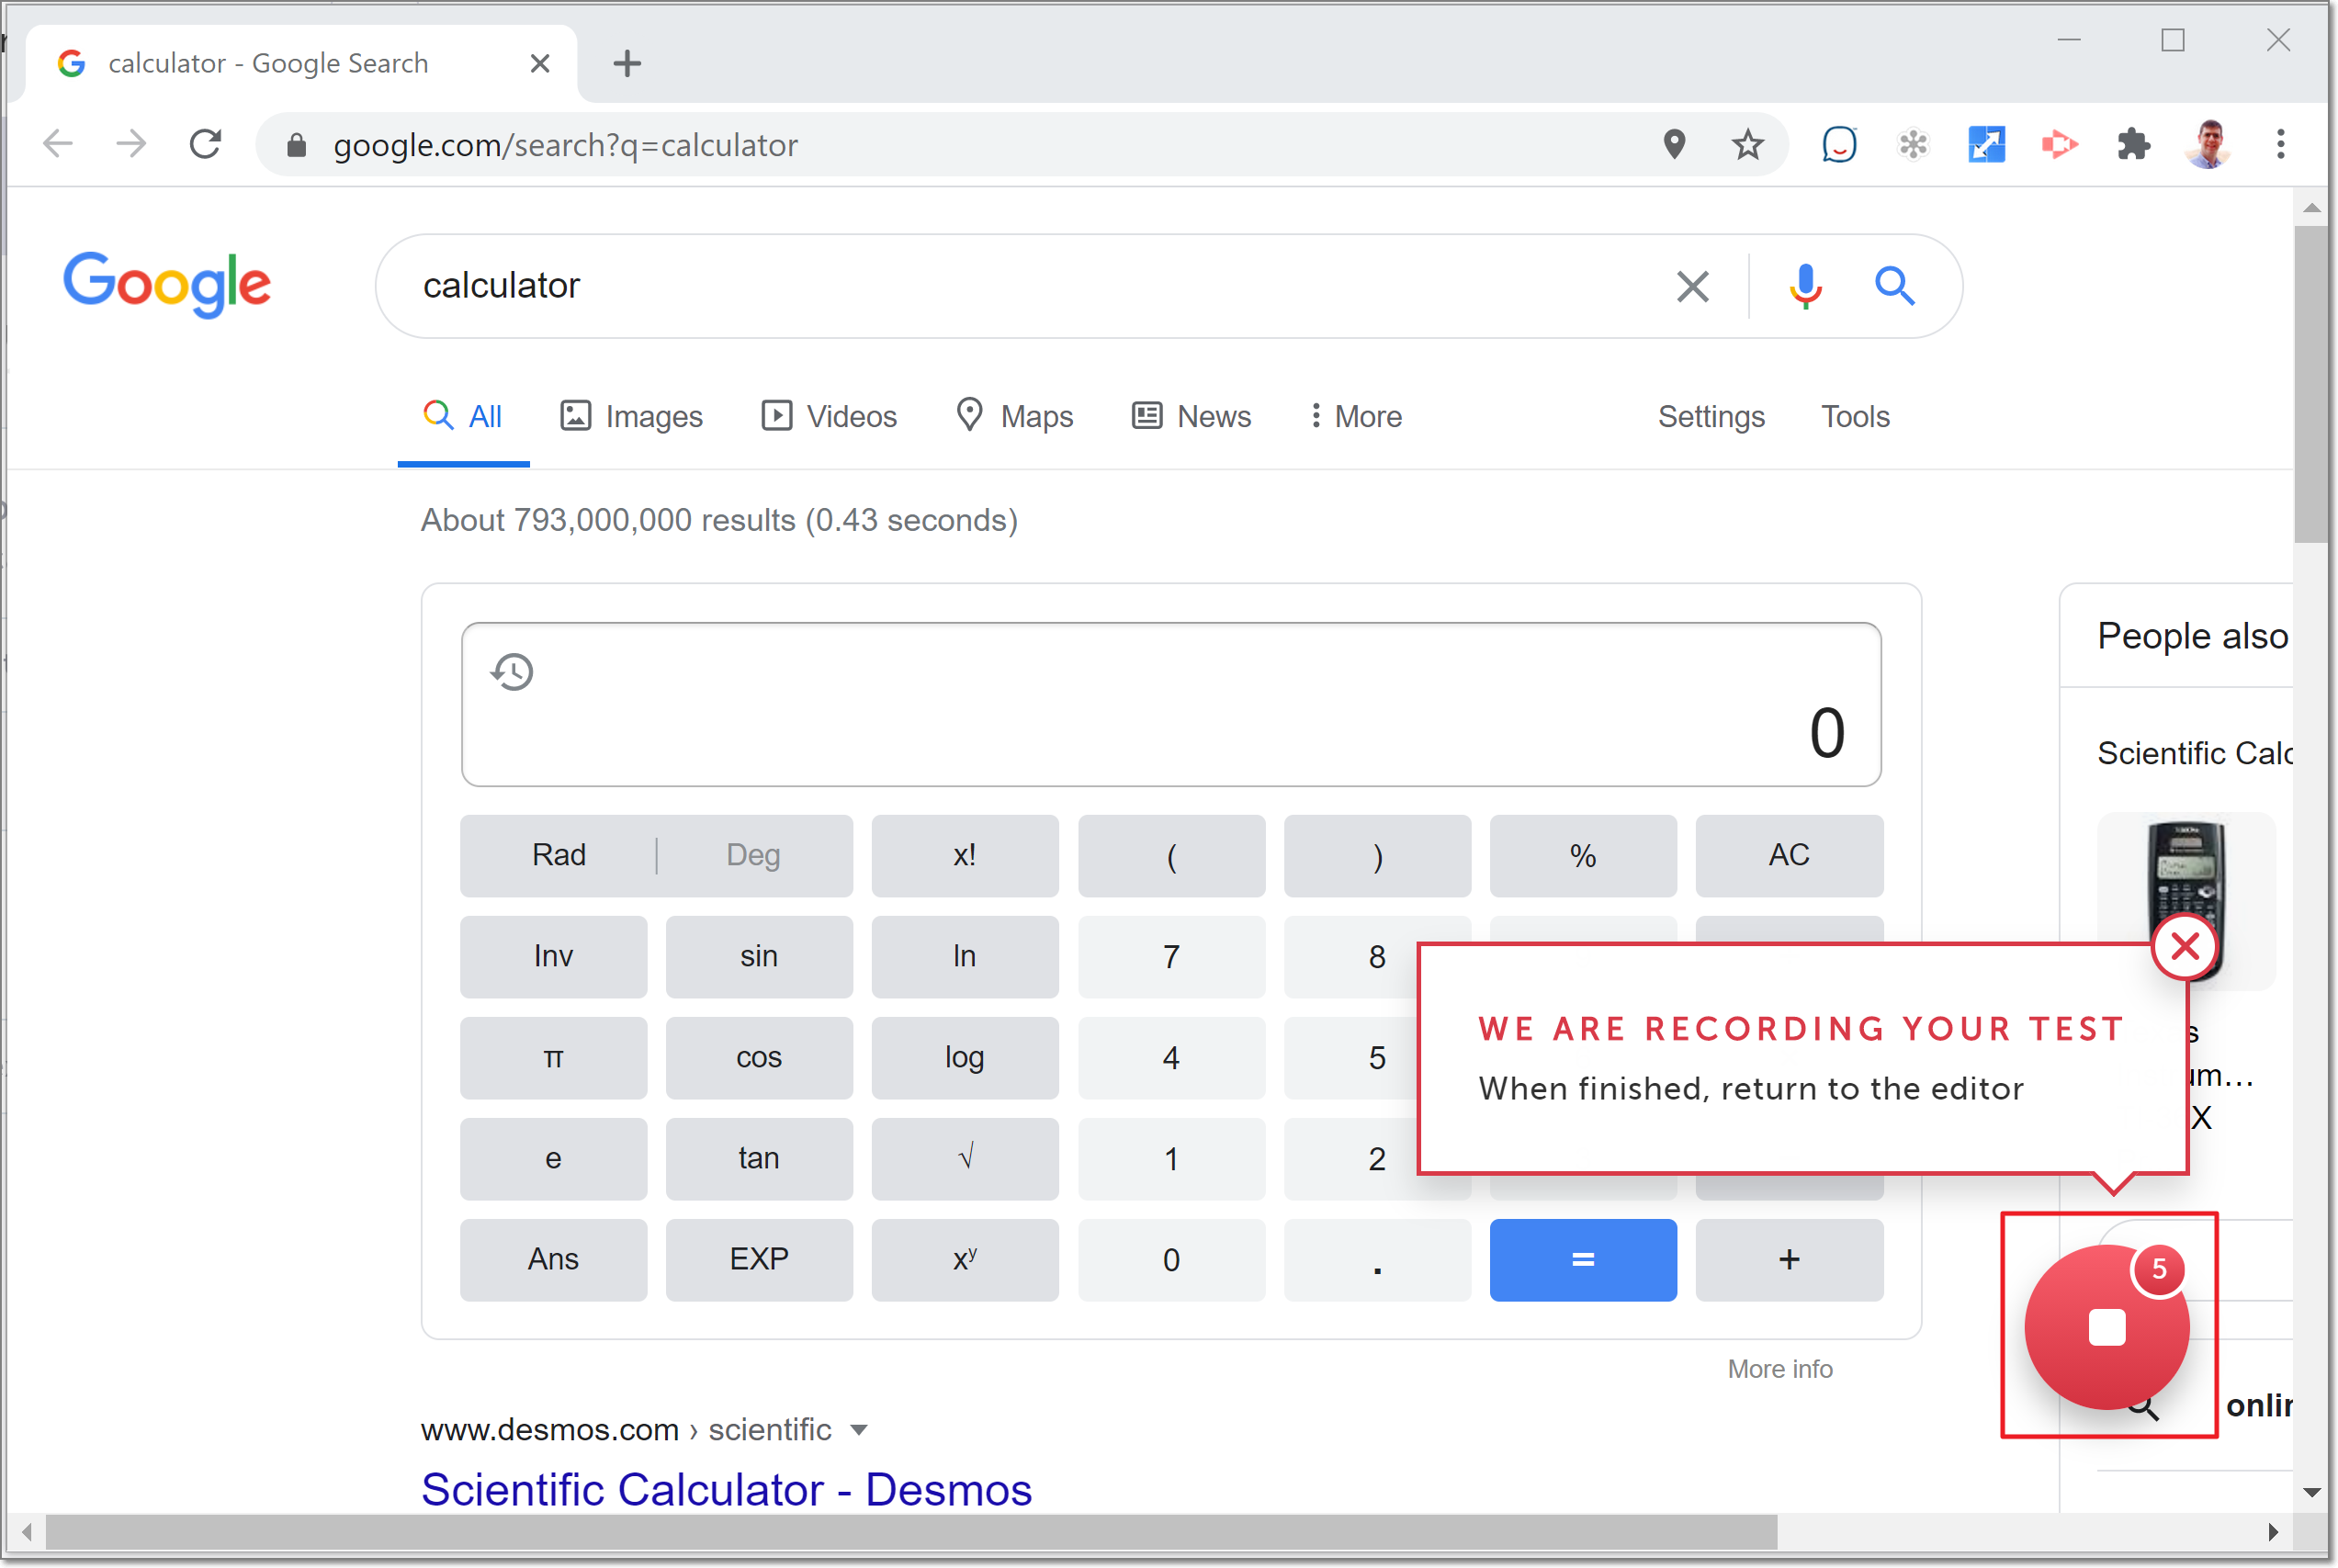
You are redirected to the Editor, and the new steps are inserted between the two steps you selected.
Copy & Paste Steps
Any step, group of steps, or group step can be copied and pasted to any location in your test or another test.
Copying a step
To copy a step, group of steps, or group step to the clipboard:
- Select the step(s) you would like to copy by clicking and dragging around the step(s), or by holding down the CTRL/CMD key and clicking on each step you would like to copy. The selected steps are highlighted in blue.

Note: after you drag and drop a step in the editor, you will be able to undo, by clicking on the toast message.
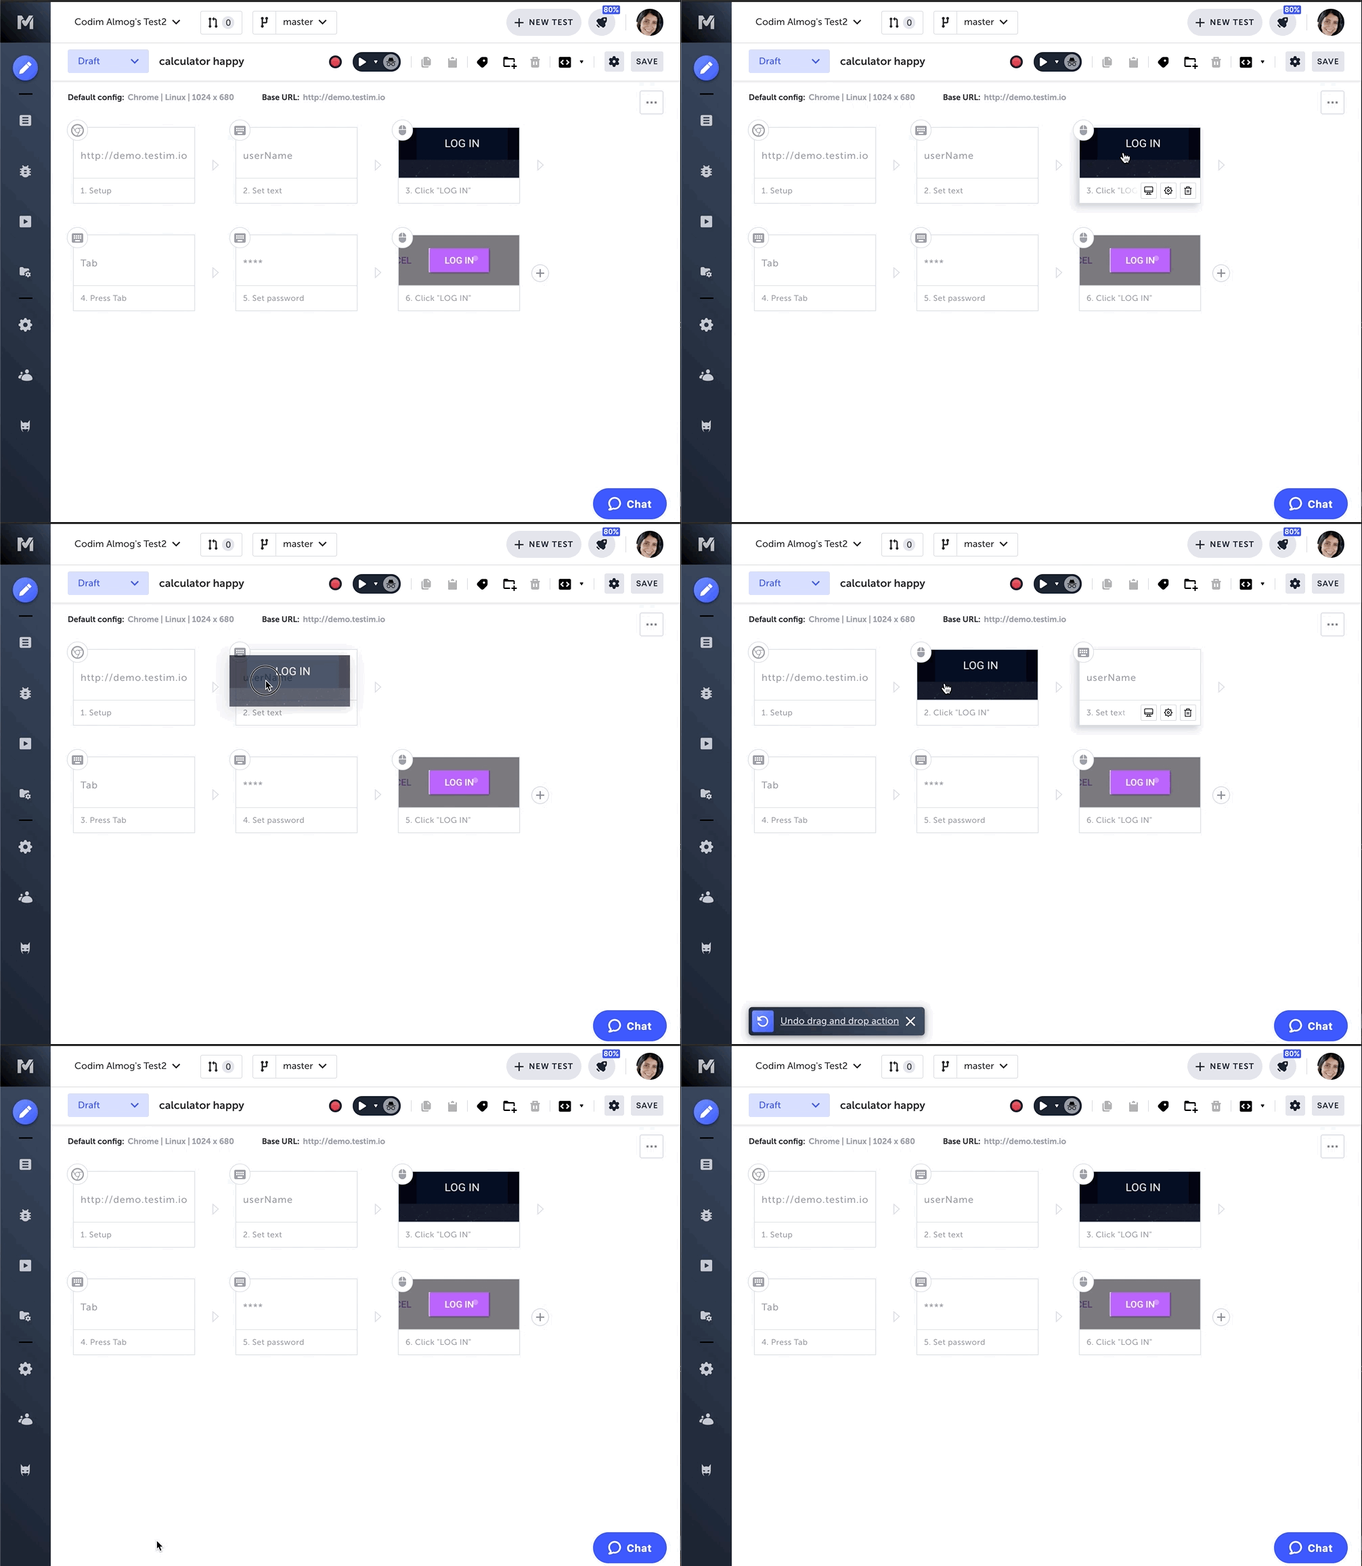
- While the steps are selected, click the Copy icon (in the top bar).

The step, group of steps, or group step is copied to the clipboard. To paste your copied step(s), see the procedure below.
Cutting a Step
To copy one or more steps or a group step:
- Select one or more steps by holding the CTRL/CMD key on your keyboard and clicking the steps in your test.
- Click the Cut button in the action menu or CTRL/CMD + X on the keyboard.

Note:You are only able to cut and paste a step within the same test.
Pasting a step
To paste a step, group of steps, or group step:
- After copying or cutting the desired step(s) to the clipboard, hover over the > (arrow symbol) between the two steps where you want to paste your steps.

The action options are displayed.
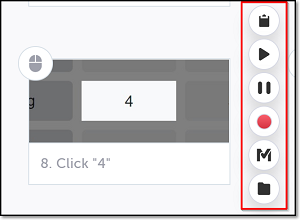
- Click on the Paste copied steps icon.

The step(s) are moved from their original location and pasted into the Editor at the location you specified.

Note:If you click the paste button in the action menu without selecting a location, the step will be pasted to the end of the test.
Manually Create Additional Steps
There are many types of steps that can be manually created. For more information, see additional articles under Editing Tests and under Advanced Editing.
Creating a step manually
To manually create a step:
- Hover over the > (arrow symbol) where you want to add your step.

The action options are displayed.
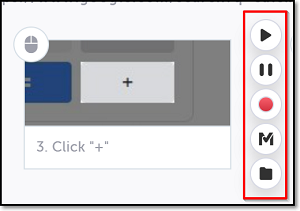
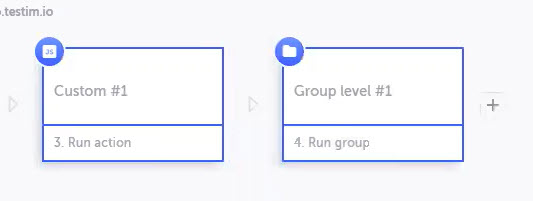
- Click on the "M" (Testim predefined steps) or the folder (Shared steps).
The Predefined steps menu or Shared steps menu opens.
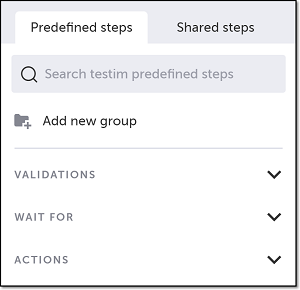
- Choose one of the many options from the menus to create your desired step, and edit the step as described elsewhere in the documentation. For example, to add a custom action, see Creating a Custom Action.
Deleting Steps
You have the option of deleting individual steps or multiple steps at once.
Deleting an individual step
To delete an individual step:
- Hover over the step and then click on the Delete step icon.

- Click OK in the Delete Step confirmation window that is shown.
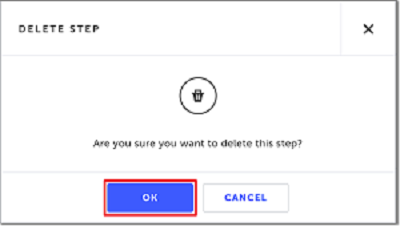
The step is deleted.
Deleting multiple steps
To delete multiple steps:
- Select the steps that you would like to delete by clicking and dragging around the steps, or by holding down the CTRL/CMD key and clicking on each step you would like to delete. The selected steps are highlighted in blue.

- Use one of the following options to delete the selected steps:
- Press Backspace on your keyboard.
- Press Delete on your keyboard.
- Click the Delete icon in the top bar.

- Click OK in the Delete Steps confirmation window that is shown.
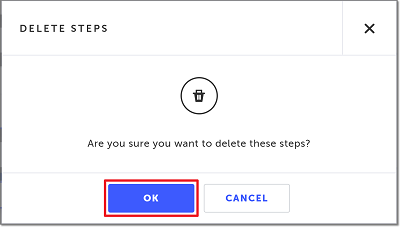
The selected steps are deleted.
Updated 5 months ago
