Element Accessibility Validation
Accessible web pages are web pages that are designed in a way that people with disabilities or impairments can use them. Most US and EU organizations require accessibility compliance.
Using the Validate element accessibility step, you can check if a specific element on your web page could have been made accessible, but was not. The accessibility checks are based on rules, which are listed here: https://github.com/dequelabs/axe-core/blob/develop/doc/rule-descriptions.md.
This is a pro featureThis is a pro feature only open to projects on our professional plan. To learn more about our professional plan, click here.
This step can run only on either Chrome or Edge Chromium.
Accessibility Validation SupportTestim Accessibility steps use one of the leading accessibility libraries, Axe Core by Deque. Note that pure accessibility violations detected within the Accessibility step are primarily related to your application code. As such, addressing these specific issues falls outside the scope of Testim's support. If you encounter challenges in rectifying accessibility violations through code fixes, we advise you to seek assistance from Deque Axe-Core issues page. As accessibility experts, they can provide specialized guidance and solutions to address these issues effectively.
Adding a Validate element accessibility step
Steps created before Jan 2022 are not shared. To make them shared, please record them again.
To add a Validate element accessibility step:
- Hover over the (arrow symbol) where you want to add the step.

The action options are displayed.
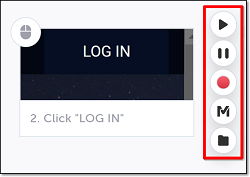
- Click on the Toggle Breakpoint button.
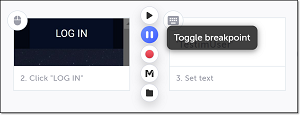
- Click on the Run test button to run the test until the breakpoint.

- Hover over the (arrow symbol) again and click on the “M” (Testim predefined steps).
The Predefined steps menu opens.
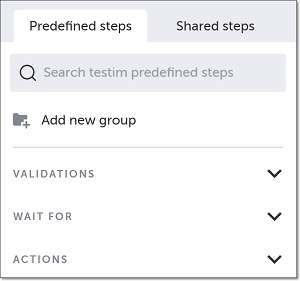
5.Click on Validations.
The Validations menu expands.
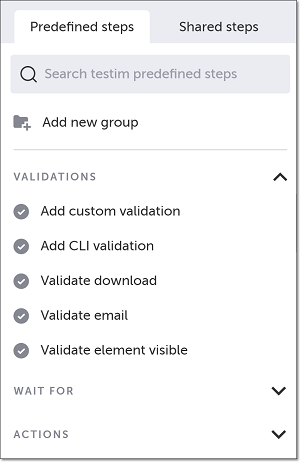
- Scroll down through the menu and select Validate element accessibility.
Alternatively, you can use the search box at the top of the menu to search for Validate element accessibility.
- In the AUT window, identify the relevant element for which you wish to validate its accessibility, and click on it to select it.
A Validate element accessibility step is added in the Editor.

- Hover over the newly created step, and click on the Show Properties (:fa-cog:) icon.

The Properties panel opens on the right-hand side.
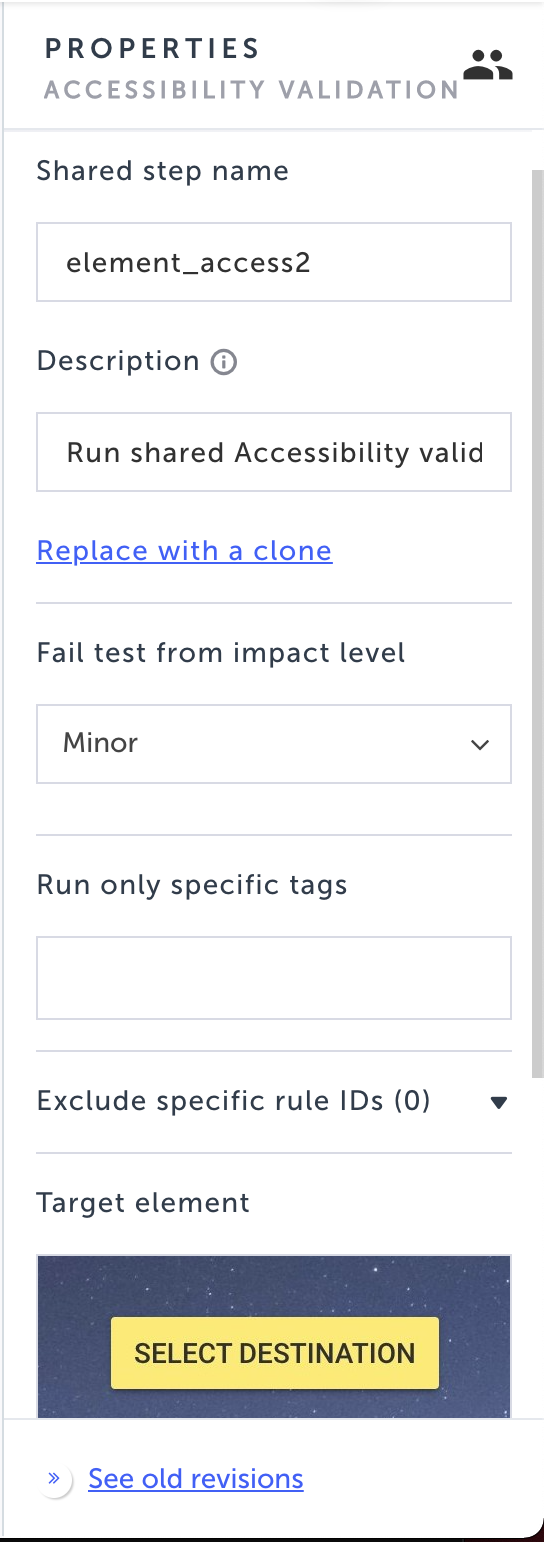
- Fill in the properties as described below.
- Description – The description of the step. (Default = Accessibility validation)
- Fail test from impact level – The minimal impact level that will fail the test. Options are: Critical, Serious, Moderate, and Minor. (Default = Minor)
- Run only specific tags – Click in this field and choose the protocols you wish to test from the dropdown options available. See table below. By default all tags are selected.
- Exclude specific rule IDs – If you wish to exclude specific rule IDs, select them from the list. In addition if you wish to only check specific rule IDs, you can select all and then un-select the ones you would like to test.
- When this step fails – Specify what to do if the step fails.
- When to run step – Specify conditions for when to run the step. For more info, see Conditions.
- Override timeout – Allows you to override the default time lapse setting which causes Testim to register a fail for a test step, and specify a different time lapse value (in milliseconds).
- Disable auto-scroll – Disables auto-scrolling to elements that exist, but are outside of the viewport.
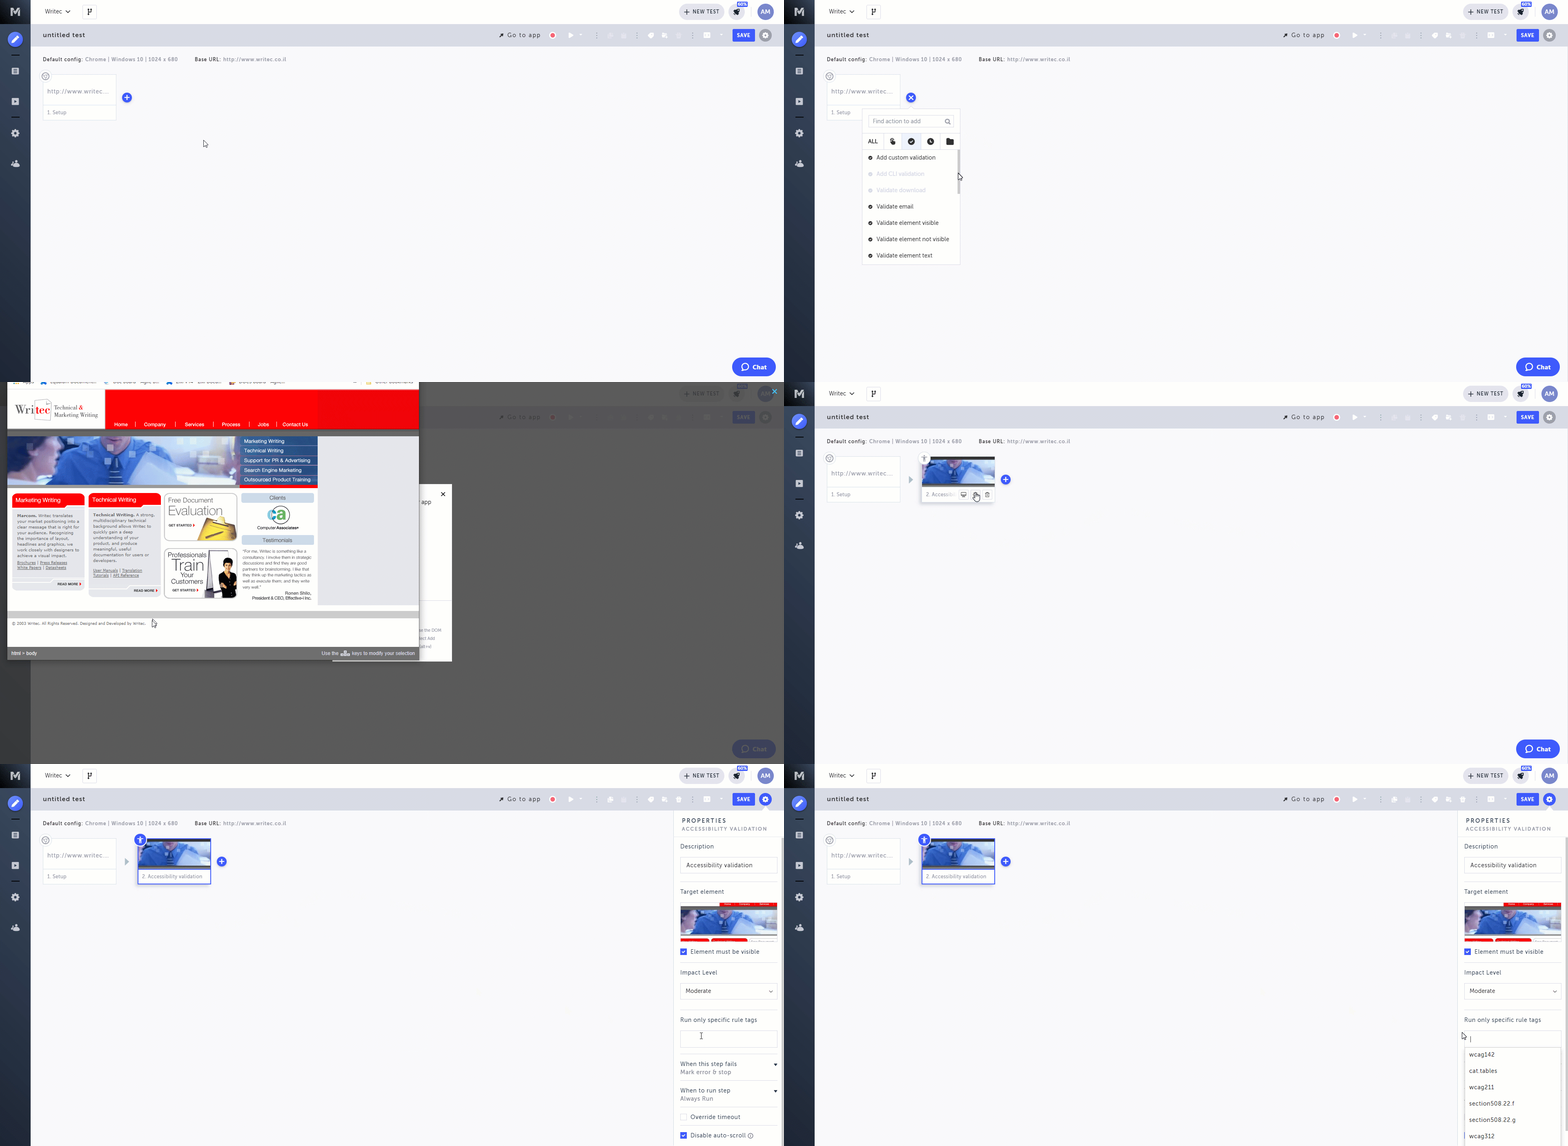
- Click on the Toggle Breakpoint button after the Validation step to remove the breakpoint.
When the test is run, the accessibility level of the selected element will be checked against the parameters you set. If accessibility violations are found and the step fails, you can view the accessibility report to see detailed results.
Viewing the element accessibility results
After a test with a Validate element accessibility step is run, if accessibility violations are found, a Step Failed: Accessibility violations were found error message is shown, and you can view detailed accessibility violation results.
To view the element accessibility results:
- Hover over the failed Validate element accessibility step, and click on the Show Properties (:fa-cog:) icon.

The Properties panel opens on the right-hand side.
- In the Properties panel, click the Check here for more details link.
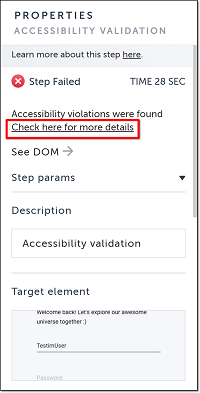
Alternatively, in the error panel, you can click on the Accessibility report link.

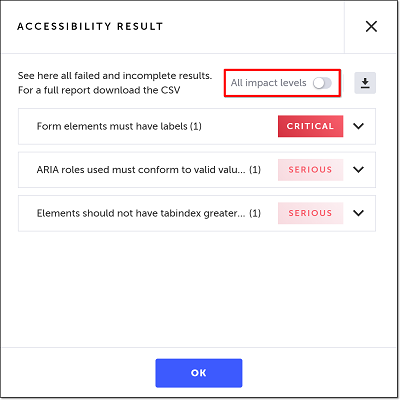
The Accessibility Result window is shown (based on the impact level you chose previously), displaying a list of accessibility issues, the number of occurrences that were found, and their impact levels.
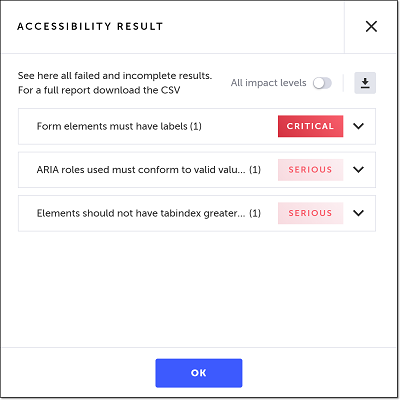
If you would like to show the accessibility issues found based on all of the impact levels, click the All impact levels toggle.
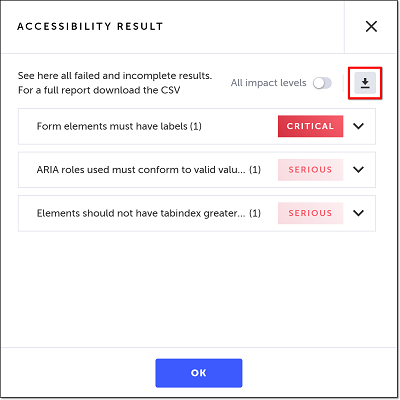
- If you would like to download the results as a CSV file, click the download icon. (The CSV file includes the results of all of the accessibility tests, including those that passed.)
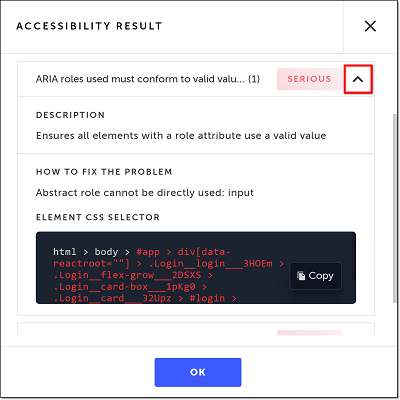
- Click the down arrow next to any of the results to show the following detailed information: Description, How To Fix The Problem, and Element CSS Selector.
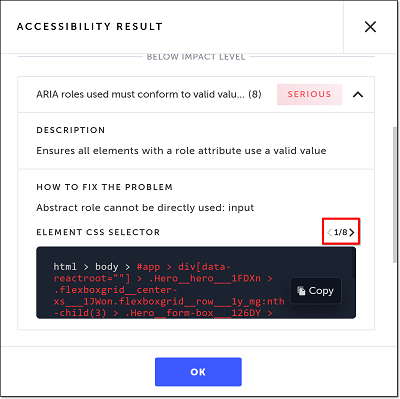
- If more than one occurrence of an accessibility issue was found, click the arrows in the Element CSS Selector section to show the different instances of the issue.
Rules Descriptions
Testim uses the following library to check the element accessibility level: https://github.com/dequelabs/axe-core/blob/develop/doc/rule-descriptions.md. Each rule has an associated impact level (e.g. Critical, Serious, Moderate, or Minor) and associated tags. When configuring the accessibility check, you can limit the check to certain tags and/or impact levels.
Updated 5 months ago
