Connecting your Salesforce environment
Before you create a Testim for Salesforce test, you need to connect a Salesforce environment to Testim for Salesforce. Each environment is associated with one or more branches (a branch can be associated with one environment).
Connecting a Salesforce environment
To connect a Salesforce environment:
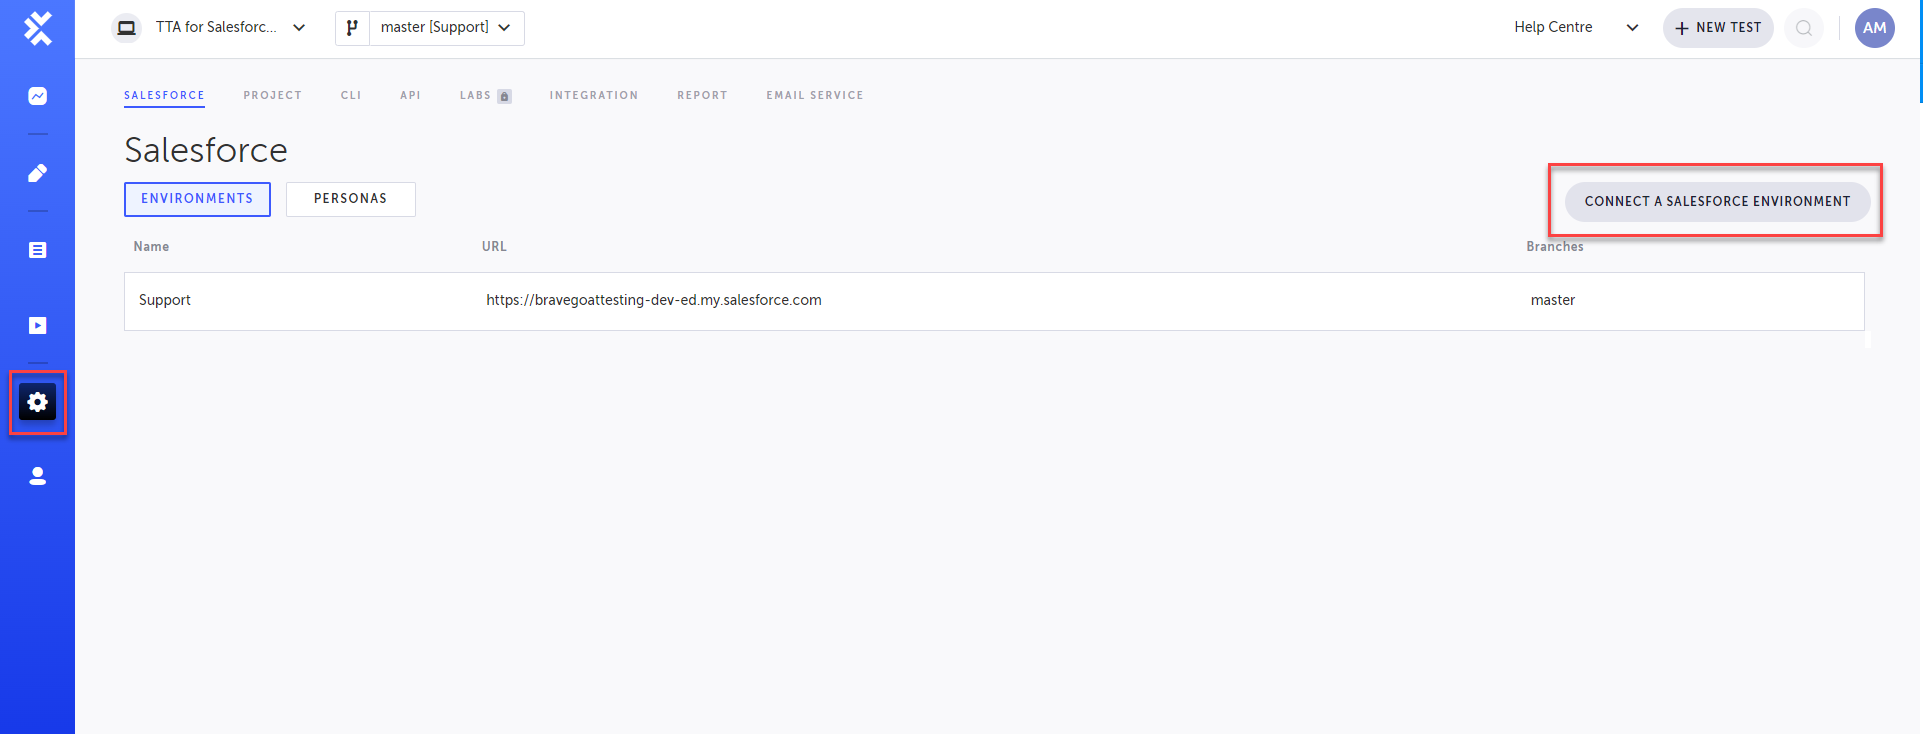
- In your Testim for Salesforce account, go to Settings > Salesforce > Environments and select Connect a salesforce environment.

- In the Select Type field, select the type of your Salesforce environment:
- Production - a Production environment is a live environment that is used by end users.
- Sandbox - a Sandbox environment is a smaller development or testing environment.
- In the Environment Name field, enter a name for your environment
- Do one of the following:
- If you want to use an existing branch, under Select Existing Branch, select the desired branch from the drop down menu.
- If you want to create a new branch, enter a name for the branch in the Create New Branch field.
- Click Connect.
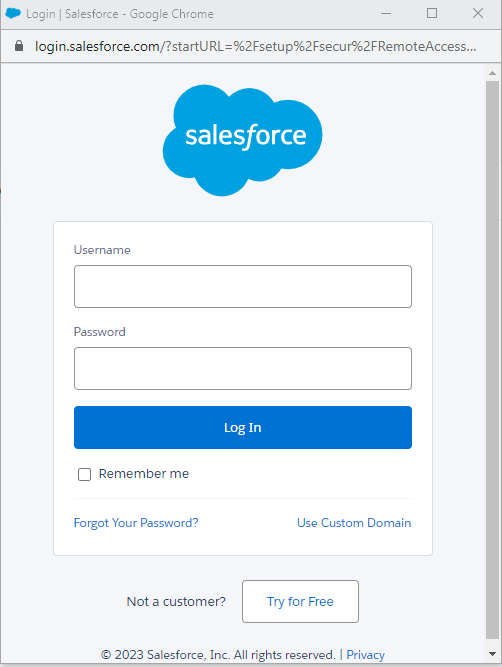
The Salesforce login screen is displayed.

- Log in with an account which has System Administrator privileges.
- Select Allow, to allow Testim for Salesforce to access the identity URL service, manage user data via APIs, and perform requests at any time.
Managing Existing Test Environments
To manage an existing test environment, select the more menu in the row of the environment and perform any of the following actions:
- Rename - You can rename the connect test environment by entering the new name and clicking Save.
- Reconnect - If there is any issue with Salesforce steps, you can reconnect your connected test environment by selecting the type of environment (Production/Sandbox), clicking Connect and them logging in to the Salesforce account.
- Delete environment - You can delete the connected test environment.
- Clear cache - You can clear the cache of the connected test environment.
Updated 5 months ago
