
Web Testing Getting Started (Codeless Test)
Welcome aboard!
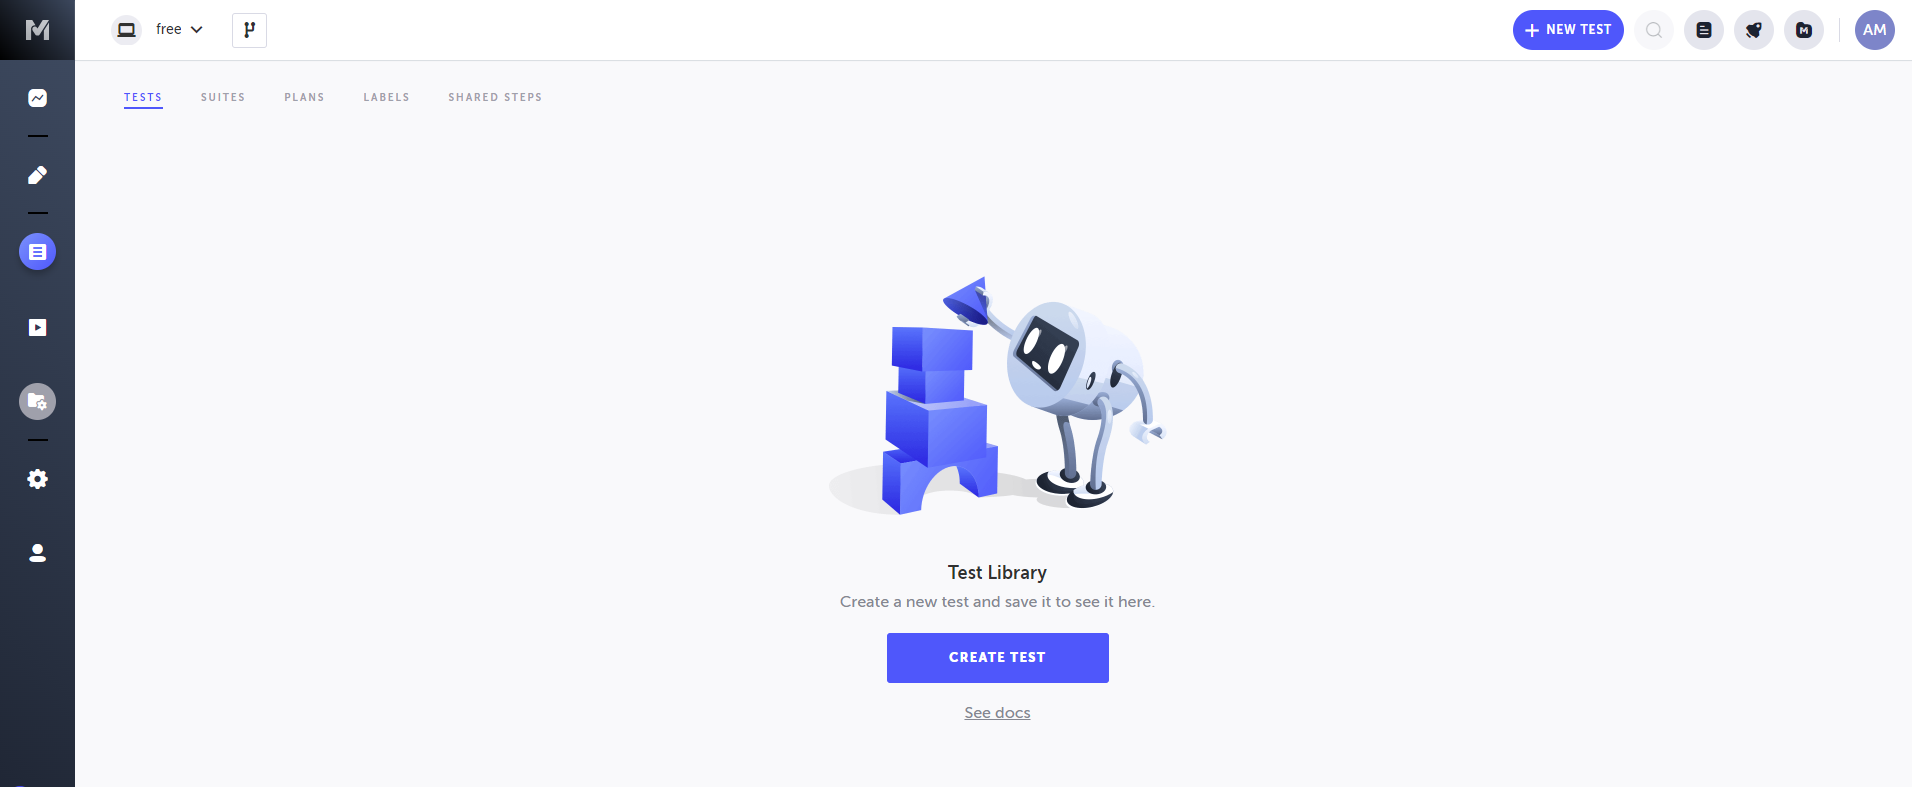
Upon completion of the signup process, you were redirected to the Testim Home screen.
You can access this screen at any time by clicking the Testim icon in your browser toolbar or by going to https://app.testim.io/.
Now, Let's create your first test!
Tutorial Use Case
Creating a test with Testim starts with going to the relevant website and recording the series of actions that you would like to test. Later you will be able to edit the properties for each of the steps and add validations.
For this tutorial we will be testing Testim’s demo website “Space & Beyond”. We will run a test of the site’s login procedure.
Recording the Test
To record the test:
- Click on Create Test.
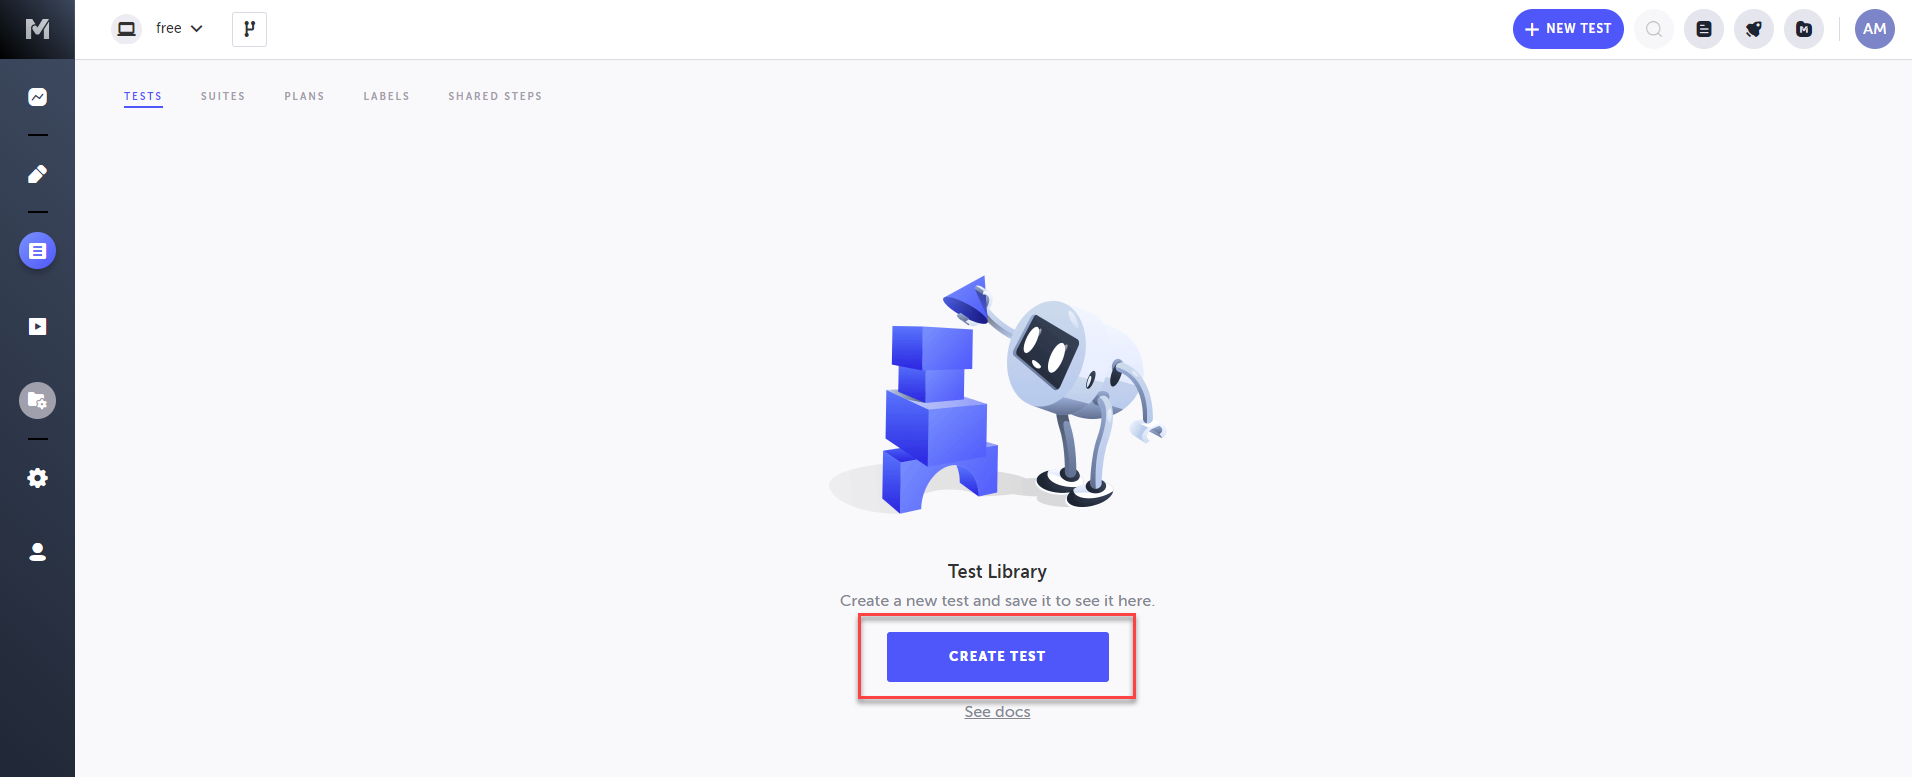
A new test opens in the Editor. This is where you record the test, add validations and edit the test steps.
-
Click on the red Record button in the toolbar.
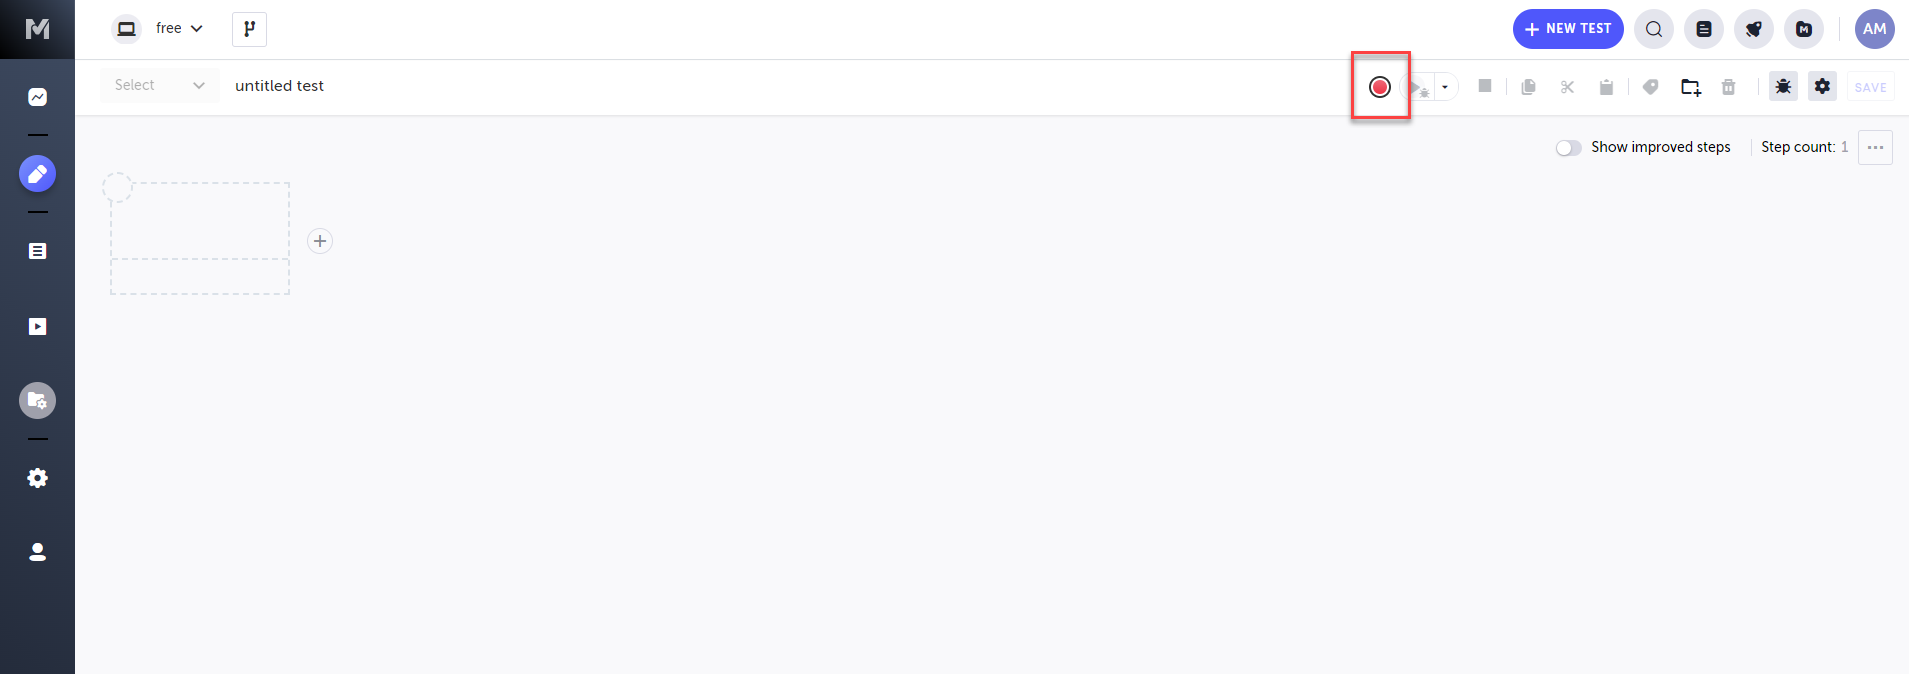
If your default Base URL is set to the demo site’s URL “demo.testim.io”, then a new browser window opens showing the Space & Beyond website. At this point, you may proceed to step 4. If no Base URL was configured, the Start A New Test window opens.
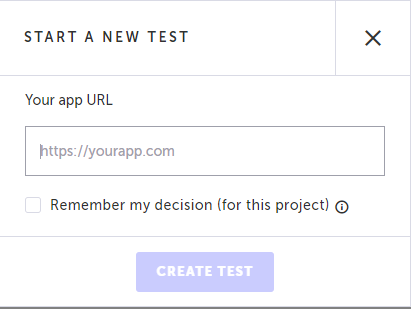
-
In the Your app URL field, enter the demo site’s URL “demo.testim.io”, then click Create Test.
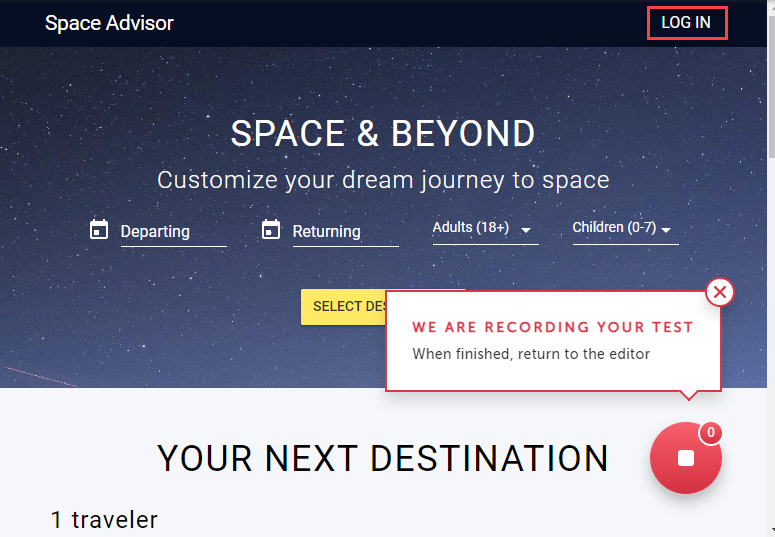
A new browser window opens showing the Space & Beyond website. This is the Application Under Test (AUT) window. The series of actions that you take in this window are recorded and saved as a test in Testim. -
In the AUT browser, log in to the system (using any username and password).
-
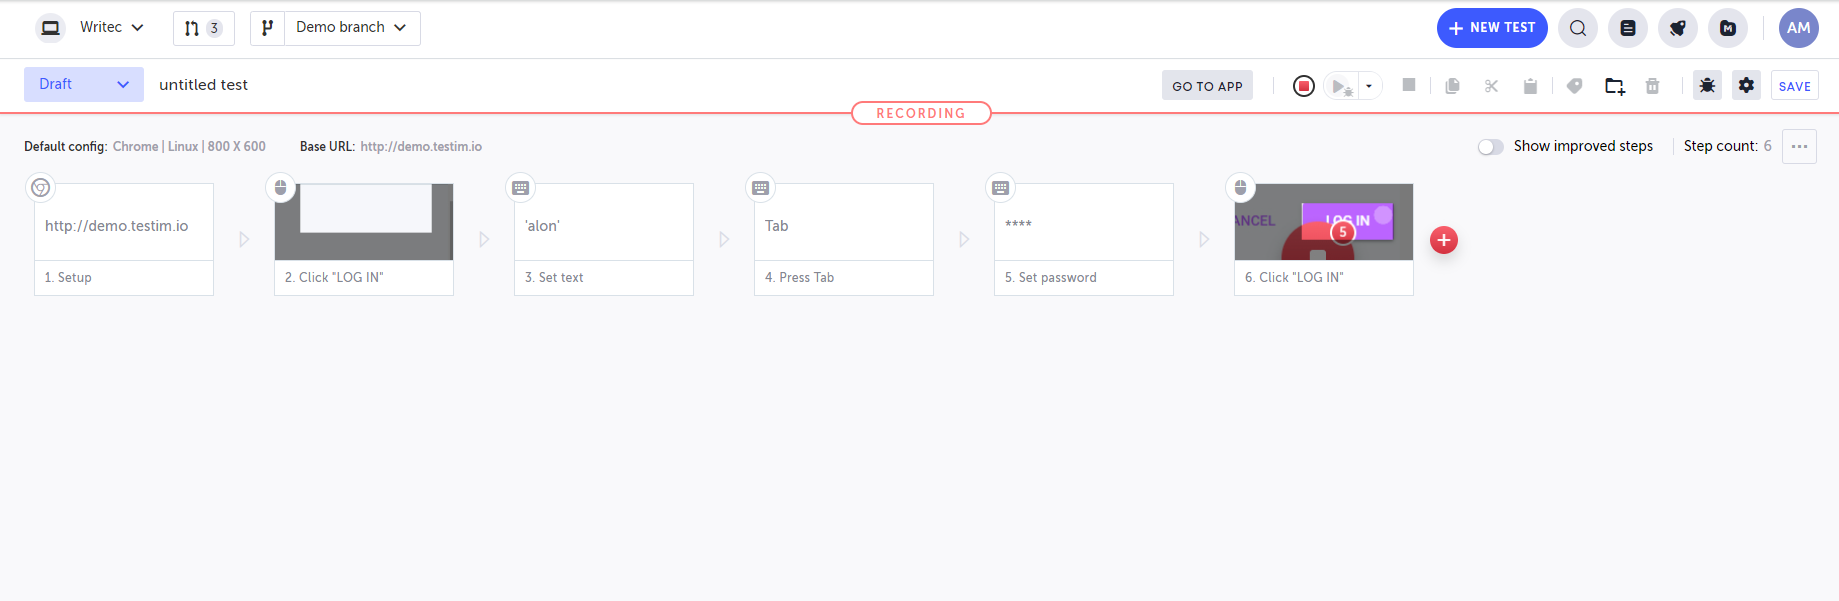
Now, go back to the Testim Editor browser.
The procedure that you did on the Space & Beyond website is shown as a series of actions in the test window. Each box represents a step in the test procedure. An icon at the top left of the box indicates the type of action (click, enter text, scroll, etc.) that was performed.
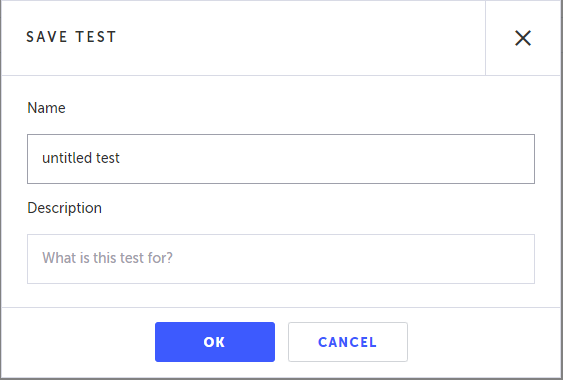
- Click Save.
The Save Test window is displayed.
Auto RecoveryWhenever you create a new test or make changes to an existing test, make sure to save the test. But don't worry, if you close your browser before saving your test, it will be stored in your browser's cache and you should be able to resume your work. See Recovering a test that was not saved for more details.
- In the Name field, enter “Space & Beyond Demo 01”, then click OK.
The test is saved.
Congratulations, you have created your first test in Testim!
Adding Validation
Whenever you run a test, the system automatically verifies that all of the steps in your flow are executed consecutively. However, this doesn’t ensure that each step has yielded all expected results. You can add additional validation elements to ensure that all desired results of your actions are occurring properly.
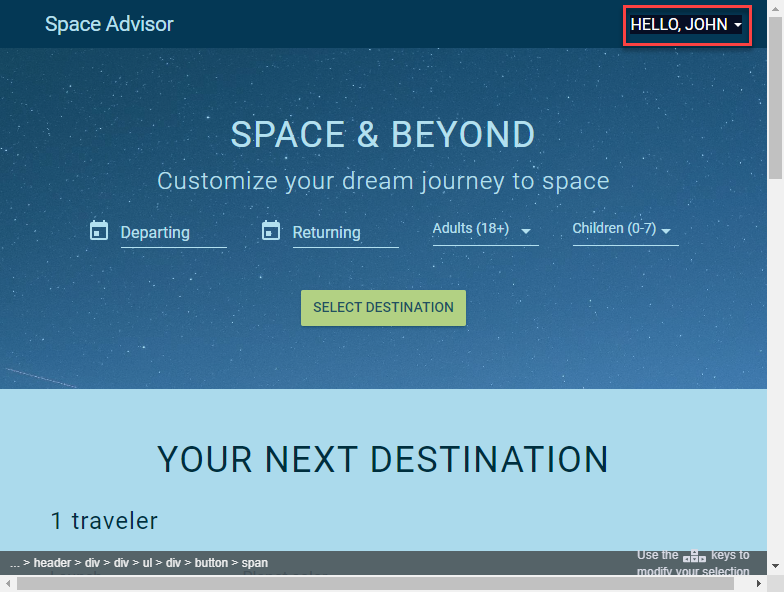
For this tutorial we will add a validation to ensure that once the user has logged in, the Login button in the Header bar is replaced by the text “HELLO, JOHN” (on this demo site, John is always shown, independent of the username that was input.).
To record the test:
-
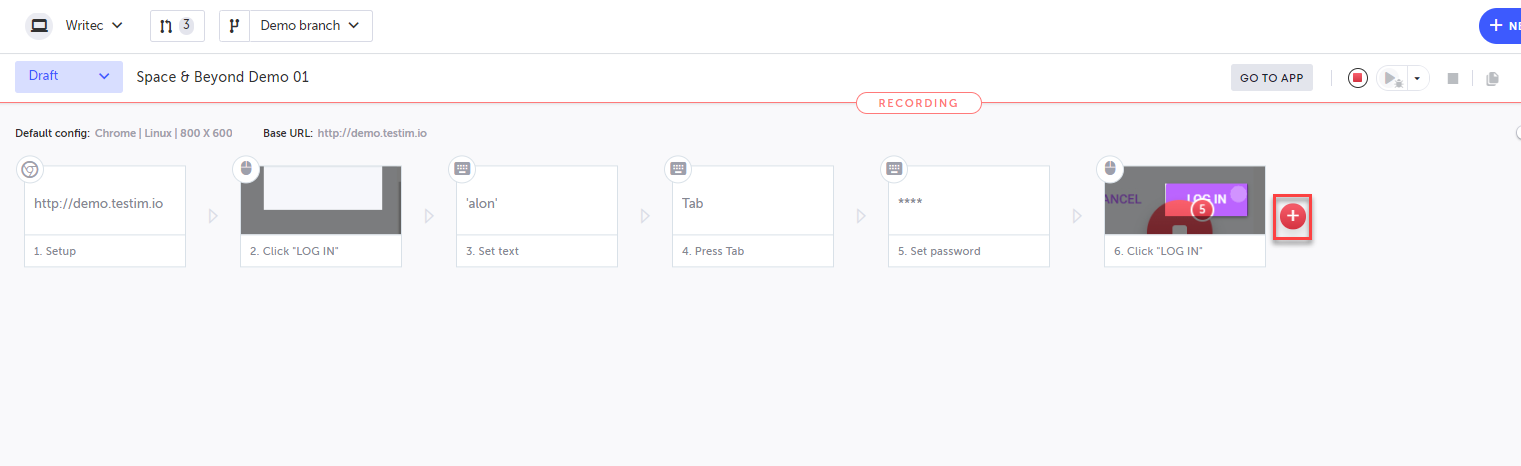
On the Editor screen of the Space & Beyond Demo 01 test, hover over the last “+” button to the right of the Click “LOG IN” step.
-
Click on the "M" (Testim predefined steps).
The Predefined steps menu opens.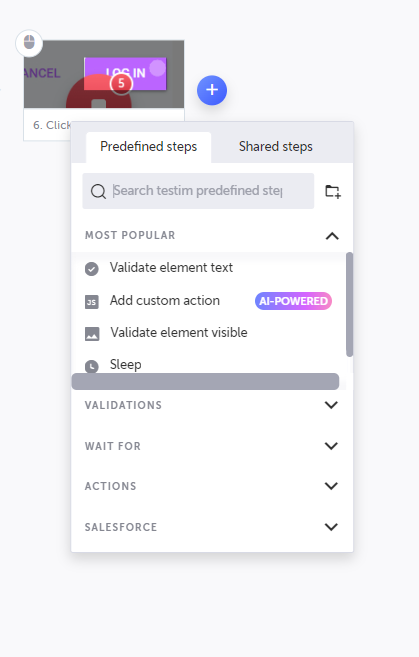
-
Click on Validations.
The Validations section expands.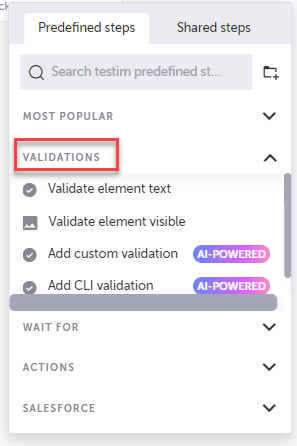
-
Select Validate element text.
-
In the AUT browser, click on the words “HELLO, JOHN”.
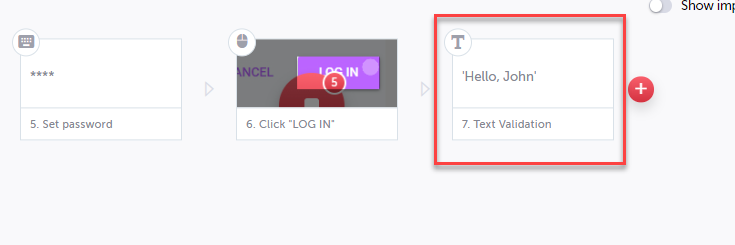
A new Text Validation step is added to your test.
To save the results for the current test version:
- Click on the Save button in the header bar.
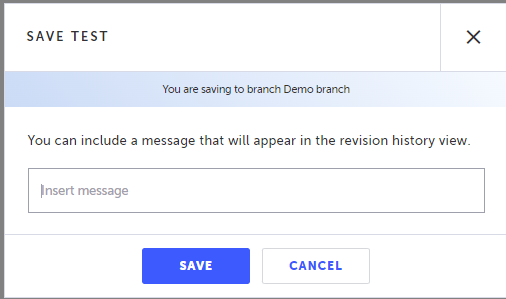
- In the Message field, enter a description of the test version (optional), then click OK.
Congratulations! You have successfully saved your test with the added validation. Now let’s run the test.
Running a Test
To run the test locally:
- On the Editor screen, click on the Play button in the toolbar.
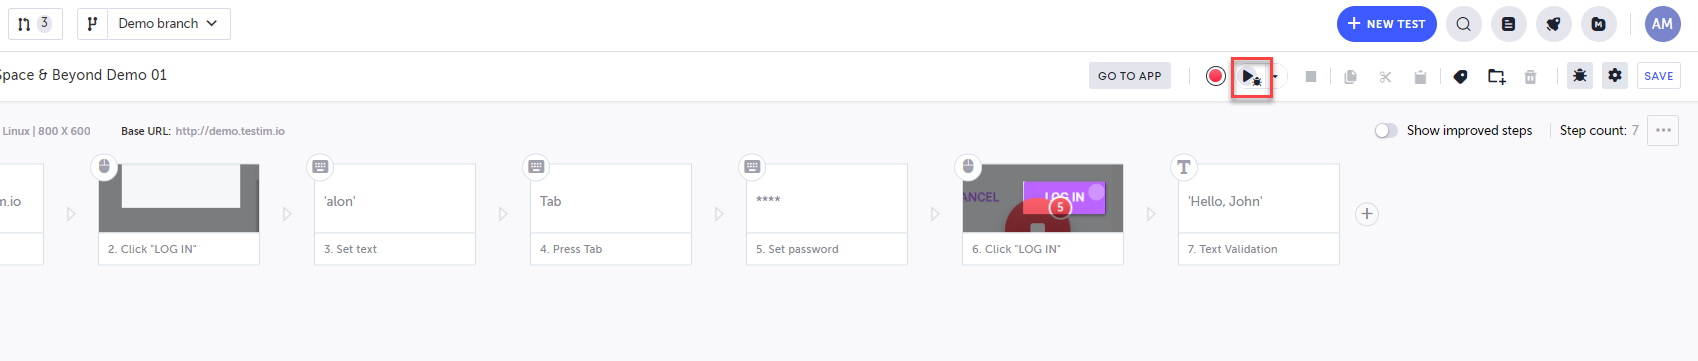
A new browser opens and runs the test actions on the demo site. When the test is completed a pop-up window indicates whether the test was successful.
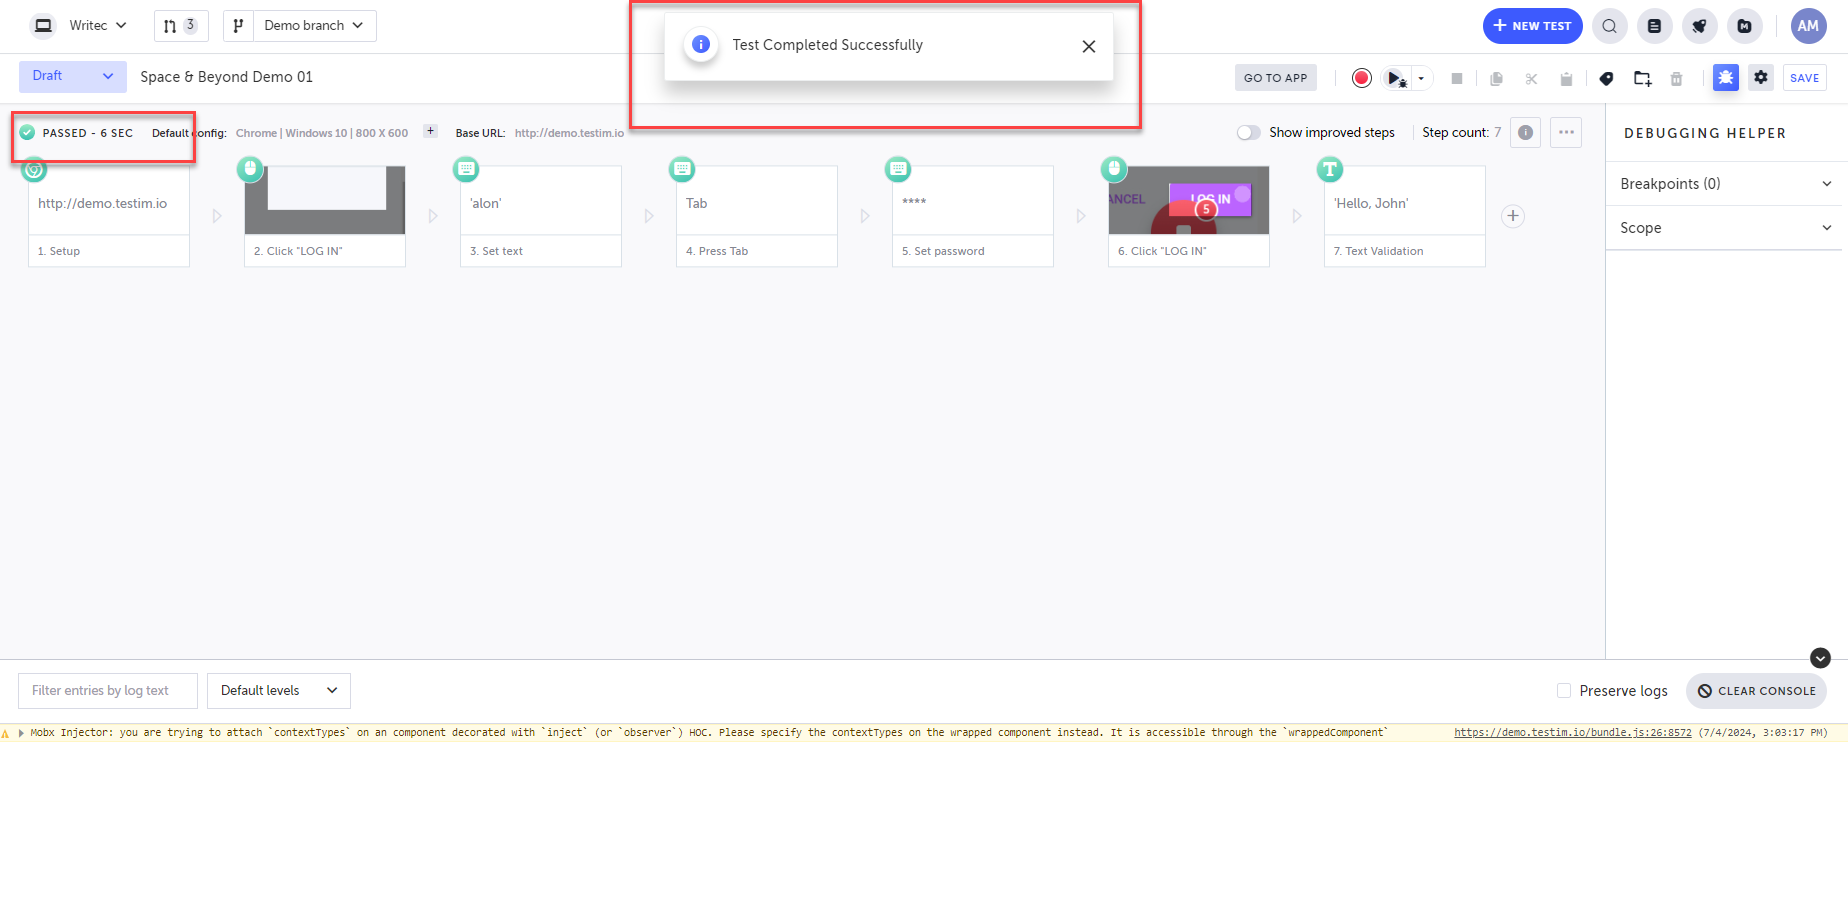
Viewing Test Results
On the test Editor screen, you can view the test results. Overall run data is shown at the top of the screen. In addition, the colored icons at the top of each step indicate whether or not that action was successful.
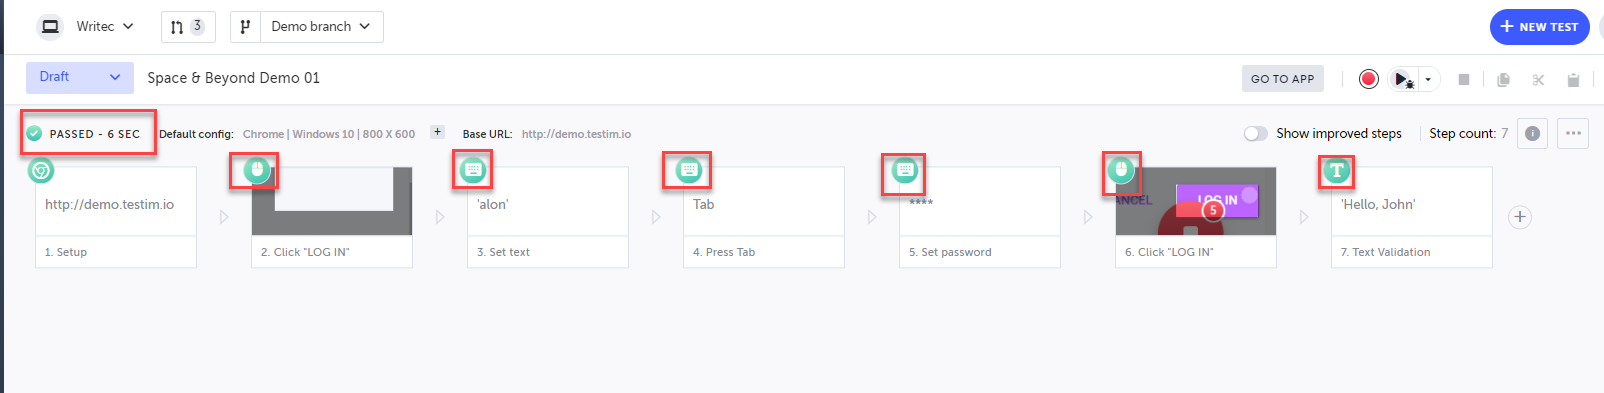
If you would like to view detailed results for a specific action, double-click on the step. The action results screen is displayed for that action.
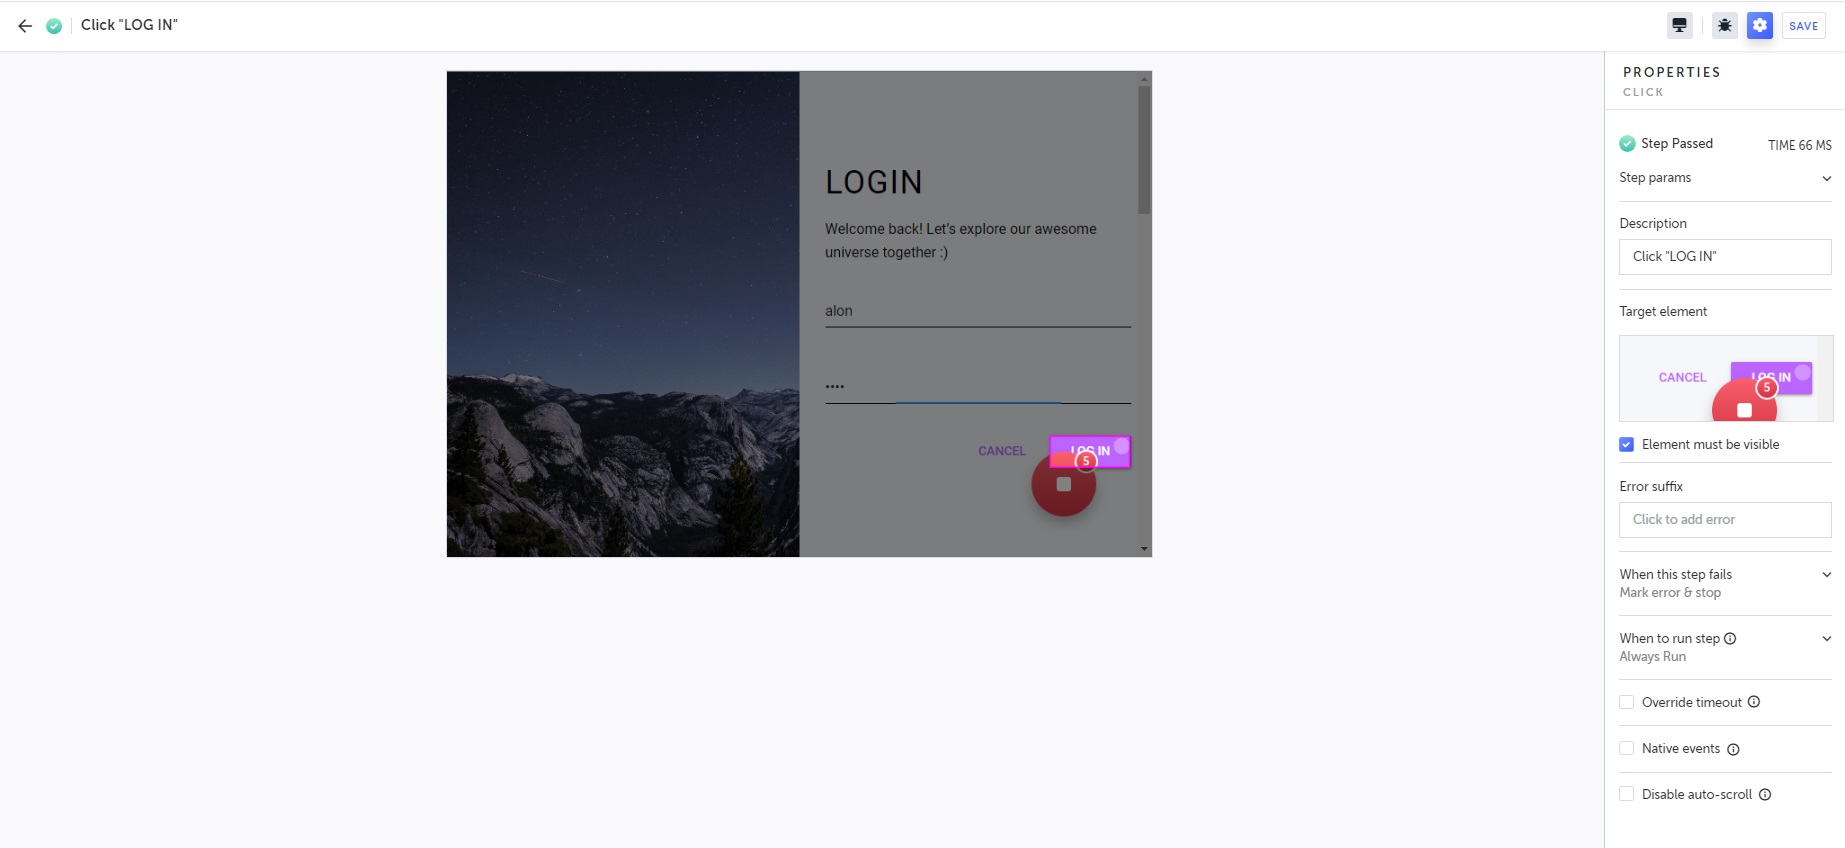
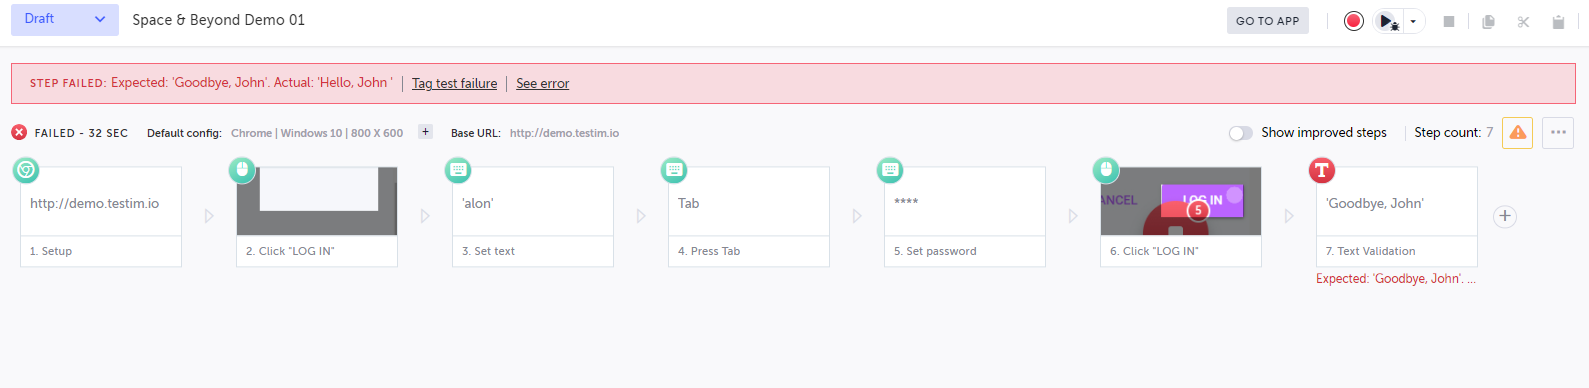
In case of a test failure, detailed info is shown about the cause of the failure. (In the following example, the validation was set to expect “Goodbye” and the value received was “Hello”.)
Updated 6 months ago