
Managing shared steps and folders
Creating a new folder
To create a new folder:
- In the Shared Steps Library screen, click the New Folder button.

The New Folder window opens.
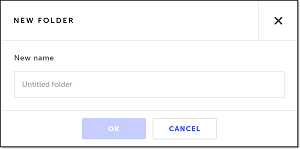
- In the New name field, enter the name of the folder.
The name of the new folder must not be the same as any other folders that already exist in this project.
- Click OK.
The folder is created.

Moving shared steps/folders to folders
By default, new shared steps are placed in the root folder. You can move shared steps and folders into other folders.
To move an item to a folder:
- Click on the shared step or folder name to select it.
You can select multiple shared steps and/or folders by holding down the ctrl/cmd key and then clicking on each of the desired shared steps and folders.
You can also select all of your shared steps or folders by holding down the ctrl/cmd key + A on the keyboard.
- Click the Move to folder icon (or right-click on the shared step or folder name and choose Move to folder from the right-click menu).

The Move To window opens.
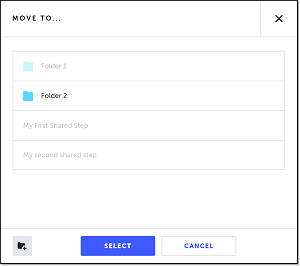
- Click on the target folder.
If the target folder doesn't yet exist, you can create it now by clicking on the New Folder icon (bottom left of the window), entering the new folder's name, and clicking OK.
- Click Select.
The items are moved to the selected folder.

Renaming folders
You can rename folders in the Shared Steps Library screen.
To rename a folder:
- Click on the folder name to select it.
- Click the Rename icon (or right-click on the test or folder name and choose Rename from the right-click menu).

The Edit Name window opens.
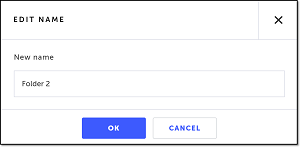
- In the New name field, enter the new name of the file or folder.
- Click OK.
The renamed file or folder can be viewed in the Shared Steps Library.
Deleting folders
You can delete a folder or multiple folders through the Shared Steps Library screen.
To delete folders:
- Click on the folder name to select it.
You can select multiple folders by holding down the ctrl/cmd key and then clicking on each of the desired folders.
- Click the Delete icon (or right-click on the test or folder name and choose Delete from the right-click menu).

The Delete confirmation window opens.
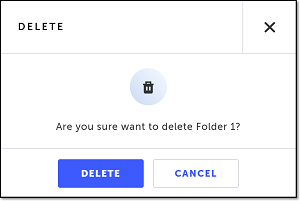
- Click Delete.
The folder/s are deleted.
Updated 6 months ago