Hover Step
Learn how to record "hover" step when testing your app
Add a hover-step to test the behavior of an element that has hover interaction. For example: a menu that opens only with a hover, a tooltip or appearance of new elements (button, explanation over images etc.).
Note:Adding a hover step can not be (currently) captured automatically, and needs to be added in the Editor.
To add a Hover step to your test:
- Navigate to Test List > Tests and open your test.
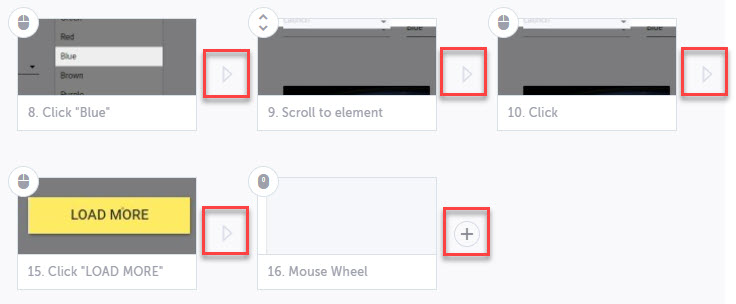
- Hover the arrow in between existing steps or the + button after the last step.

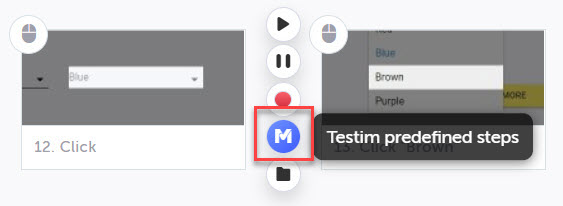
- Select the Testim Predefined Steps button.

- Search for Hover in the quick search or expand the Actions section and select Add hover action.

- Testim will open the relevant page for your test. Hover your mouse over the page element and click.

Note:If you get the message "To choose an element Open base URL or Run test to relevant step" this means that you must to have your first run the test so you can select a component from within your application.
The new Hover step is added to your test at the location you selected.

Adding Validations to Hovered Element
Currently Testim doesn’t fully support adding visible validations to hovered elements. Read more about Step Validations.
To validate a hovered element is visible:
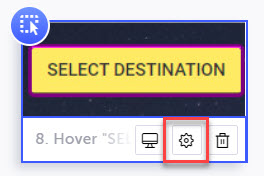
- Hover over your step and select the Properties icon.

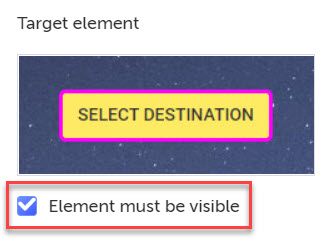
- Select Element must be visible in the properties panel.

Note:To improve performance, update your app code and CSS to ensure an element is visible on mouse out.
Updated 4 months ago
