Salesforce APEX Action Step
The Salesforce APEX action step allows you to extend E2E tests beyond the UI, by running Apex code as a step inside the test. The Salesforce APEX action step allows you to run an APEX code block, while defining your own parameters. The “In Parameters” in your APEX code must be of the type string. (You can convert the string values to other types in your APEX code). After running the test, you can see the results of this step (e.g. the data that is returned from Salesforce) in the Step Log.
If your Salesforce environment is protected with 2-factor authentication, we recommend that your organization’s Salesforce administrator whitelist the IP for the machine from which you are running your tests.
In order to locally run tests which contain a Salesforce APEX action step, the following command needs to be executed: npm i -g @testim/testim-cli && testim connect.
Below is the general procedure for adding a Salesforce APEX action step followed by sample code for an example.
Adding a Salesforce APEX Action Step
To add a Salesforce APEX action step:
- Hover over the (arrow symbol) where you want to add the step.
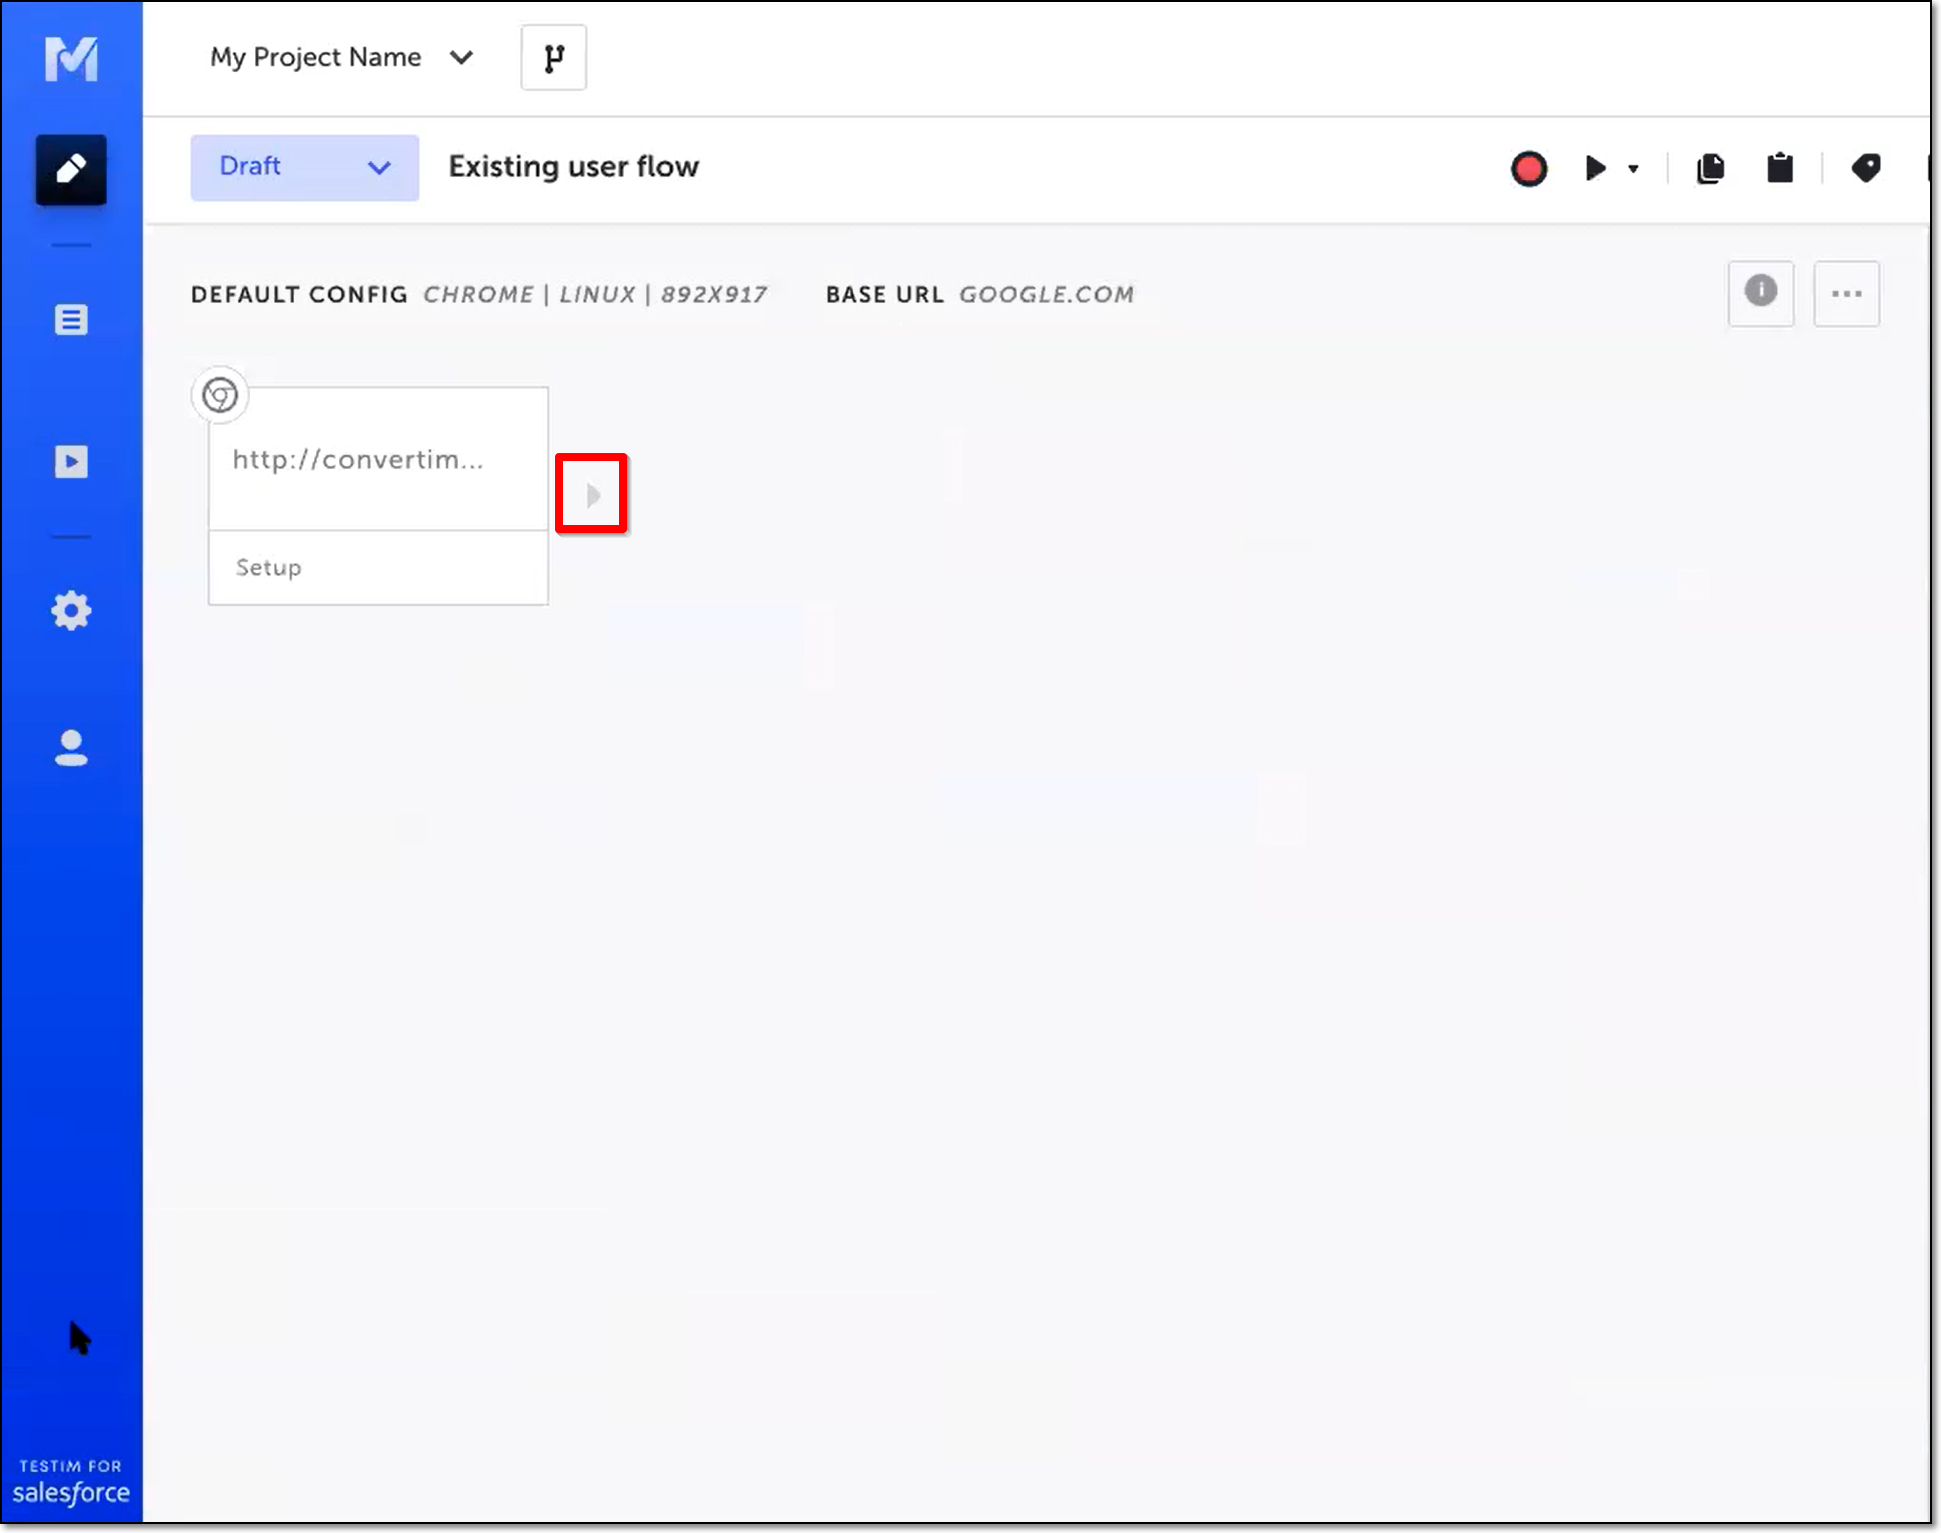
The action items are displayed.
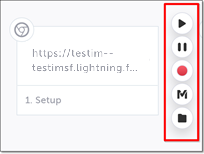
- Click on the “M” (Testim predefined steps).
The Predefined steps menu opens.
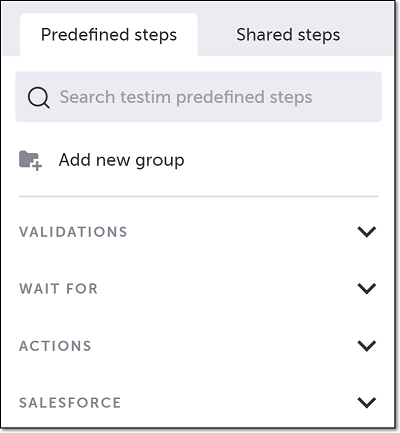
- Click on Salesforce.
The Salesforce menu expands.
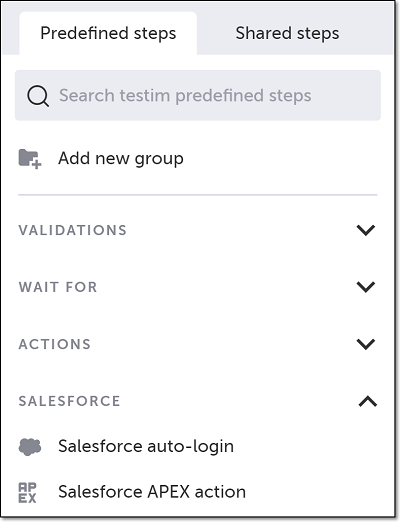
- Scroll down through the menu and select Salesforce APEX action.
Alternatively, you can use the search box at the top of the menu to search for Salesforce APEX action.
The Add Step window is shown.
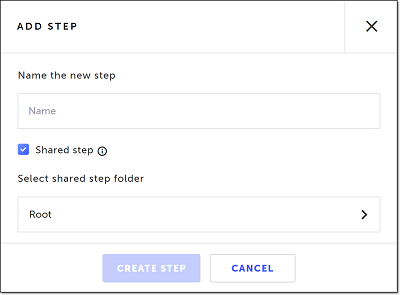
- In the Name the new step field, enter a (meaningful) name for this step.
- If this is a shared step to be made available to reuse in this or other tests, keep the box next to Shared step selected (default), and choose a folder from the Select shared step folder list where you want this step stored. Otherwise, deselect the checkbox.
For more information about shared steps, see Groups. - Click Create Step.
The function editor opens, and the Properties panel opens on the right-hand side.
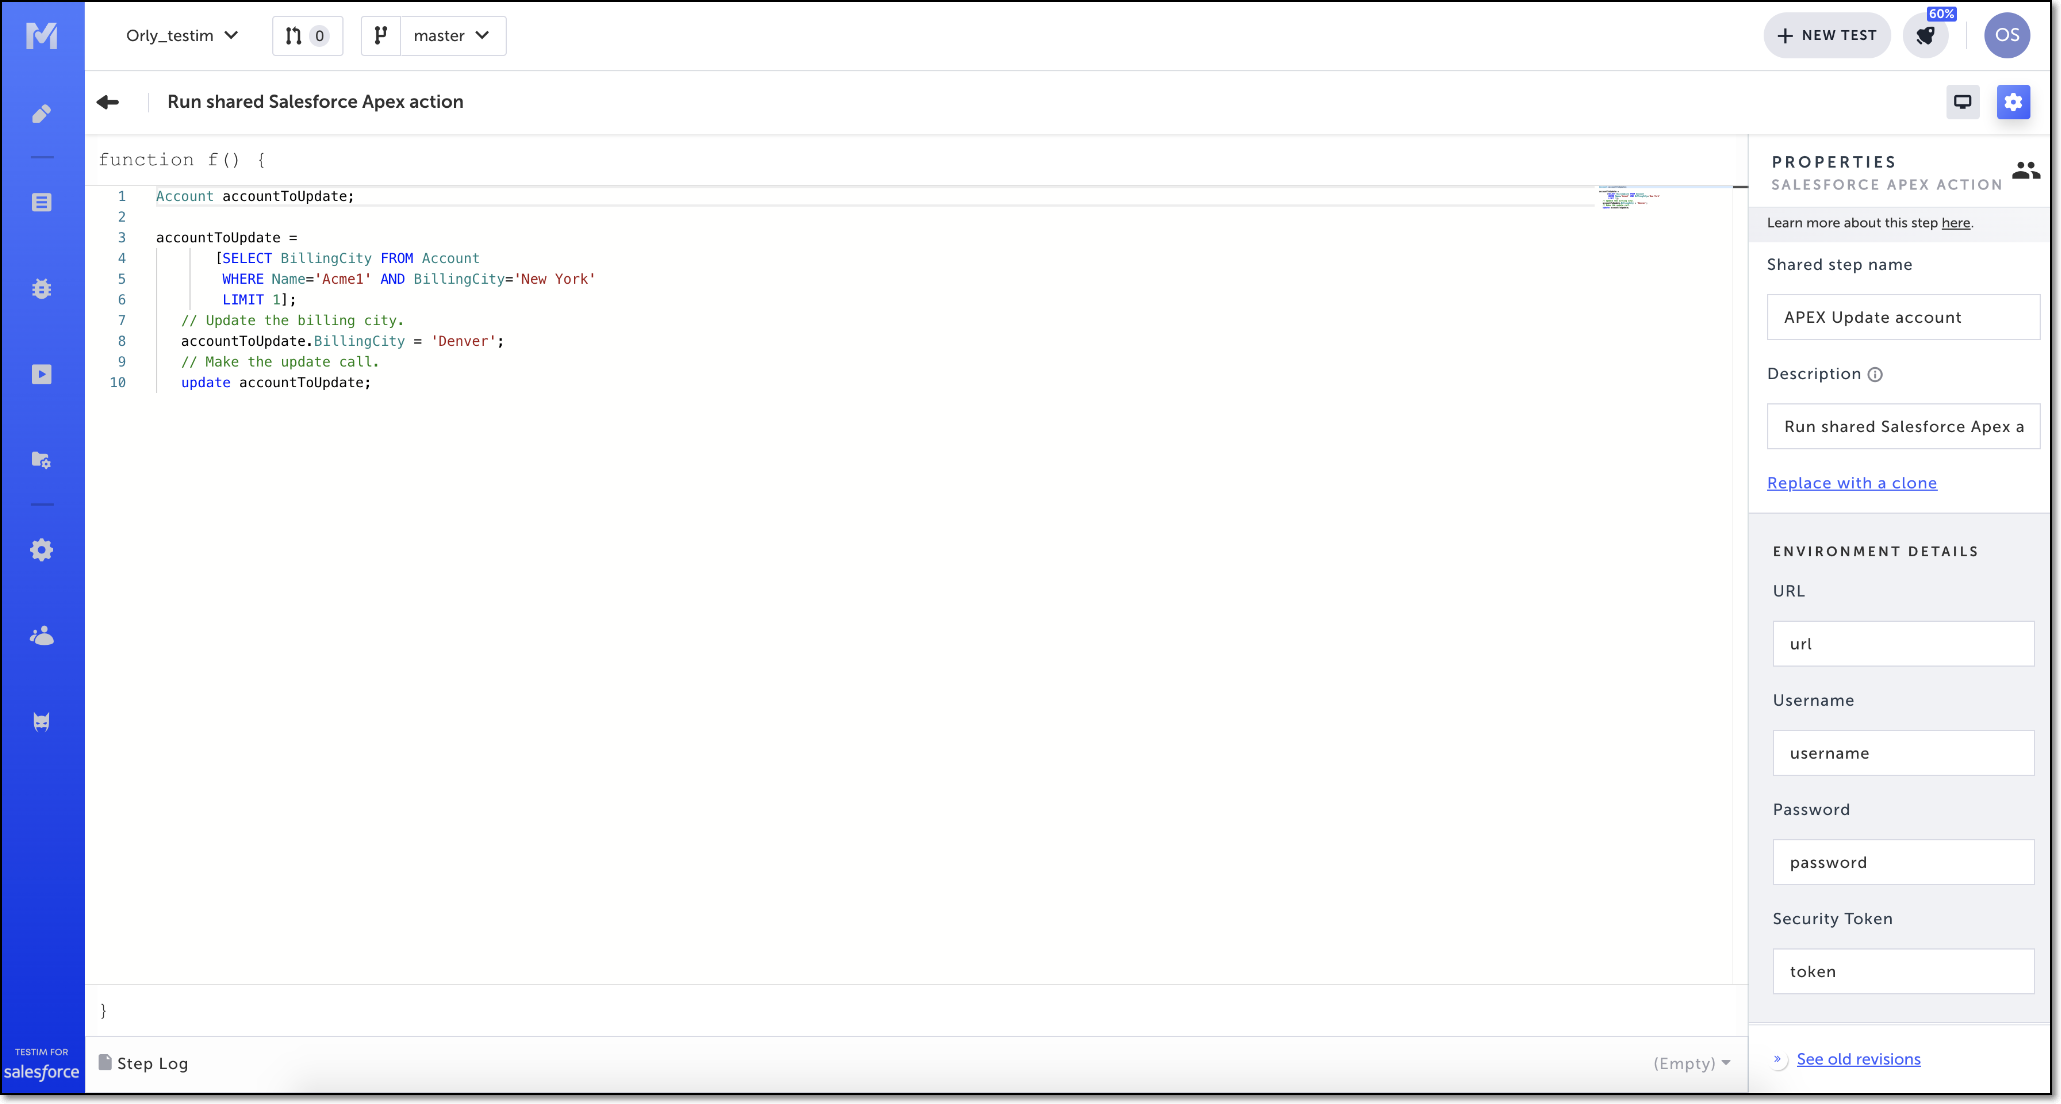
- In the Properties panel, in the Description field, optionally edit the description of this step. The default description is “Run Salesforce Apex action”.
- Enter your connection properties for the Salesforce environment on which you want to run the APEX code.
You can enter strings (surrounded by single or double quotes) or parameters (not surrounded by quotes). For more information on using parameters, see Using Parameters (below).
- In the URL field, enter the URL of your Salesforce environment.
- In the Username field, enter your Salesforce username.
- In the Password field, enter your Salesforce password.
- In the Security Token field, enter your Salesforce security token (generated in Salesforce).
You can reset your Salesforce security token in the My Personal Information section of Salesforce.

- The “In Parameters” in your APEX code must be of the type string. Define the parameters you will need for your step as follows:
a. In the Properties panel, in the APEX Params section, Click the + APEX PARAMS button.
b. Enter the parameter’s Value. The value will be automatically converted to type string. This value can be later reconverted to another type through the code described in step 12.
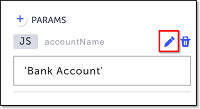
c. The parameter is automatically named “param”. To assign a relevant name to the parameter, click on the edit icon and enter the desired name.
- Optionally fill in the following Properties:
- When this step fails – Specify what to do if this step fails.
- When to run step – Specify conditions for when to run the step. For more information, see Conditions.
- Override timeout – Allows you to override the default time lapse setting which causes Testim to register a fail for a test step, and specify a different time lapse value (in milliseconds).
- In the function text box, type in the desired APEX code. If you have defined parameters, you can refer to those parameters in your APEX code.
- Click the back arrow to return to the main Editor window.
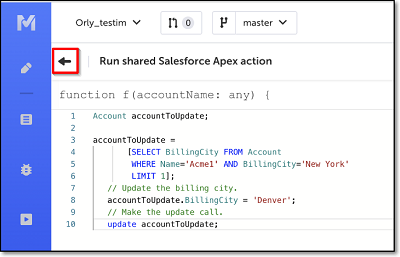
The Salesforce APEX action step is configured.
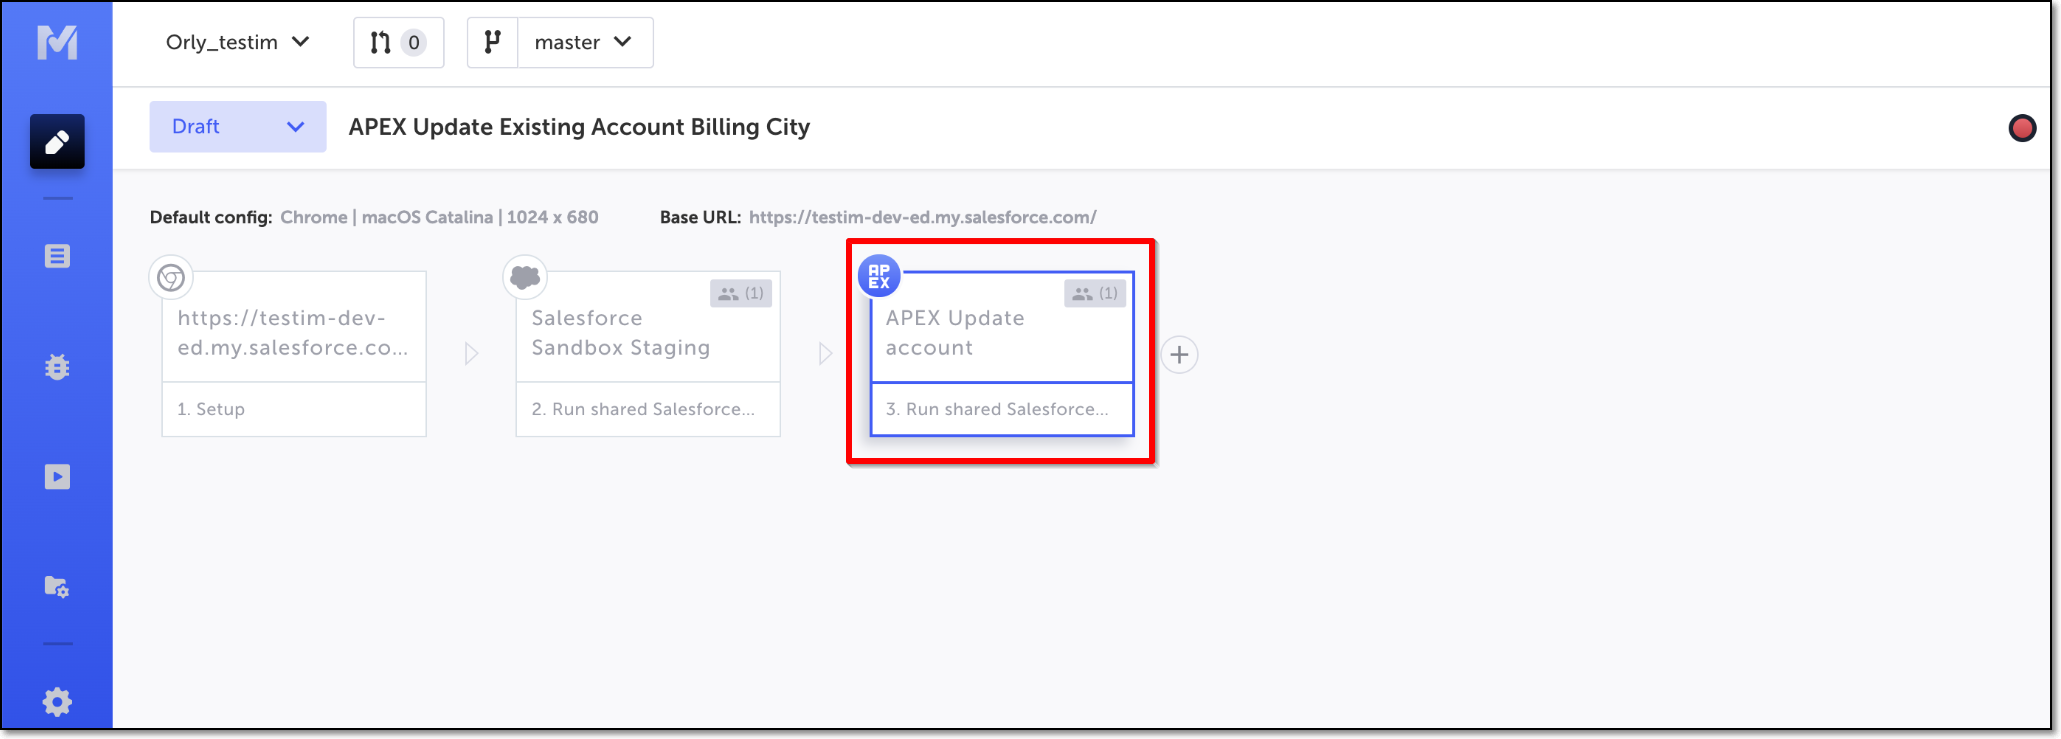
- Before running your test, ensure that Testim’s CLI agent is running by executing the following command: npm i -g @testim/testim-cli && testim connect.
If you run your test without first executing the command, the following prompt is shown:
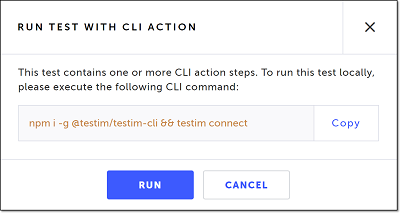
After you run your test, a step log is available in the code editor with your test results from Salesforce.
Using parameters
You can use parameters which were defined in the test or suite level, in the config file, or in another step to enter your connection properties for your Salesforce environment.
To use parameters to enter your connection properties:
- Define parameters in one of the following ways:
- Add a parameter to the test data – You can define a parameter by adding Test Data to the Setup step (the first step of the test). For detailed instructions, see Configuring a data driven test from the visual editor.
- Add a parameter to the config file – You can add a parameter to the Configuration file. For detailed instructions, see Configuring Data Driven Tests using the Config file.
- Add a parameter to a Custom step – You can create a Custom step and then add a parameter to this Custom Step. For detailed instructions, see Parameters in custom JavaScript steps.
You then need to pass the parameter to the Salesforce APEX action step or to the test level, by exporting the parameter. For detailed instructions, see Exports Parameters.
- In your Salesforce APEX action step, add the parameters to the URL, Username, and Password fields.
Salesforce APEX Action Example
You can use the Salesforce APEX action step to manipulate your Salesforce objects. In the same test, you can add additional steps to verify that your Salesforce application reflected the changes that were made on the Salesforce objects. The Salesforce APEX action step can manipulate multiple objects at once.
Validating a new account
In this scenario we will use the Salesforce APEX action step to create a new account. In Salesforce there is a rule that copies the account name to another custom text field called 'mySpecialField' in the Account Object. Additional steps validate that the rule was applied by checking that in both fields (accountName and mySpecialField) the name is the same.
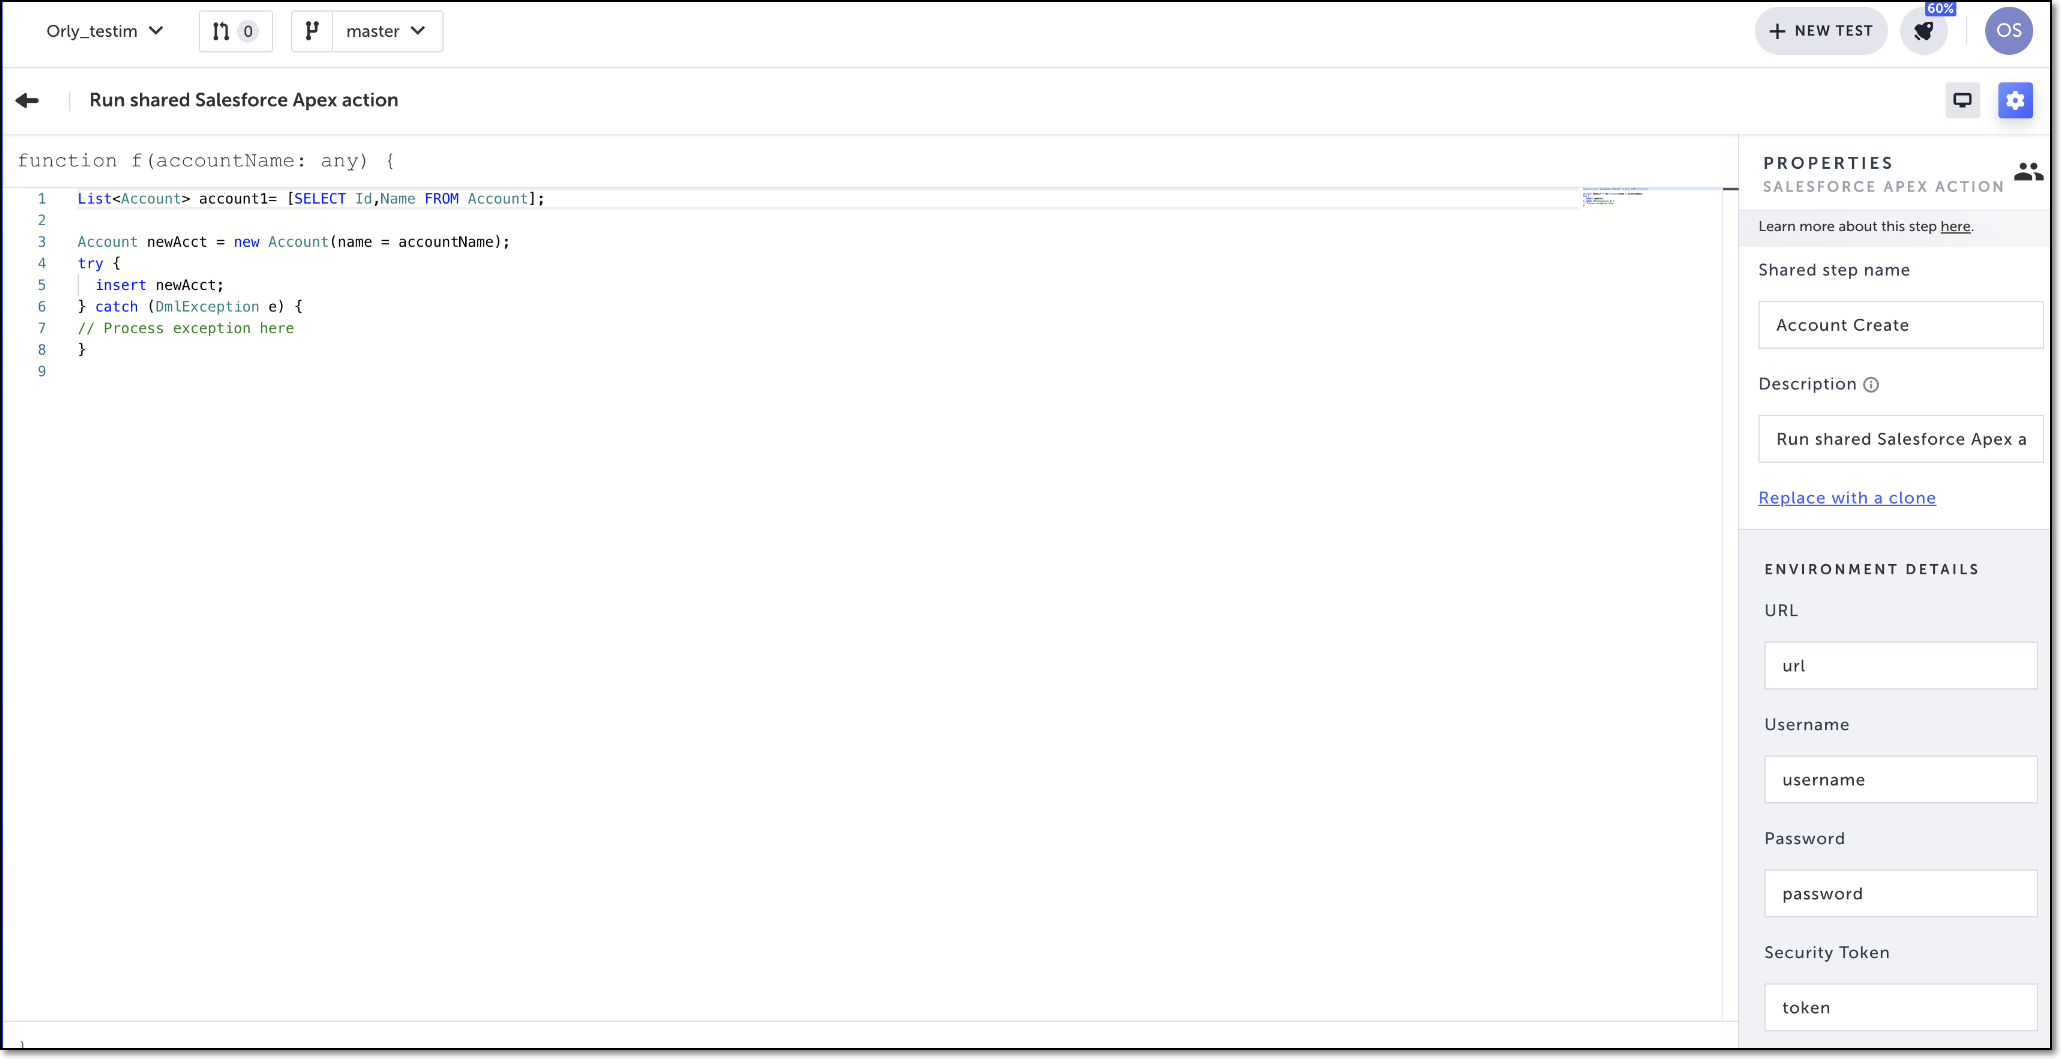
Example Code:
List<Account> account1= [SELECT Id,Name FROM Account];

Account newAcct = new Account(name = accountName);
try {
  insert newAcct;
} catch (DmlException e) {
// Process exception here
}
Viewing the APEX Action Result Log
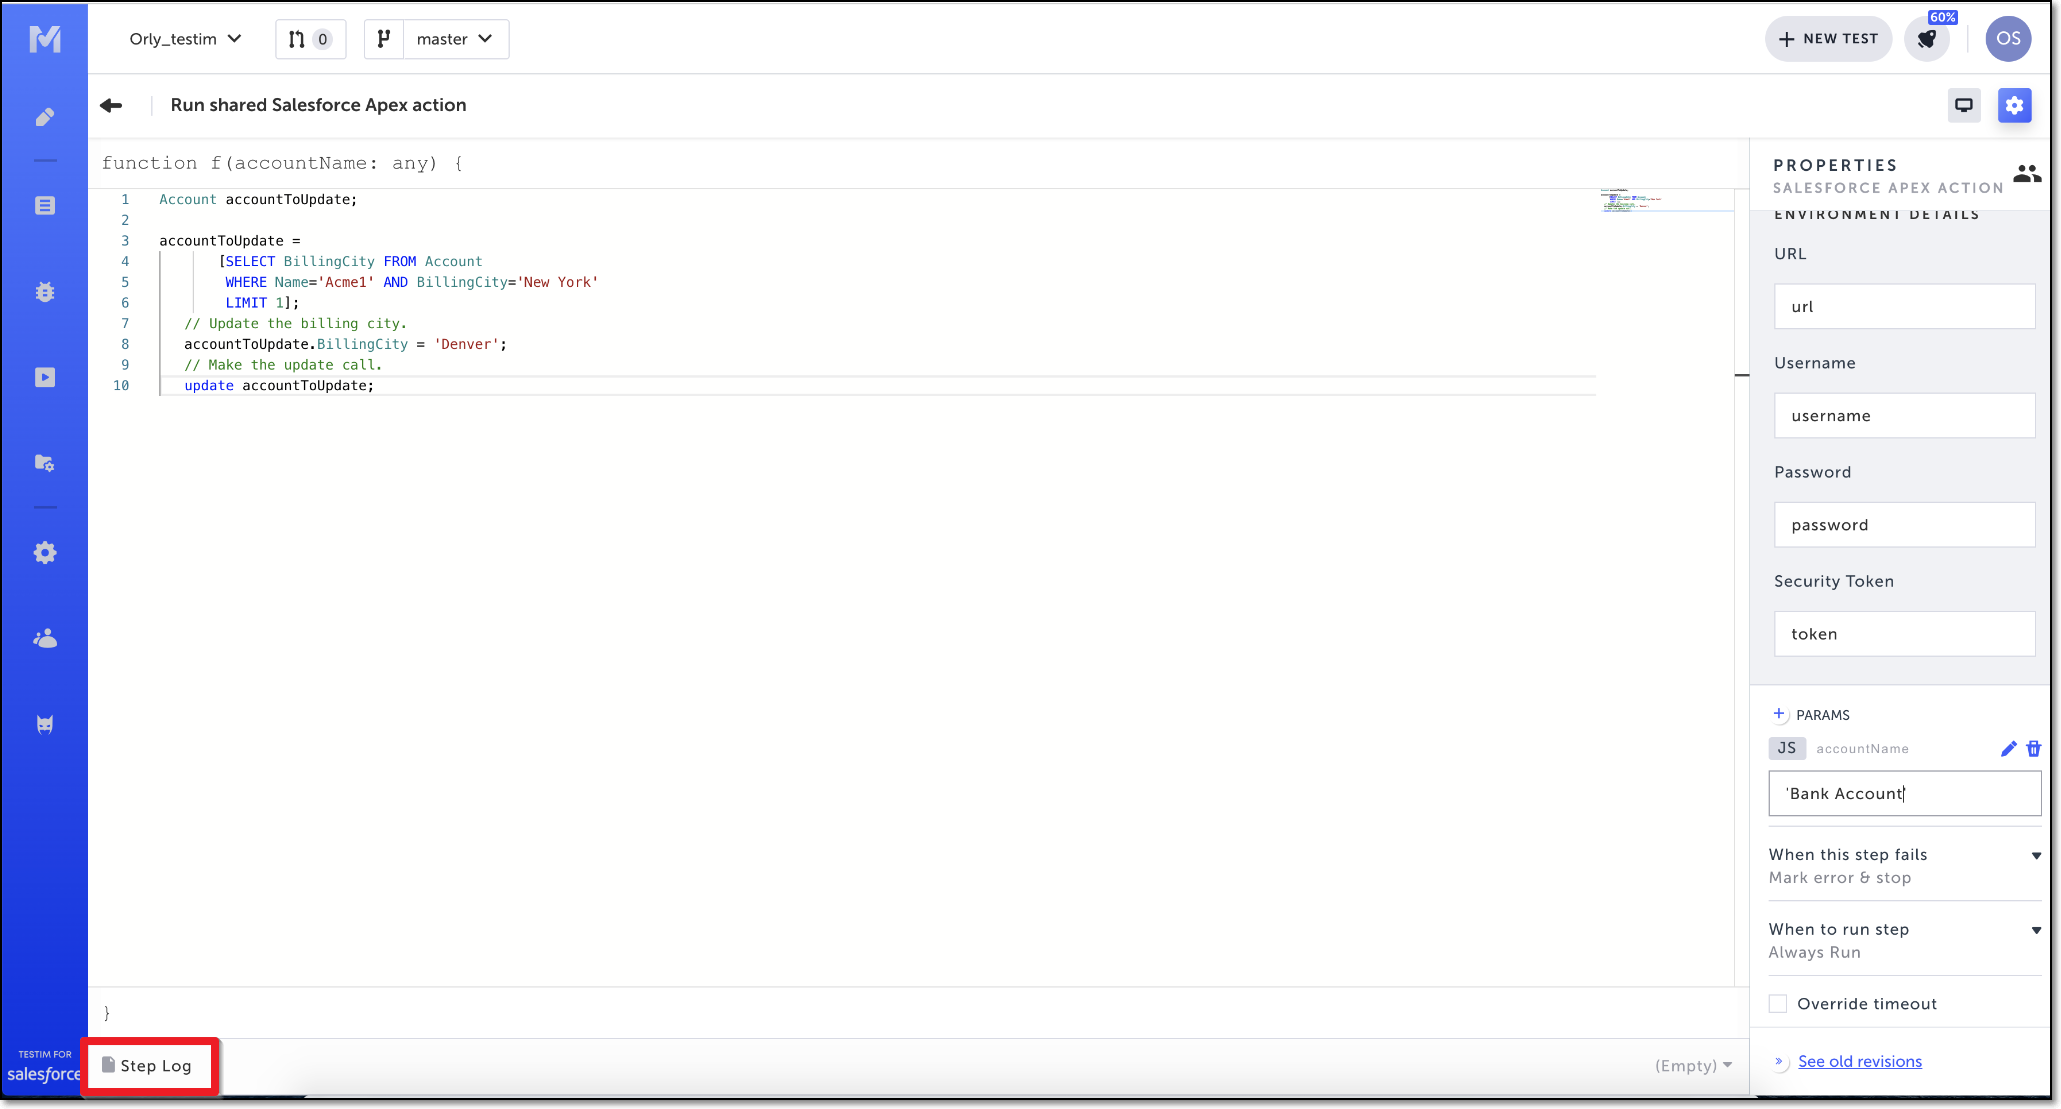
After a test containing a Salesforce APEX action step is run, a step log is available in the code editor with your test results from Salesforce.
To view the APEX action result log:
- Double-click on the Salesforce APEX action step for which you wish to view the Result Log.

The code editor opens, and the Step Log is shown at the bottom of the screen.
If there is a log received from Salesforce, the details will be shown in the Step Log section.
Updated 5 months ago
