
Editing and running tests in Playground
As soon as a test has been recorded, the code is available to be copied and exported to your IDE. However, before you export the code, you may want to explore some of the codeless functions that are available in Playground for optimizing your test.
All editing done in the Testim Codeless tab is immediately reflected in the Playwright code.
Reorder, delete and add steps
You can easily reorder, delete and add steps in the Testim Codeless tab.
To delete a step:
- In the Testim Codeless tab, hover over the step that you would like to delete and click on the icon. Then, in the confirmation window, click OK.

To reorder the steps:
- In the Testim Codeless tab, drag and drop a step to the desired location.

To add steps:
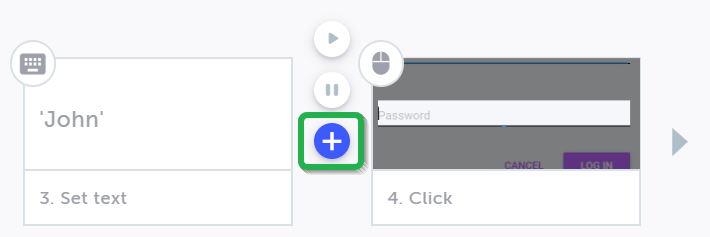
- In the Testim Codeless tab, hover over the arrow at the place where you want to add the step/s, then click on the “+” button.
- In the dropdown list, click Record action here.
The AUT opens to the specified URL. - In the AUT, take the actions that you want to add to the test.
Adding conditions to a step
You can use Testim’s Codeless interface to add conditions to specific steps in your test. This enables you to control whether or not the test will run for that step depending on the circumstances.
There are four types of conditions:
- Element visible - skips the step if the element is visible in the application.
- Element not visible - skips the step if the element is not visible in the application.
- Custom conditions - defined by JavaScript as any JavaScript step. When the condition returns “True” the step is run.
A custom condition, like any other JavaScript step, can have HTML or JavaScript parameters.
- Never - always skips the step. This can be useful when you want to temporarily skip a step, but don’t want to delete it permanently.
The following procedure explains how to add a simple visible element condition. For a full explanation of the various types of conditions, see Conditions.
To add a text condition:
- In the Testime Codeless tab, hover over the step for which you would like to add a condition and click on the icon in the box.
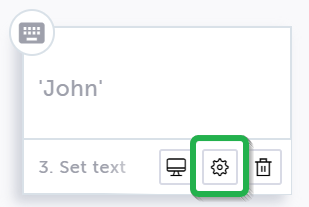
The Properties panel opens on the right side of the screen showing the properties for the specified step.

- Scroll down to the When to run step section, and click the down arrow to expand the section.
- Select the Element radio button.
- If the AUT isn’t opened to the specified step, a banner appears at the top of the page asking you to open it. If so, do the following:
a. In the top banner, click on Run test to relevant step.
The AUT opens to the specified URL and runs to the specified point in the test.
b. In the Properties panel, in the When to run step section, again select Validate element text. - Verify that the Visible radio button is selected (default).
The condition is added to the specified step.
Watch Demo

Adding Validations
You can use Testim’s codeless interface to add validations at any point within your test. This enables you to test for the specific results that you expect the app to generate.
Testim offers the following types of validations:
- Element Visible - verify that an element is visible to the user.
- Element Not Visible - verify that an element is not visible to the user.
- Element Text - verify that an element is visible and validate its content.
- Element Pixel - visual validation, verifies that an element is visible, has the correct text, and the correct (visual) styling.
- Viewport Pixel - visual validation on the entire viewport.
- Document Pixel - visual validation on the document (scroll the page & stitch).
- Custom (JavaScript) - create your own custom validation.
The following procedure explains how to add a simple text validation. For a full explanation of the various types of validations, see Validation.
To add a text validation:
- In the Testim Codeless tab, hover over the arrow at the place where you want to add the step/s, then click on the “+” button.
- In the dropdown list, click Validate element text.
- If the AUT isn’t opened to the specified step, a banner appears at the top of the page asking you to open it. If so, do the following:
a. In the top banner, click on Run test to relevant step.
The AUT opens to the specified URL and runs to the specified point in the test.
b. Again click on the “+” button and then click Validate element text. - In the AUT, select the text element that you would like to validate.
The validation step is inserted in the specified position.
Watch Demo

Running a test
Once you have recorded a test and added the desired conditions and/or validations, you can run the test from Playground’s Testim Codeless tab.
This procedure is optional. Once you have recorded and edited a test you can go ahead and copy the Playwright code to your IDE and proceed as usual.
To run the test:
- In the Testim Codeless tab, click the Play test button.

Testim opens a new browser to the test URL and runs the test. Once the test is completed the results are shown in the Testim codeless tab, with the icon color for each step indicating whether or not it was successful.

- You can hover over a step and click on the icon to show detailed results for that step in the Properties pane.

- You can hover over a step and click on the icon to show a screenshot of the results for that step.

Updated 6 months ago