
Scheduler - Web
Schedule your tests and monitor your application
Scheduled runs are test runs that will run based on a predefined schedule. For example, you can schedule tests to run a nightly build or to run every 30 minutes in order to monitor your production app. In order to schedule a test run, the test must have a Label or be part of a Test suite. The tests can be run in Turbo Mode.
If the test includes multiple data sets, the scheduler will run the test multiple times, in order, each time with a different data set. For more information see, Data-driven testing.
Creating a scheduled test run
If you have previously created schedulers and you want the new scheduler to be based on an existing one, you can use the Cloning Scheduler feature.
To create a new test run schedule:
- Go to Runs -> Scheduled Runs.
- Click New scheduler or Let's Schedule (when its your first scheduled run).

The Create a new Schedule window opens.
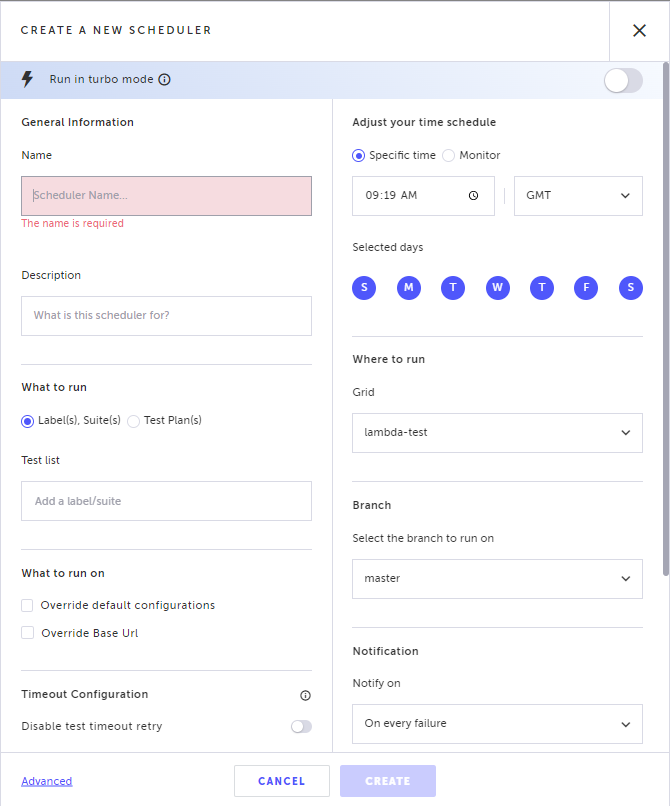
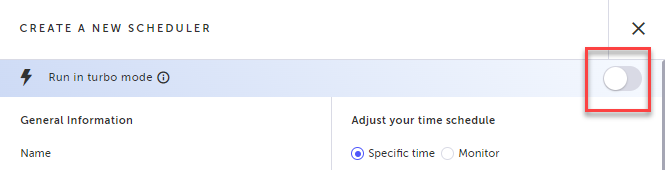
- If you want the scheduler runs to run in Turbo Mode, slide the Run in turbo mode toggle. Turbo mode will ignore step delays and test artifacts like screenshots and logs will only be saved for failed runs.
- Under General Information, enter a name for the scheduler and, optionally, a description.

- Under What to run, in the Test list filed, select one of the following:
- Label(s), Suite(s): select tests or test suites by their test label or suite name.
- Test Plan(s): select one or more test plans by the test plan name.


Start typing and then select the name of the Label, Test suite, or Test Plan name of the tests that you want to include in the scheduled run. If you don't see a drop-down list, verify the correct spelling of the label/suite/plan.
- Under What to run on, select the following:
- Override default configurations - select this option if you would like to override the current test configurations concerning the browser that the test will run on, screen resolution, OS, and more. After selecting this option, you can select one of the pre-configured configurations, edit a pre-configured configuration, or create a new configuration. For more information, see Test Configuration Parameters.
- Override base URL - select this option if you would like to override the current test configurations concerning the base URL. After selecting this option, enter the new Base URL .


Note:If you are creating a scheduled run for a test plan, you will not be able to override default configurations or override the Base URL, as these settings are determined by the test plan.
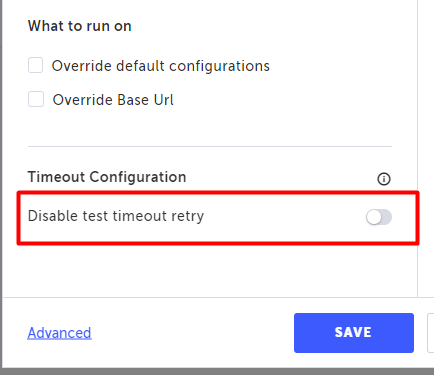
- Under Timeout Configuration, by default, when test reaches timeout and the test runs again one more time. If you want to disable the timeout retry feature, turn ON the Disable test timeout retry toggle.
- Under Adjust your time schedule, select one of the following options:
- Specific time - Schedule the tests to run on certain days of the week and the time of day. Use this option to automatically trigger test runs such as nightly regression testing.
- Time - Set the time of day in which the scheduler will run.
- Time zone - select Local to use your local machine time zone; select GMT to use the GMT time zone.
- Days - By default the run is scheduled to run on every day. You can remove/edit on which days you would like it to run, by clicking the days to select/deselect them.
- Monitor - Will run the tests on a set interval (e.g., every 5 minutes). Use this option to monitor the health of your application and alert when your service is down.
- Under Where to run, select the grid you would like to execute your tests on. For more information about grid configuration, see Grid management.

Note:If you are creating a scheduled run for a test plan, you will not be able to select a Grid, as this is determined by the test plan.
-
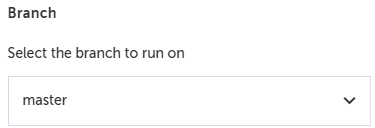
Under Branch, select the branch you want your schedule to run on.
-
Under Notifications, select the following:
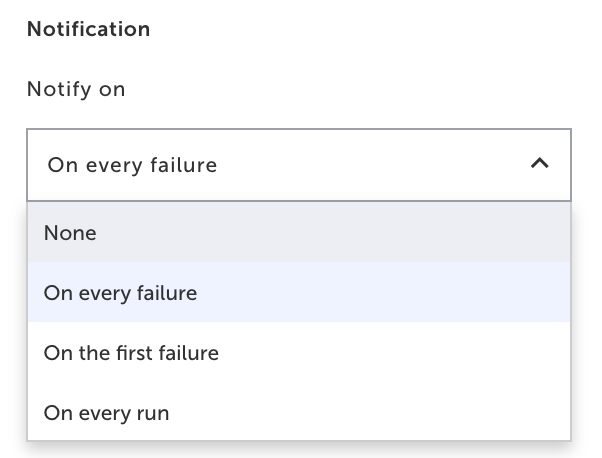
- Notify on - By default when creating a new schedule, you are set to be notified on every failure. You can change the notification preference to any of the following options:
- Preferences - You can specify where the notifications will be sent. The following options are available:
- Email - To receive email notifications, select the "Email" checkbox and enter the recipients email/s.
- Slack - To send notifications by Slack, select the "Slack" checkbox. In order to send notifications to Slack you need to set up the initial integration. For details, see below.

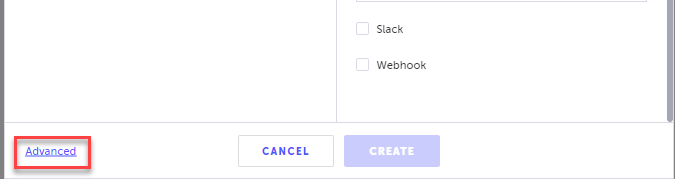
- Click Advanced to configure Advanced scheduler options.
- If you are on a pro plan, you are also able to set the scheduler to run in Turbo mode.
- Save your scheduler by clicking Create.
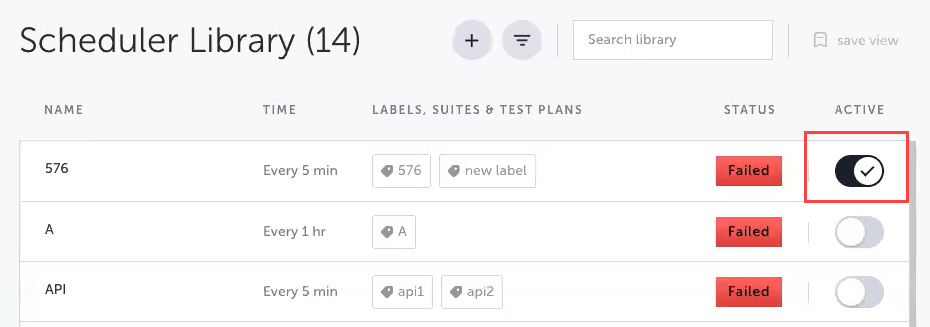
A new scheduled test run is created, and is automatically turned on:

Integrating Scheduler with Slack
To integrate scheduler with Slack:
- In the Create a new Schedule window > Notification section, click Add to Slack.

You will be redirected to Slack to confirm access. Click Allow:

- Add the Slack channels you would like to be notified on.

You can remove/add channels, and disable the Slack notifications at any point. If you would like to select a private Slack channel that was added after you already configured the integration, you will need to disconnect it (via Slack) and then reconnect from the scheduler screen.
If you utilize a Slack workspace with numerous channels, you may encounter difficulties in loading Slack channels from your workspace. If this occurs, reach out to Testim support and we will facilitate an alternative integration mechanism to overcome the issue.
Advanced scheduler options
For advanced scheduler options such as executing tests in parallel or on a specific branch, adding result labels or extending the test timeout, click on the Advanced option:
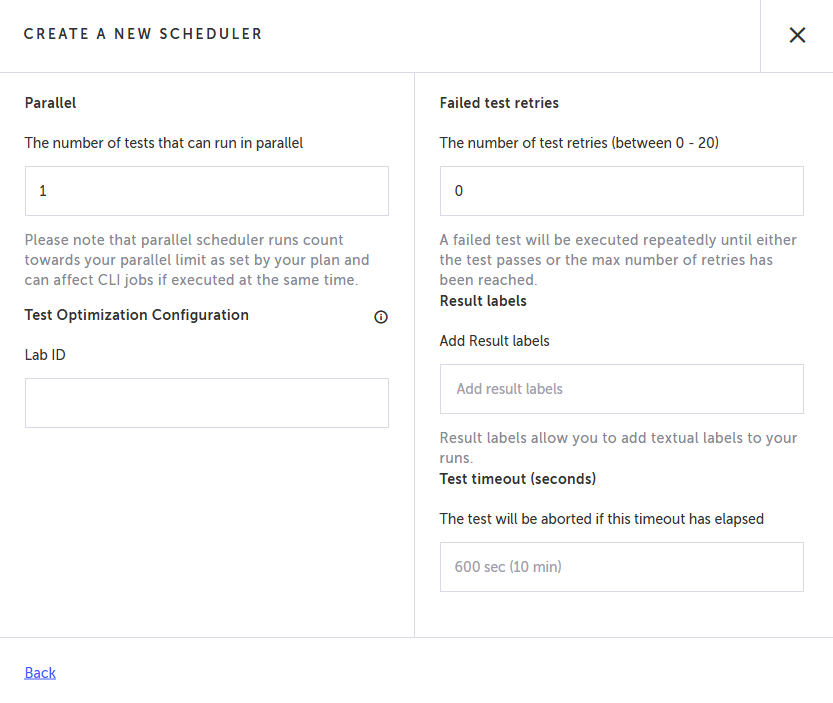
- Parallel - select the number of test that can run in parallel.
Parallel scheduler runs count towards your parallel limit as set by your plan and can affect CLI jobs if executed at the same time.
- Test Optimization Configuration - This option is available only if you have Sealights integration. The Lab ID in the Sealights integration refers to a unique identifier for a test environment that allows tracking test coverage and performance metrics within Sealights.
- Failed test retries - select the number of retries to execute if the test has failed. A failed test will be executed repeatedly until either the test passes or the max number of retries has been reached.
- Add Result labels - if you have specified result labels, add them into this field. Result Labels allows you to add textual labels to your remote runs. See Result labels for more information.
- Test timeout (seconds) - select the number of seconds after which the test will be aborted. The default is 10 minutes. The max is 3 hours.
Modify your scheduled test suites
Activate or Pause
Toggle to pause or re-activate the scheduled test suites.
Edit
Double click on the scheduled test suite to edit it.
Seeing your scheduled test suites results
As all other tests - navigate to the "Runs" tab in the sidebar and open the scheduled test run.
Abort a scheduled run
While the suite is running you are able to stop the run. Navigate to Runs ⇒ Suite Runs ⇒ Select the test that is running ⇒ Click ABORT SCHEDULED RUN.

Cloning a scheduler
You can clone a schedule, modify it, and save it as a new schedule, thus reducing the effort and possible errors in copying configurations manually.
To clone a scheduler:
- On the Schedule List screen, select the scheduler that you wish to clone.
- Click the Clone button.

- Name the scheduler and click Clone.

You can now edit the new scheduler.
Filtering the Scheduler Library
You can apply filters to the view to only see scheduled runs that meet a specific criteria.
To filter the Scheduler Library:
- Navigate to Runs > Scheduled Runs.
- Click the Advanced Filters button.

- Select from the following filters in the Filter Scheduler panel and click the Apply button.
- Show only active - when enabled, displays only the the active schedulers
- Show only turbo mode - when enabled, displays only the schedulers that have turbo mode enabled
- Labels - Labels are used to associate schedulers with one or more characteristics. For more information, see Labels. Select one or more of the following labels and then select one of the following operands:
- OR - will return schedulers that include one or more of the selected labels.
- AND - will only return schedulers that include ALL the selected labels.
The list of scheduled runs is now filtered based on your filter selections. To learn more about saving this filtered view, see Saving a Filtered View.
Updated 6 months ago